Loading ...
Loading ...
Loading ...
Getting Started
R&S
®
MXO 5 Series
29User Manual 1802.3369.02 ─ 02
1.
NOTICE! Missing ground contact can damage the oscilloscope.
Ensure that the monitor and the oscilloscope are connected to a ground contact.
See also: Chapter 3.1.6, "Connecting to power", on page 27.
2.
NOTICE! Use only standard-compliant monitor cables.
Connect the monitor or projector to a monitor connector on the rear panel.
3. Switch on the oscilloscope. See also "To switch on the product" on page 29.
The oscilloscope recognizes the external monitor. During the running session, you
can disconnect the monitor and connect it again.
If the monitor provides touch functionality, an additional connection can be required,
e.g. a USB connection. Refer to the documentation of your monitor.
The oscilloscope outputs a Full HD image with 1920x1080 pixel. The instrument's dis-
play is duplicated. If the screen resolution of the monitor is set higher than the instru-
ment's resolution, the application window uses a 1920x1080 area of the monitor dis-
play. For full screen display, adjust the monitor's screen resolution.
3.1.9 Switching on or off
The instrument is switched on or off with the power switch and the [Power] key. The
[Power] key is located in the bottom left corner of the front panel. The power switch is
located at the rear panel of the instrument.
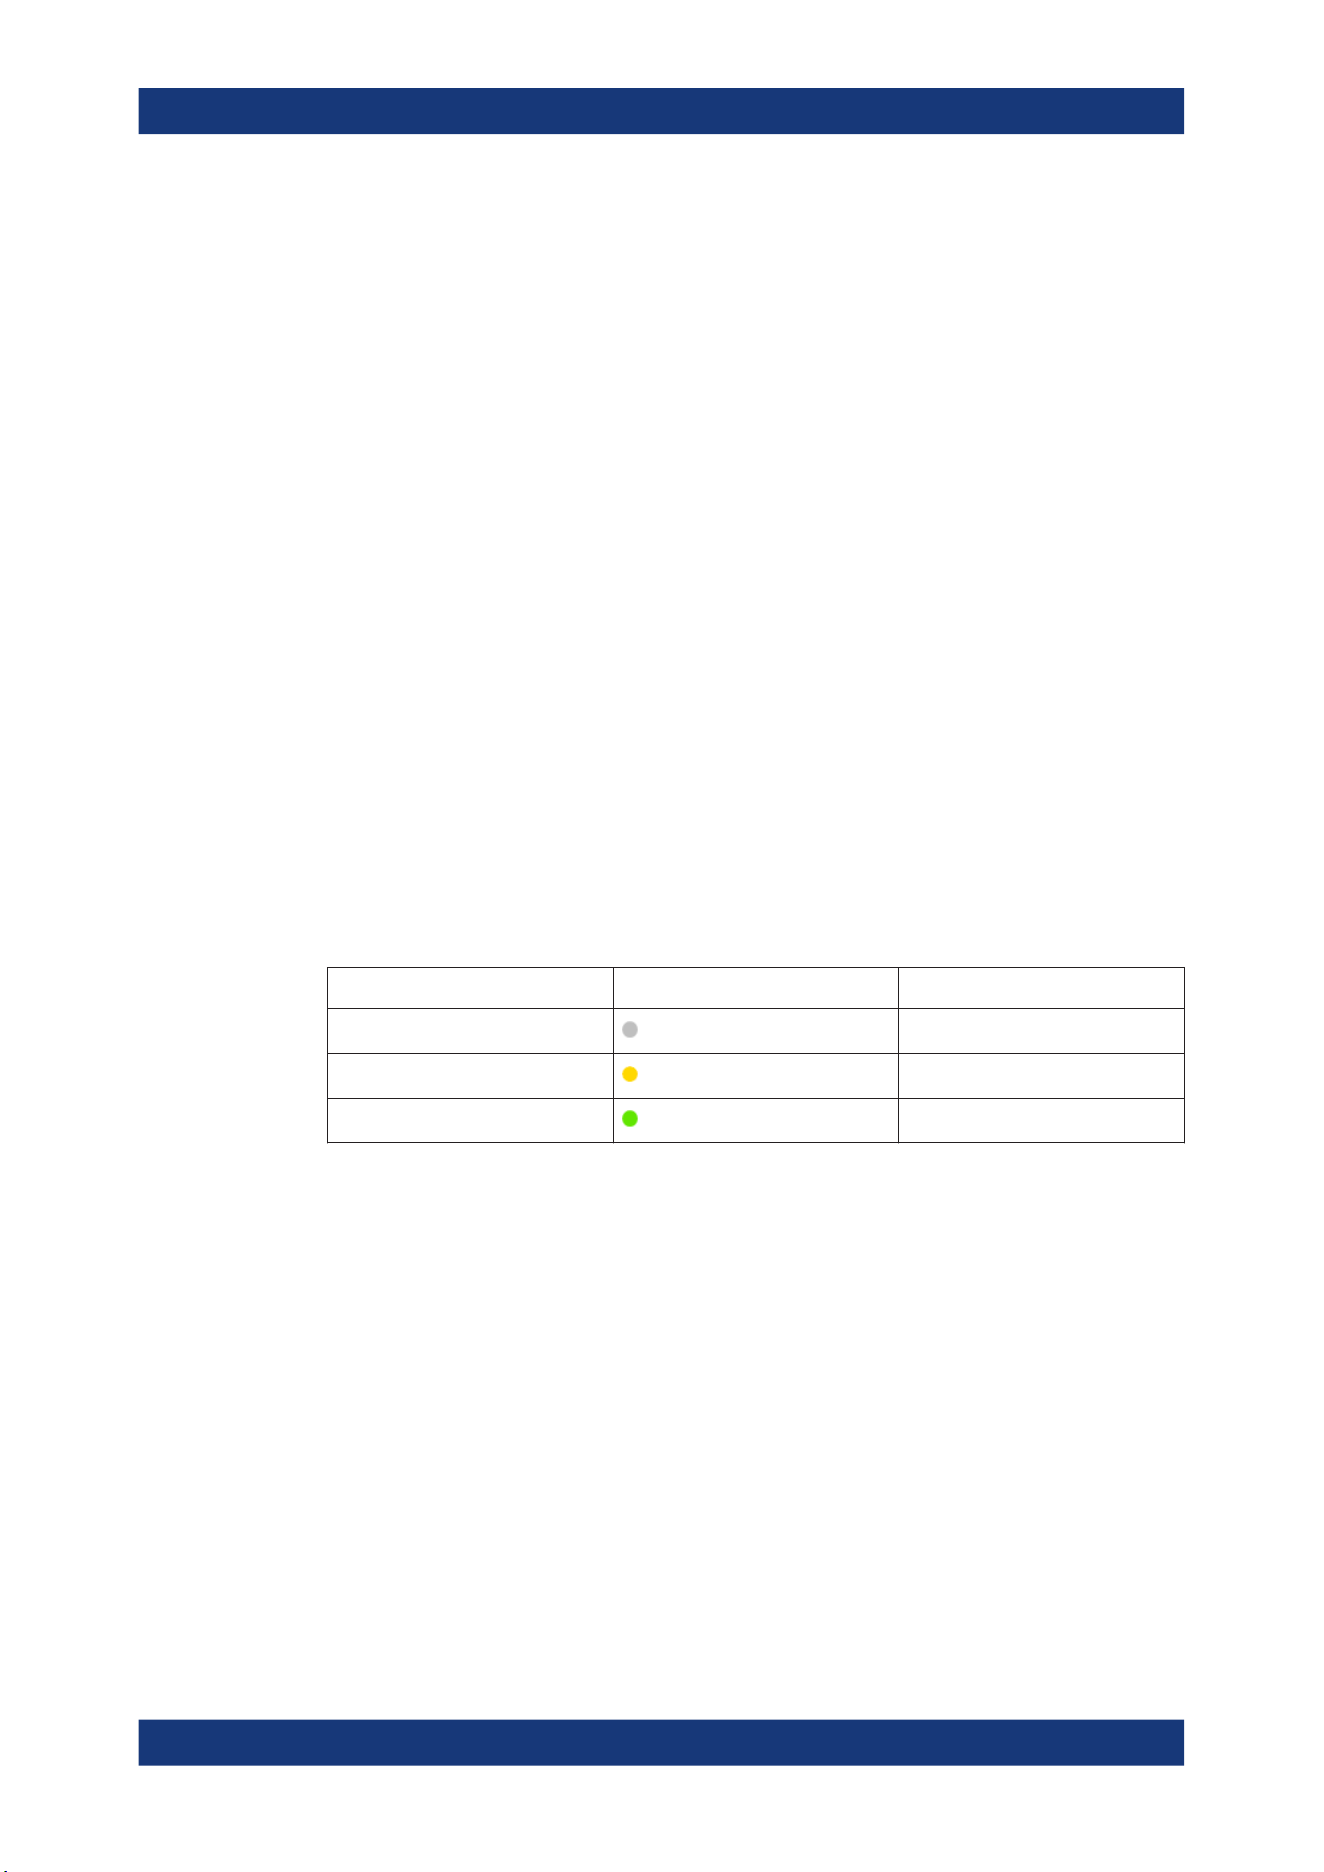
Table 3-1: Overview of power states
Status LED Power switch
Off
(unlighted)
[0] (off)
Standby
yellow
[I] (on)
Ready
green
[I] (on)
To switch on the product
The product is off but connected to power.
1. Set the switch on the power supply to position [I].
The power key on the front panel lights up.
2. Press the [Power] key on the front panel.
The instrument performs a system check, boots the operating system, and then
starts the R&S MXO 5 firmware.
The [Power] key turns green and the illuminated keys on the front panel light up. If
the previous session was terminated regularly, the oscilloscope uses the last set-
tings.
Before you start measurements, be sure to comply with the warm-up phase specified
in the data sheet.
Preparing for use
Loading ...
Loading ...
Loading ...