Loading ...
Loading ...
Loading ...
59
Specifying Thread Colors and Sew Types for Lines and Regions
Basic Layout & Editing Operations
■ Moving the center point and stitch
pattern reference point
The center point and reference point for arranging
the stitch pattern can be repositioned for a more
decorative effect.
1 Click the [Home] tab.
2 Click [Select] in the [Select] group, and then
click .
3 Click a region with the concentric circle stitch,
radial stitch, prog. fill stitch, motif stitch, cross
stitch, net fill stitch or zigzag net fill stitch
specified.
1 Handle
4 Drag the handle to the desired location.
1 Handle
When the Outline tools, Rectangle/Circle/Arc tools
or Shapes tools are used, shapes with a single
sewing direction will be created. When the Manual
Punch tools are used, shapes with multiple sewing
directions are created.
The sewing direction is indicated by a sewing
direction line (red arrow). These lines can be edited
by moving the end points, or new sewing direction
lines can be added.
These settings can be adjusted for regions with the
satin stitch, fill stitch, prog. fill stitch, piping stitch or
motif stitch specified.
a
Only entry and exit points for patterns created with
the Shapes tool can be edited. Stitch patterns or
patterns created with the Text tools cannot be
edited.
b
• Regions with the concentric circle stitch, radial
stitch or flexible spiral stitch specified have a
center point.
• Regions with the prog. fill stitch, motif stitch,
cross stitch, net fill stitch, zigzag net fill stitch or
decorative fill stitch specified have a stitch
pattern reference point.
Center Point (Radial
Stitch)
Stitch pattern reference
point (Motif Fill Stitch)
1
Center Point (Radial
Stitch)
Stitch pattern reference
point (Motif Fill Stitch)
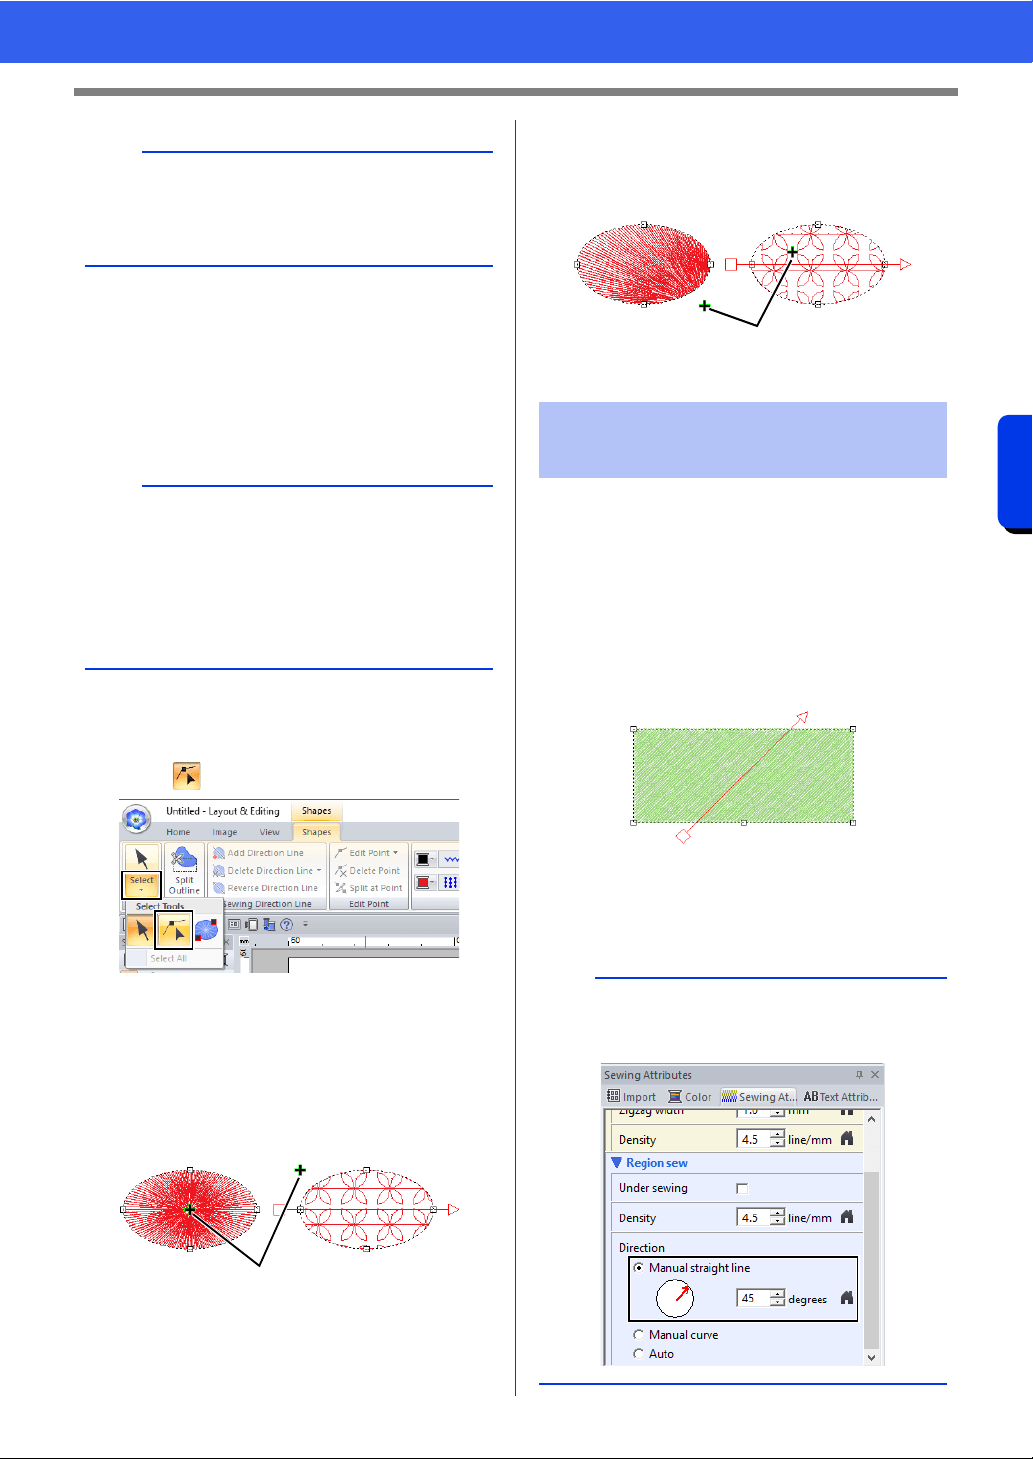
Specifying the straight
sewing direction
a
This feature can be used when [Direction] in the
[Sewing Attributes] pane is set to [Manual
straight line] (default setting).
1
Loading ...
Loading ...
Loading ...