Loading ...
Loading ...
Loading ...
162
Creating Embroidery Patterns Using Images
Advanced Stitch Wizard Operations
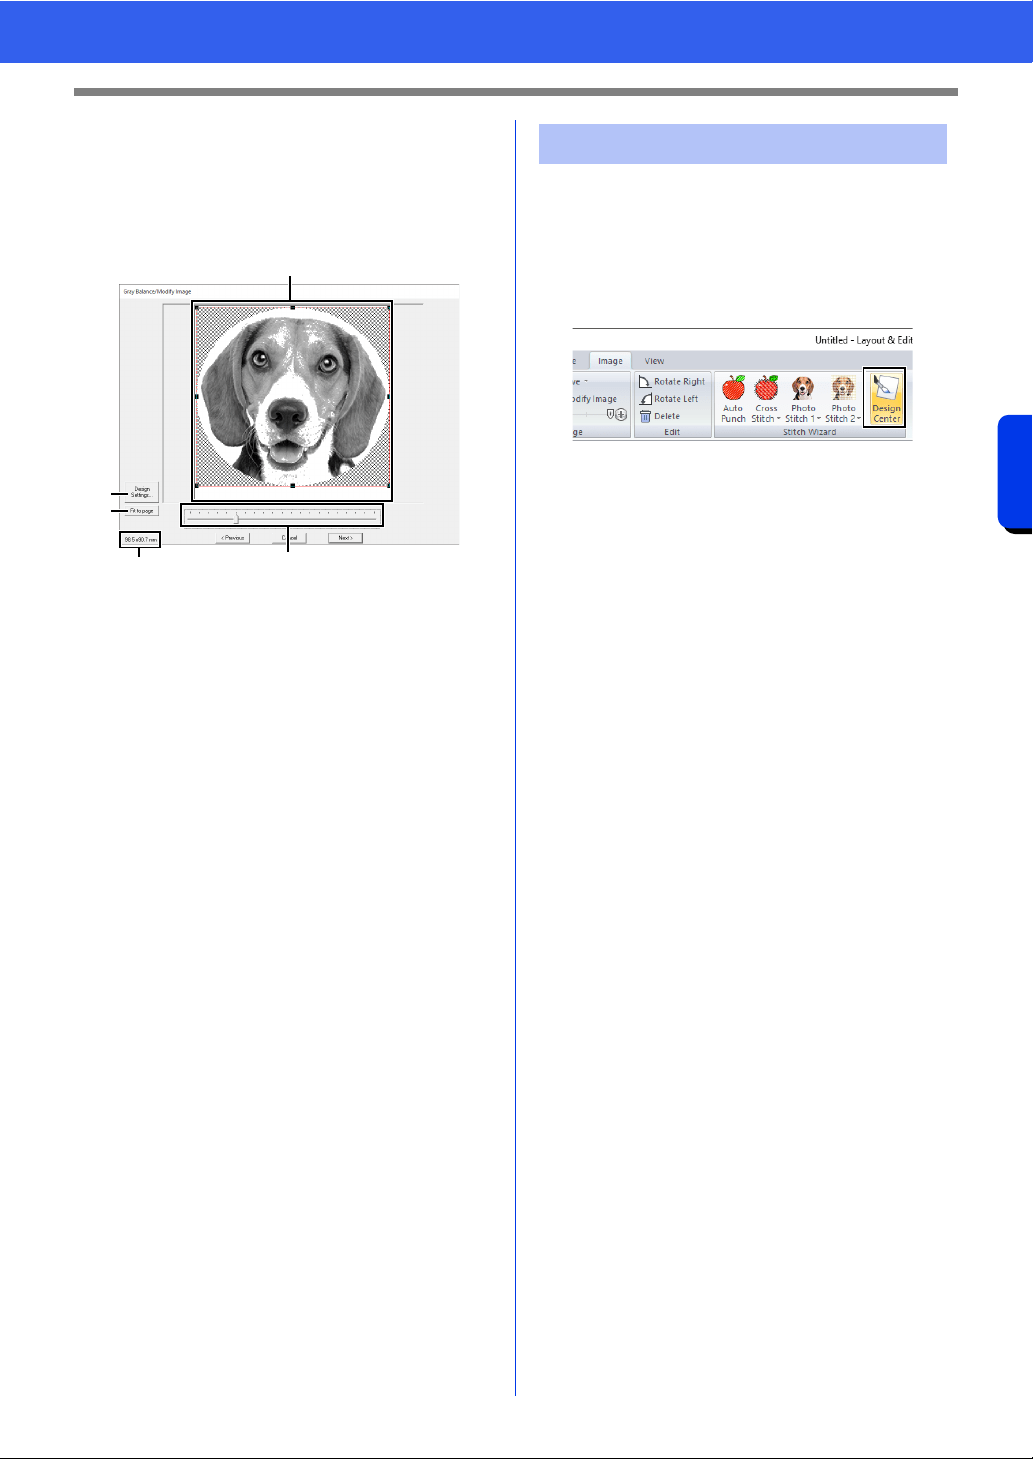
■ Gray Balance / Modify Image
dialog box
If [Mono] was selected for [Photo Stitch 1] or
[Photo Stitch 2]:
The following dialog box appears.
a Adjust the position and size of the image.
Drag the image to the desired position.
Drag the handle to adjust the image to the
desired size.
b Click [Design Settings] to change the
size of the Design Page. Specify the
settings in the [Design Settings] dialog
box.
cc "Specifying the Design Page Settings" on
page 16
c Click [Fit to page] to adjust the image to
the size of the Design Page.
d Embroidery pattern size
e Drag the slider to adjust the gray balance.
We will create embroidery data in Design Center by
using an image that was opened in Layout & Editing.
1 Click the [Image] tab.
2 Click [Design Center] in the [Stitch Wizard]
group.
Design Center starts up and the image
appears in the Design Page.
cc "Basic Design Center Operations" on
page 249 and "Line Image Stage" on
page 262
a
b
c
d
e
Importing to Design Center
Loading ...
Loading ...
Loading ...