Loading ...
Loading ...
Loading ...
161
Creating Embroidery Patterns Using Images
Advanced Stitch Wizard Operations
c Trace over lines drawn with pen a or b
to erase them.
d Hide all lines drawn with pen a or b.
e Delete all drawn lines.
f Undo the last operation to return the
image mask to its previous condition.
g Redo the last operation that was undone.
h Update the image mask according to the
currently drawn pen lines.
i Click to apply the image mask.
j Click to return to the [Select Mask] dialog
box.
5 Click [Update Preview], check the adjusted
area, and then click [OK].
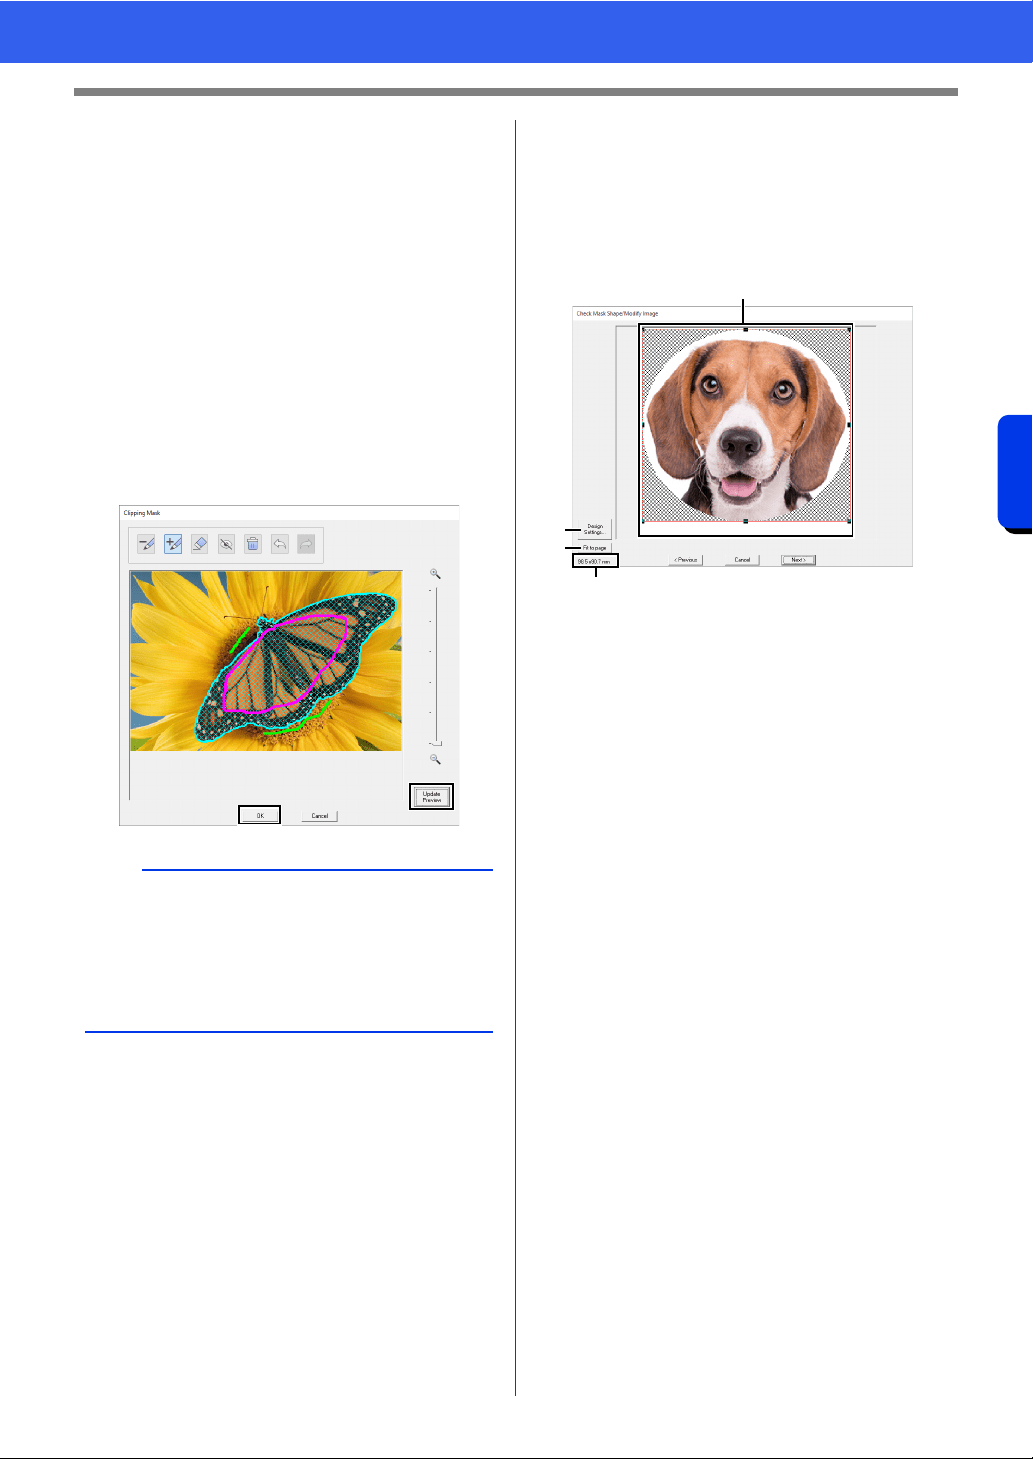
■ Check Mask Shape/Modify Image
dialog box
If Color, Sepia or Gray was selected for [Photo
Stitch 1], [Photo Stitch 2] or [Cross Stitch], or if
[Auto Punch] was selected:
The following dialog box appears.
a Adjust the position and size of the image.
Drag the image to the desired position.
Drag the handle to adjust the image to the
desired size.
b Click [Design Settings] to change the
size of the Design Page. Specify the
settings in the [Design Settings] dialog
box.
cc "Specifying the Design Page Settings" on
page 16
c Click [Fit to page] to adjust the image to
the size of the Design Page.
d Embroidery pattern size
b
• When selecting areas to be added or removed
from the image mask, the entire area does not
need to be completely filled with the pen marks.
• We recommend repeatedly marking the image
mask with the pens and updating the preview
until the desired image mask is obtained.
a
b
c
d
Loading ...
Loading ...
Loading ...