Loading ...
Loading ...
Loading ...
127
Creating Embroidery Patterns Containing Text
Advanced Operations for Entering Text
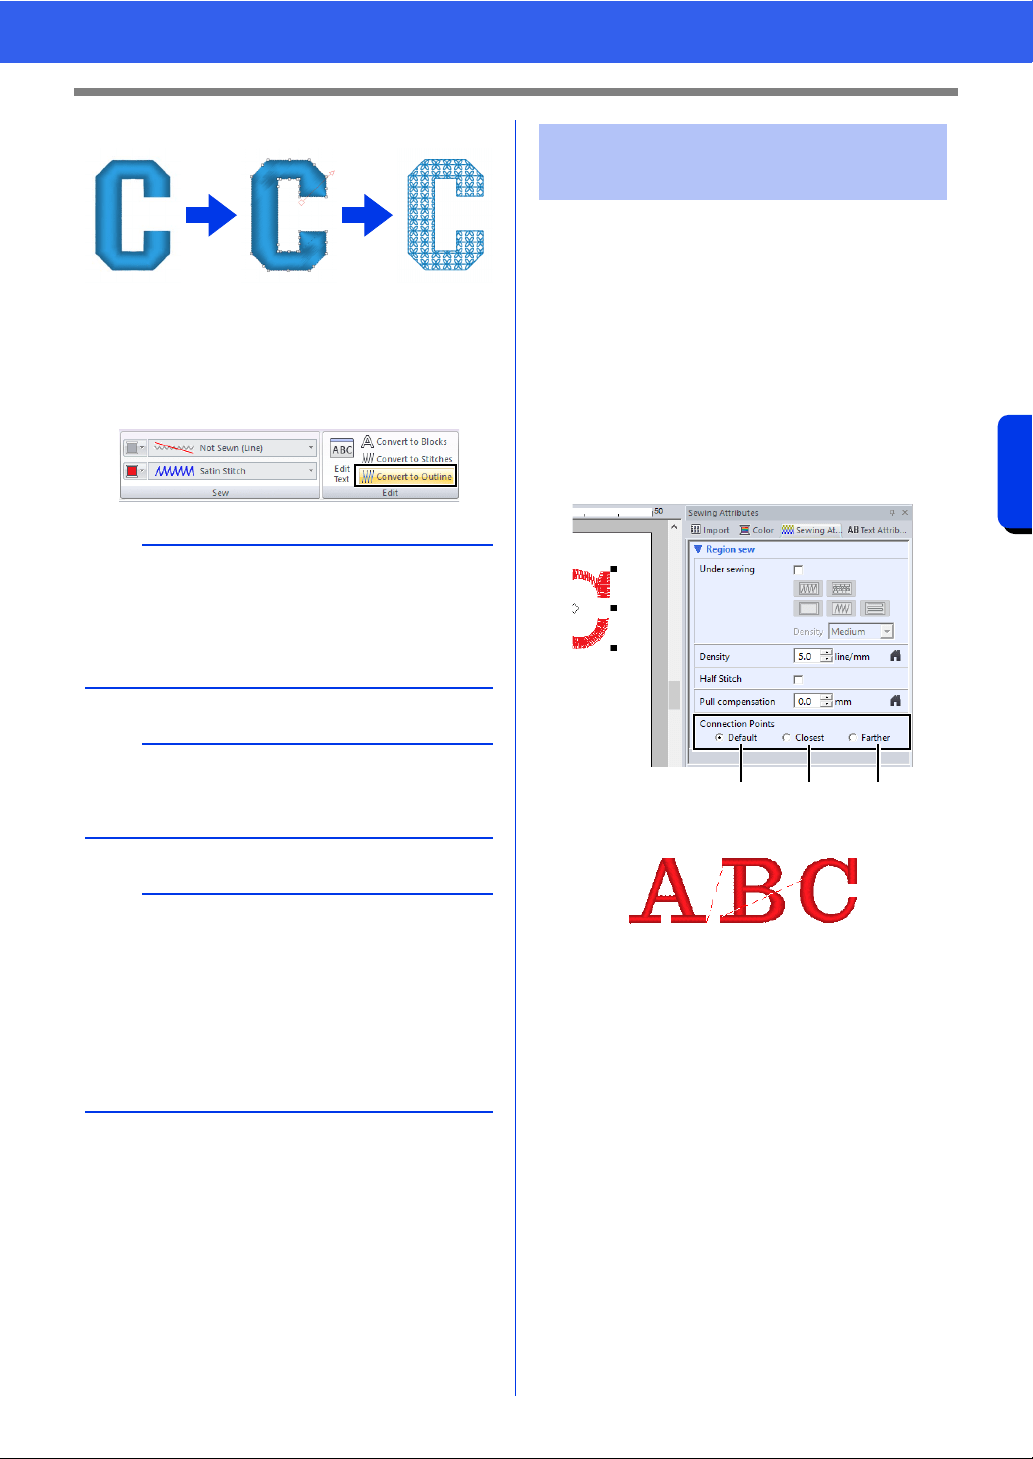
■ Converting text to outline pattern
1 Select text.
2 Click the [Text] tab.
3 Click [Convert to Outline] in the [Edit] group.
The positions for connection points between
characters within the same text (end point of one
character and the start point of the next character)
can be specified.
The available settings are [Default], [Closest] and
[Farther].
1 Select the text or monogram text.
If the [Sewing Attributes] pane is not
displayed, click the [View] tab in the Ribbon,
and then click [Sewing Attributes].
2 Click a setting under [Connection Points].
a Default
Stitches are created in the default sewing
order for good stitching quality of all
characters.
b
• The outline pattern is now a shape.
• Transformed shapes are grouped. In addition,
hole sewing is automatically specified for
openings (such as the triangle inside the letter
"A").
a
Text patterns created with built-in fonts 025 and
029, user-defined fonts or small text fonts cannot
be converted to outlines.
b
• When a pattern is converted outlines, the sewing
quality will decrease slightly.
• The sewing direction will become uniform, but it
can be edited.
cc "Specifying the straight sewing direction" on
page 59
• Since the text data is no longer available, the
text cannot be edited.
Selecting connection point
positions in a text pattern
abc
Loading ...
Loading ...
Loading ...