Loading ...
Loading ...
Loading ...
160
Creating Embroidery Patterns Using Images
Advanced Stitch Wizard Operations
■ Adjusting the image mask
The detected outline can be edited.
Your image is accurately traced for a more precise
output. (Enhanced Image Tracing)
1 Select [Auto Punch], [Cross Stitch], [Photo
Stitch 1] or [Photo Stitch 2].
2 Click or , and then specify the image
mask.
cc "Adjusting the Mask and Image" on
page 158
3 Click [Clipping Mask].
The automatically detected image mask
appears.
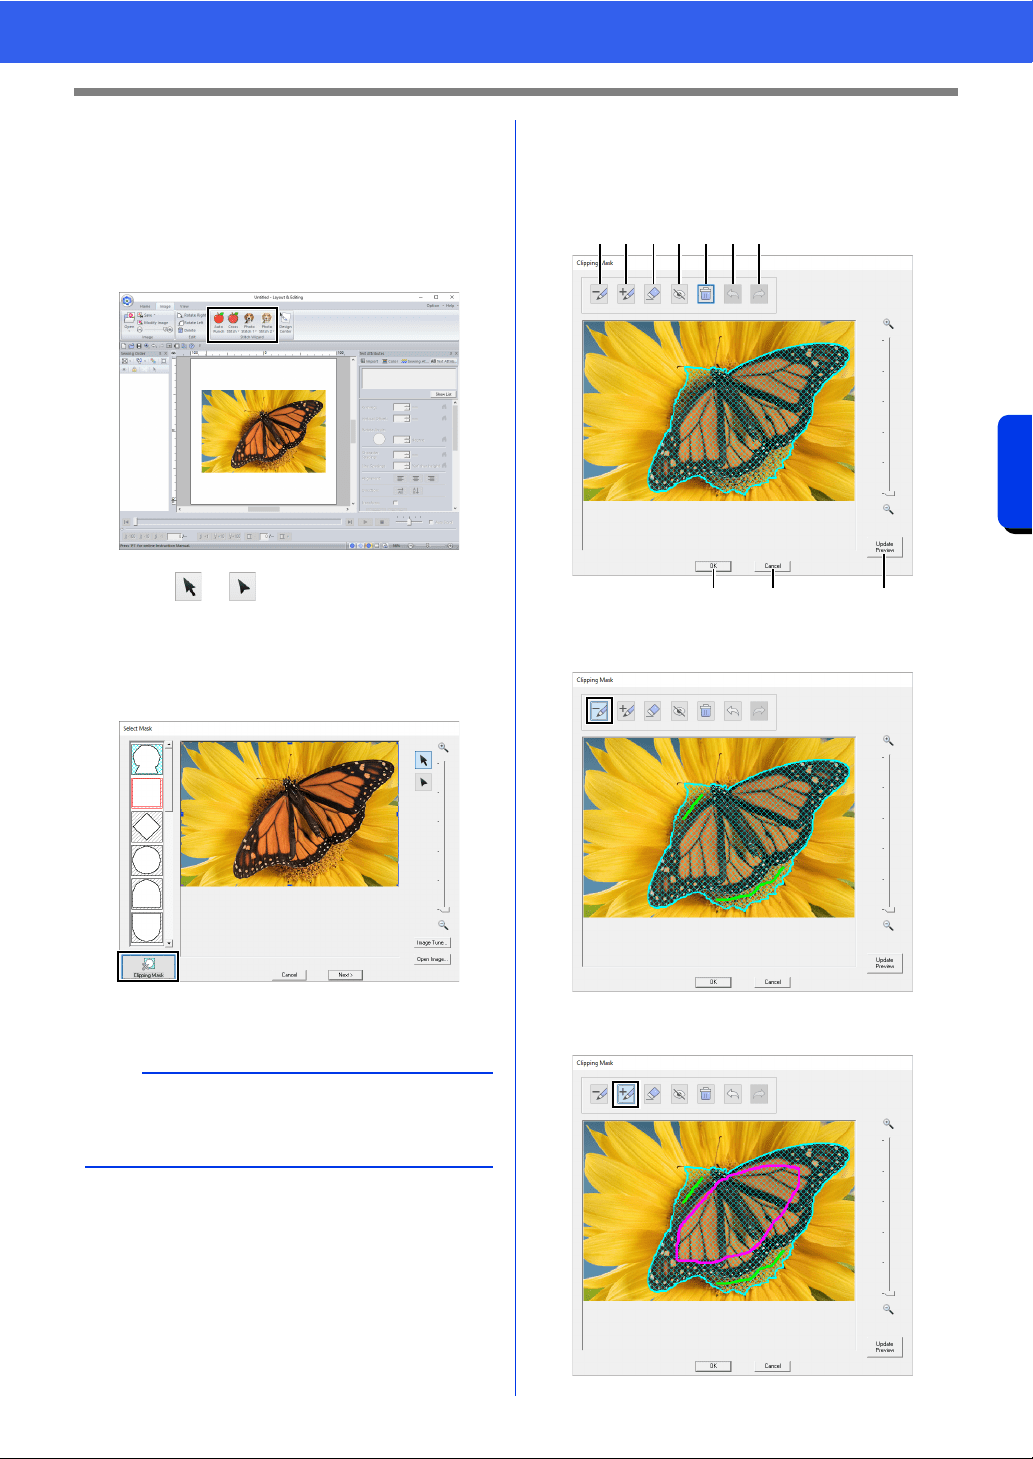
4 Adjust the image mask.
The outline of the image mask is indicated by
a thick cyan line, and the inside of the image
mask is filled with a cyan crosshatch pattern.
a Fill areas with the yellow-green pen to
remove them from the image mask.
b Fill areas with the pink pen to add them to
the image mask.
a
Enclose the desired part of the image with the
image mask, and then press [Clipping Mask] to
increase the masking precision.
a b c d e f g
i j h
Loading ...
Loading ...
Loading ...