Loading ...
Loading ...
Loading ...
171
Creating Embroidery Patterns Using Images
Tutorial 7: Print and Stitch
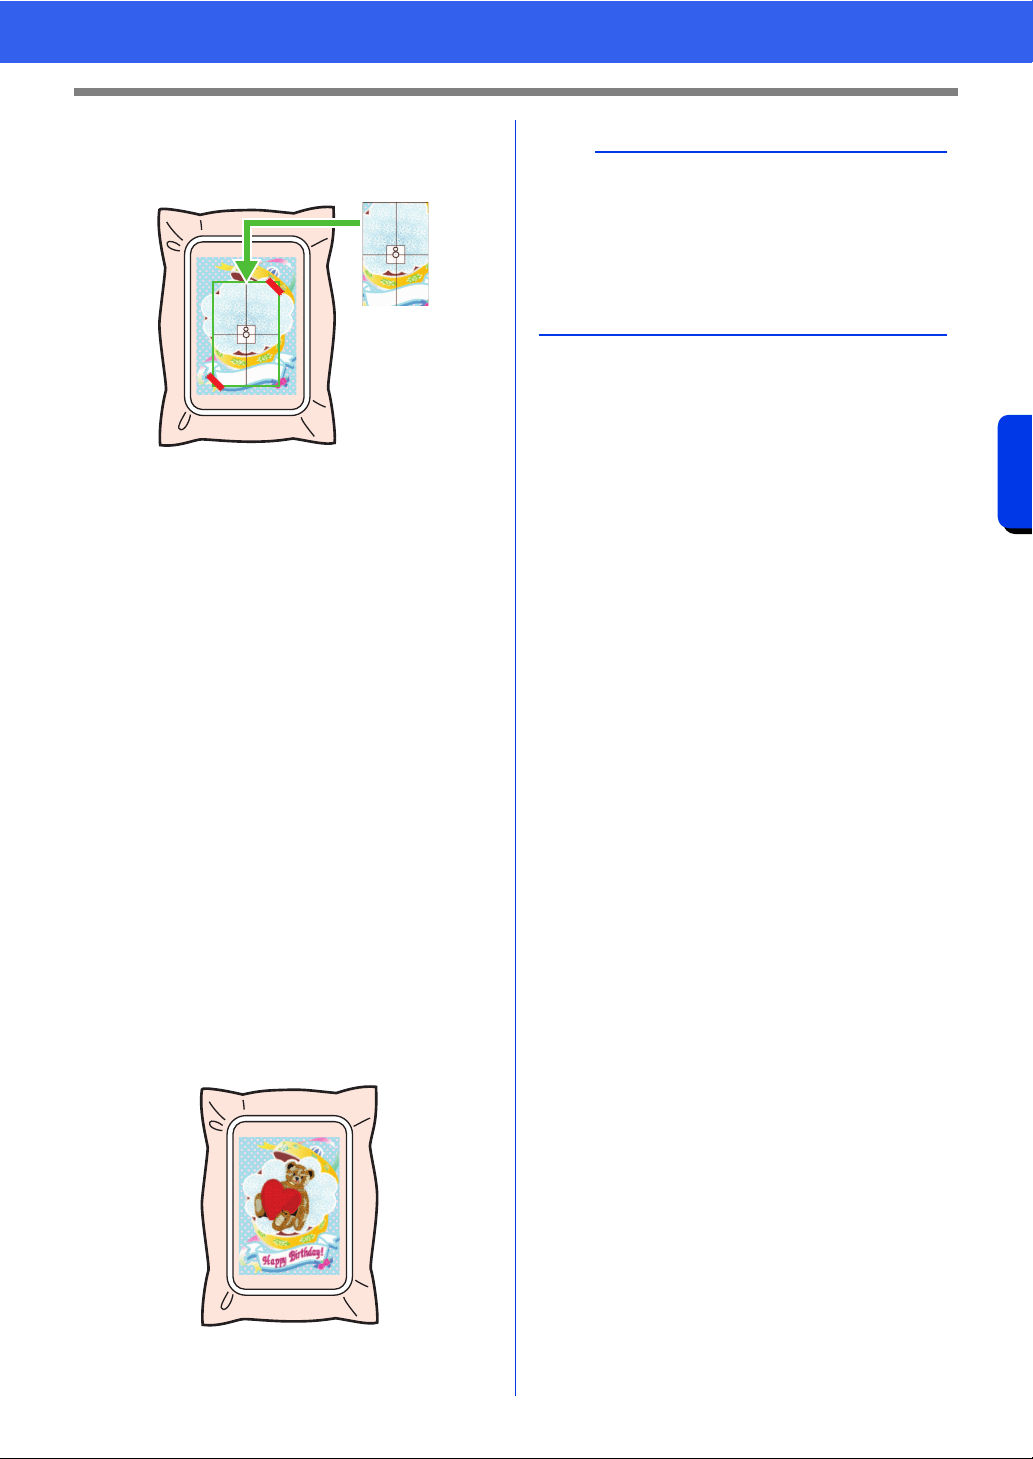
3 Place the positioning sheet on the fabric to be
embroidered so that it is aligned with the
printed image.
• If the positioning sheet is too large, cut it to
an appropriate size so it can easily be used
for aligning the positions.
• Tape the positioning sheet to the fabric to
secure it in place.
4 Attach the embroidery frame to the
embroidery machine.
Be sure that the positioning sheet does not
move out of place.
5 Align the needle with the mark at the center of
the positioning sheet.
• If the embroidery machine has a built-in
camera, press the start positioning button
to detect the positioning mark and
automatically align the embroidering
position.
• With other embroidery machines, manually
align the positions.
6 After positioning is finished, remove the
positioning sheet from the fabric.
7 Start the embroidery machine to embroider
the pattern.
b
• For details on using the embroidery machine,
refer to the instruction manual included with the
machine.
• Some patterns of completed samples for "Print
and Stitch" are provided in the following folder.
Documents (My documents)\PE-DESIGN
11\Sample\Layout & Editing\Print and Stitch
Loading ...
Loading ...
Loading ...