Loading ...
Loading ...
Loading ...
30
Tutorial 1: Drawing shapes to create an embroidery design
Basic Layout & Editing Operations
Tutorial 1: Drawing shapes to create an
embroidery design
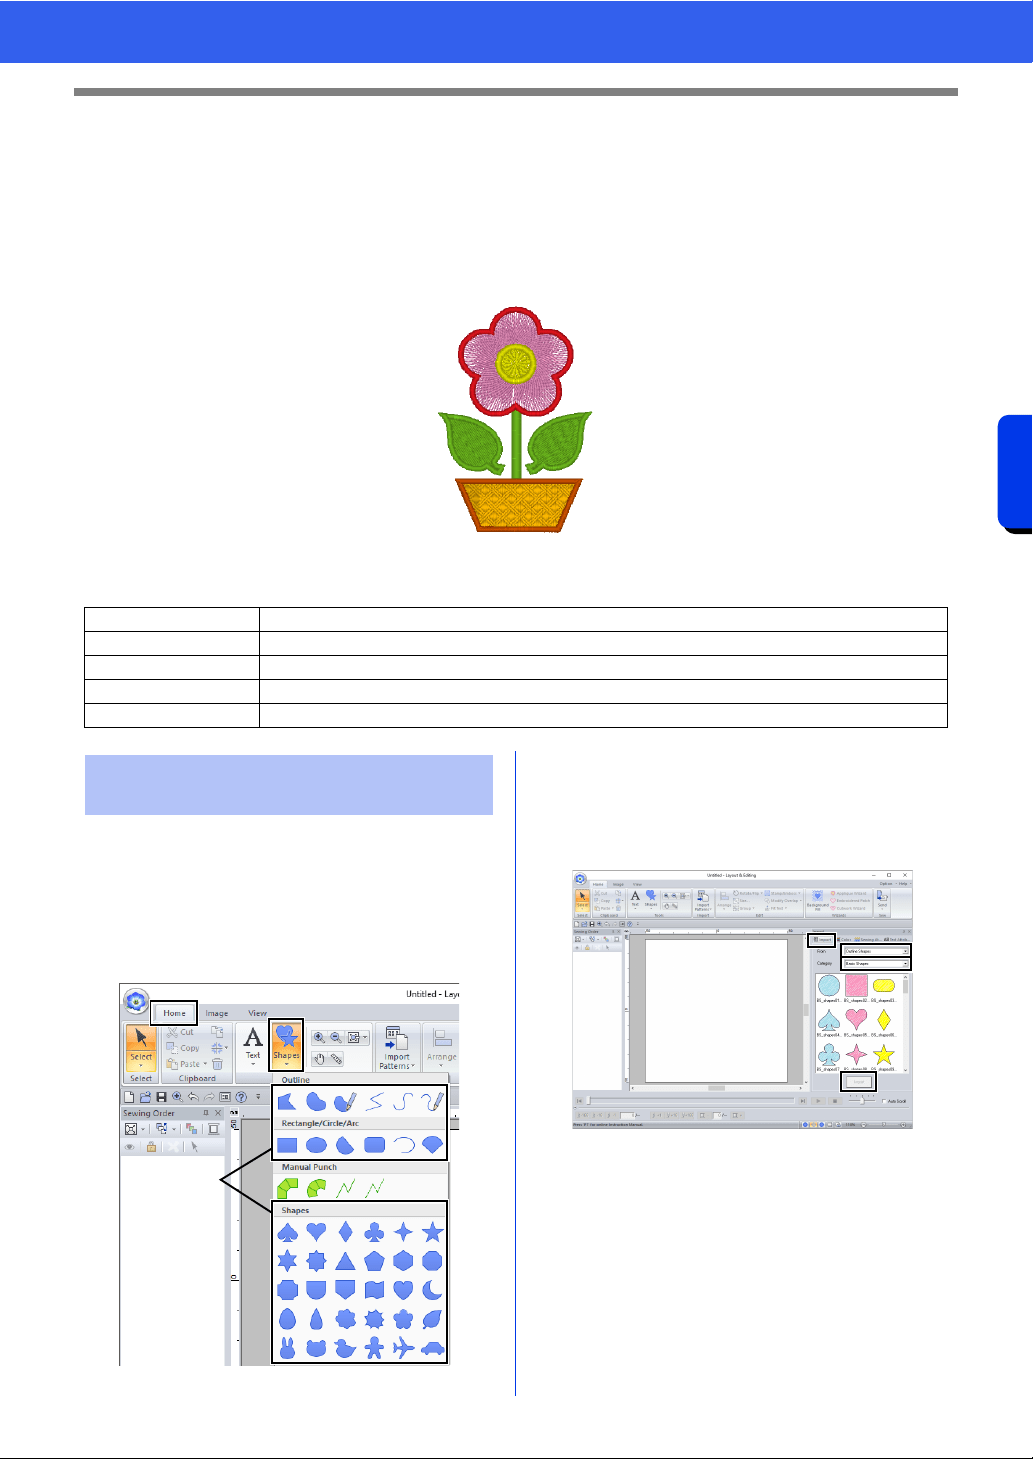
This section will describe how to combine various shapes to create an embroidery design.
We will use an Outline tool to draw the stem. Then, we will create the leaves, flower and flower pot by importing
shape patterns.
The sample file for this tutorial is located at Documents (My documents)\PE-DESIGN 11\Tutorial\Tutorial_1.
Shapes can be created either by drawing them with
the Shapes tools or by importing sample shape
patterns.
1 To draw a shape, select a Shapes tool, and
then drag the pointer in the Design Page to
draw the shape.
1 Shapes tools
2 To import a shape, select [Outline Shapes]
from the [From] selector of the [Import] pane,
then [Basic Shapes] from the [Category]
selector. Select the shape, and then click
[Import].
Specify the sew types for the shape on the
[Shapes] tab, and the thread colors on the
[Shapes] tab or the [Color] pane.
Step 1 Drawing, importing and moving shapes
Step 2 Duplicating, flipping and moving shapes
Step 3 Specifying hole sewing
Step 4 Applying a pattern to stitching
Step 5 Editing points and modifying shapes
Step 1 Drawing, importing and
moving shapes
1
Loading ...
Loading ...
Loading ...