Loading ...
Loading ...
Loading ...
334
Font Creator
Registering Embroidery Data as a Font
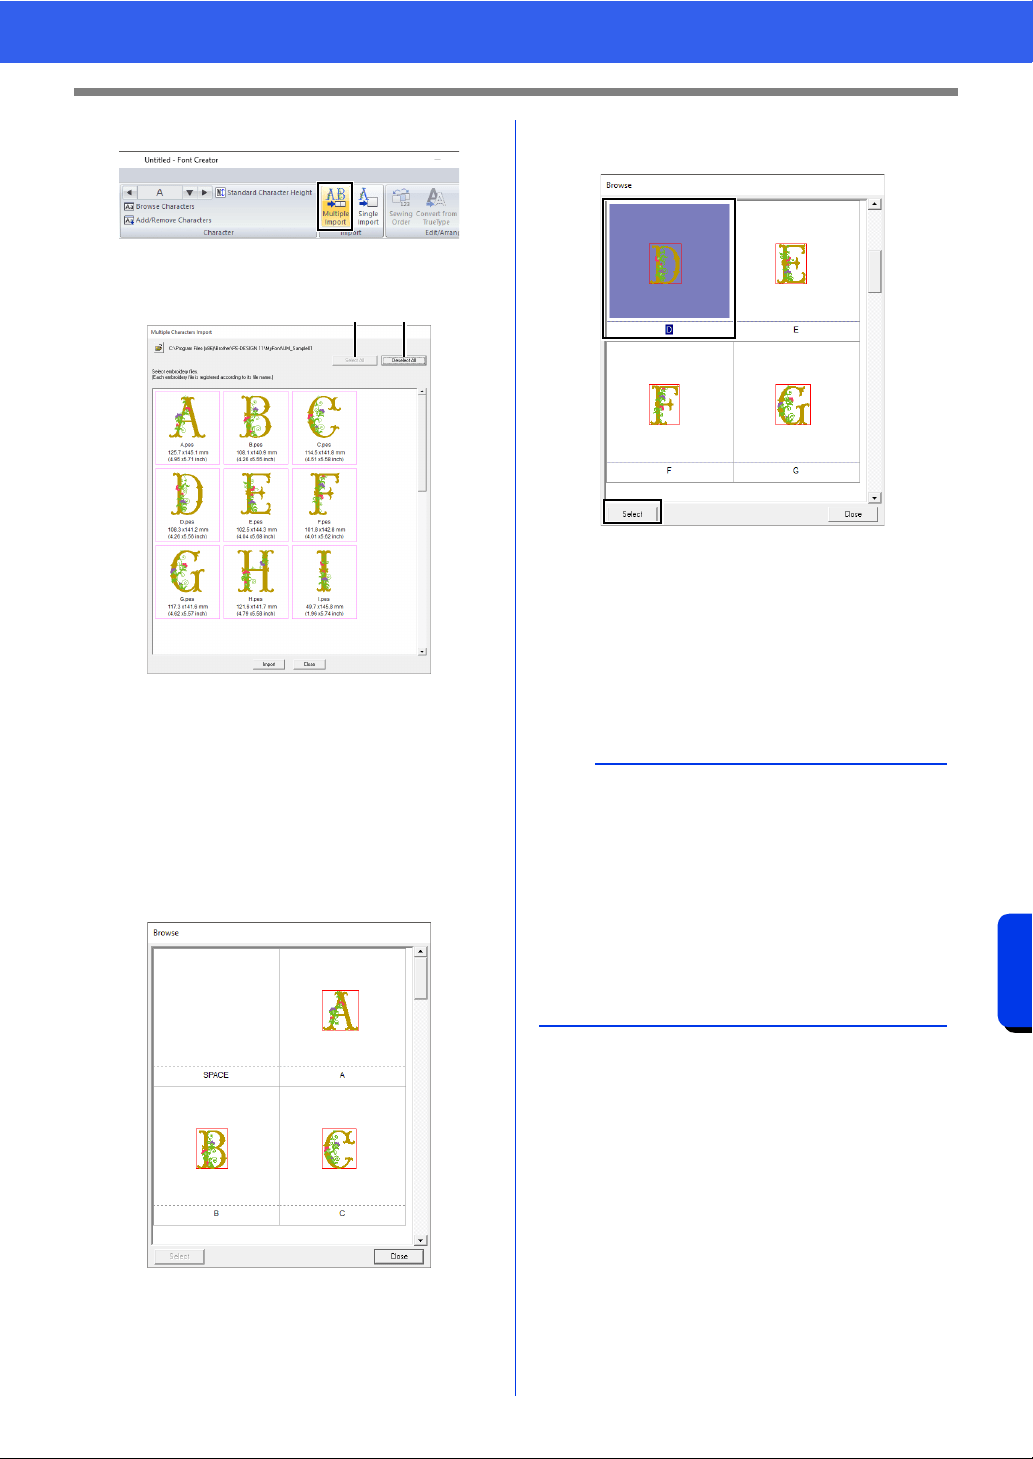
5 Click [Multiple Import] on the [Home] tab.
6 Select the files to be registered.
a Select All
Click to select all files.
b Deselect All
Click to deselect all files.
7 Click [Import].
When registration is finished, one of the
registered characters appears in the
Design Page, and the [Browse] dialog box
appears.
8 Select the character whose position is to be
adjusted, and then click [Select].
9 Adjust the position of the character.
cc "Adjusting the character position" on
page 332
10 Save the registered characters.
cc "Saving registered characters" on
page 332
a b
b
• Embroidery files of the following types will not
appear in the file list of the dialog box.
• Files where the embroidery pattern size
exceeds 500 mm
• Files where the embroidery pattern size is less
than 5 mm
• Files where the hoop size has been set to a
large-size split embroidery frame, jumbo
frame or a multi-position hoop
• Files that contain a cutwork pattern
Loading ...
Loading ...
Loading ...