Loading ...
Loading ...
Loading ...
14
Understanding Windows
Introduction
e Help button
Click this button to display the Instruction
Manual and view information about the
software.
f Sewing Order pane
This pane shows the sewing order. Click
the buttons at the top of the pane to
change the sewing order or thread color.
g Import/Color/Sewing Attributes/Text
Attributes panes
This pane combines tabs for importing
embroidery patterns as well as for
specifying thread colors, sewing attributes
and text attributes. Click a tab to display
the available parameters.
h Stitch Simulator pane
The Stitch Simulator shows how the
pattern will be sewn by the machine and
how the stitching will appear.
i Design Page
The actual part of the work area that can
be saved and sewn.
j Work area
k Status Bar
This displays the size of the embroidery
data, the number of stitches or a
description of the selected command.
l View mode buttons
Click a button to change the View mode.
m Show grid button
Click to switch between displaying and
hiding the grid.
n Design Property button
Click to display a dialog box containing
sewing information for the embroidery
data.
o Zoom slider
This displays the current magnification
ratio. Click to specify a value for the
magnification ratio.
Drag the slider to change the
magnification ratio.
b
• Panes 6, 7 and 8 can be displayed or hidden
from the [Show/Hide] group in the [View] tab. In
addition, these panes can be displayed as
separate dialog boxes (Floating) or attached to
the main window (Docking).
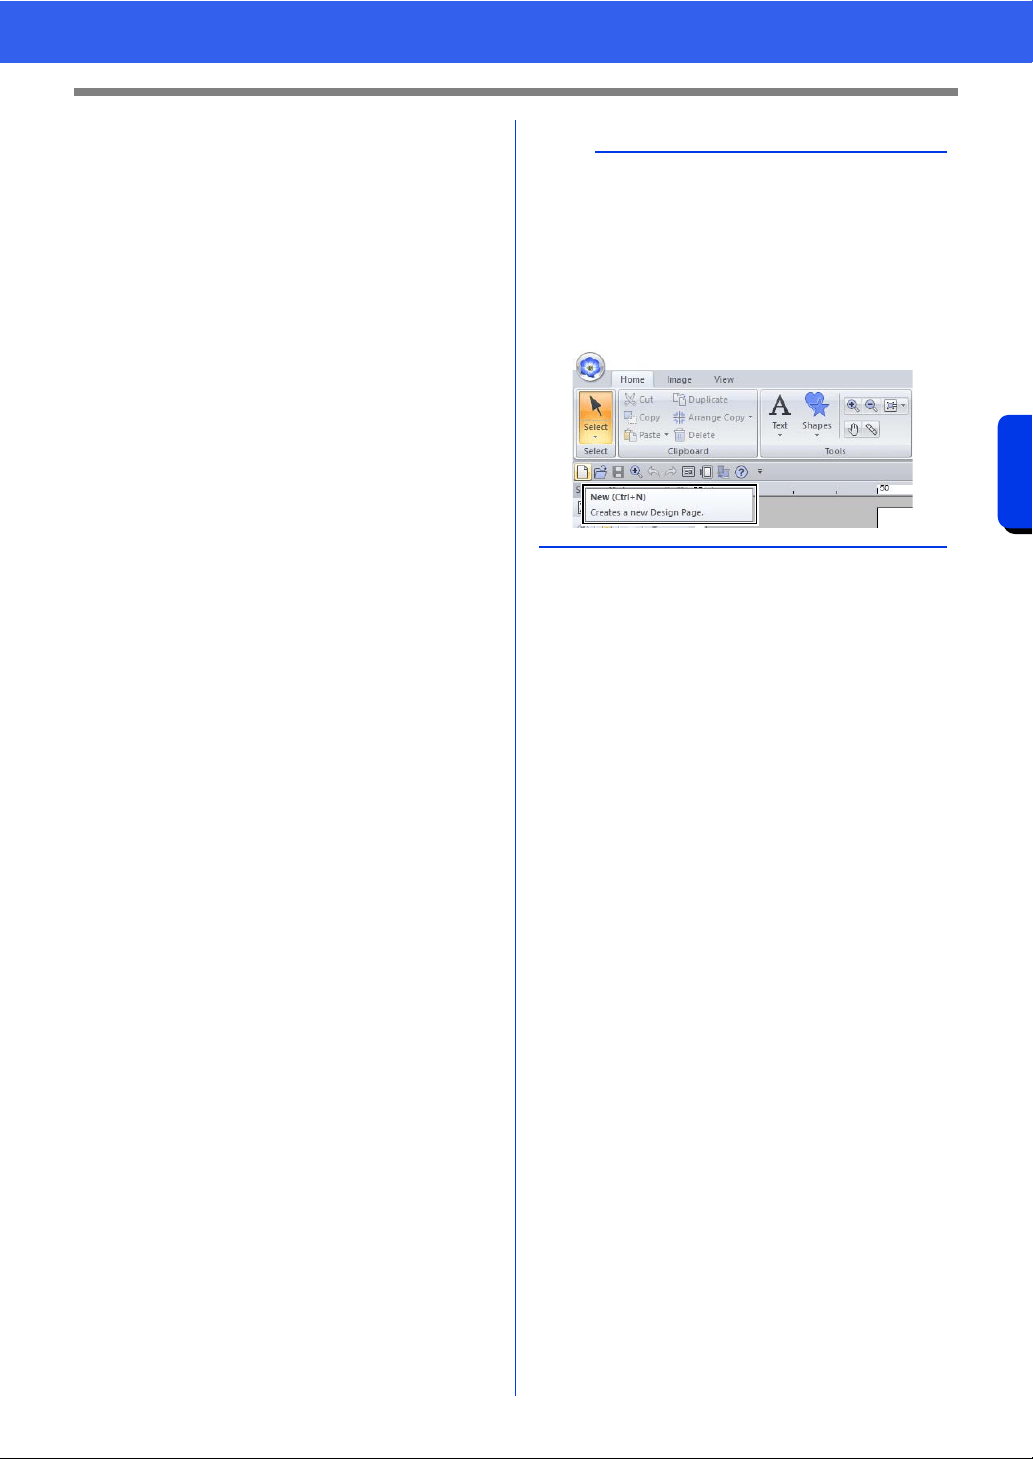
• Position the pointer over a command to display
a ScreenTip, which provides a description of the
command and indicates its shortcut key.
Loading ...
Loading ...
Loading ...