Loading ...
Loading ...
Loading ...
163
Creating Embroidery Patterns Using Images
Importing Image Data
Importing Image Data
An imported image can be used with the Image To Stitch Wizard, as a template for manual punching, or for
printing onto iron-on transfer sheets or printable fabric when using "Print and Stitch".
An image can be imported using any of the following four methods.
• From a file
• From a scanner (TWAIN Device)
• From the Clipboard
■ Image file formats
Images in the following formats can be imported.
Windows bitmap (.bmp), Exif (.tif, .jpg), Windows
Metafile (.wmf), Portable Network Graphics (.png),
Encapsulated PostScript (.eps), GIF (.gif)
1 Click the [Image] tab.
2 Click [Open] in the [Image] group, and then
click [from File].
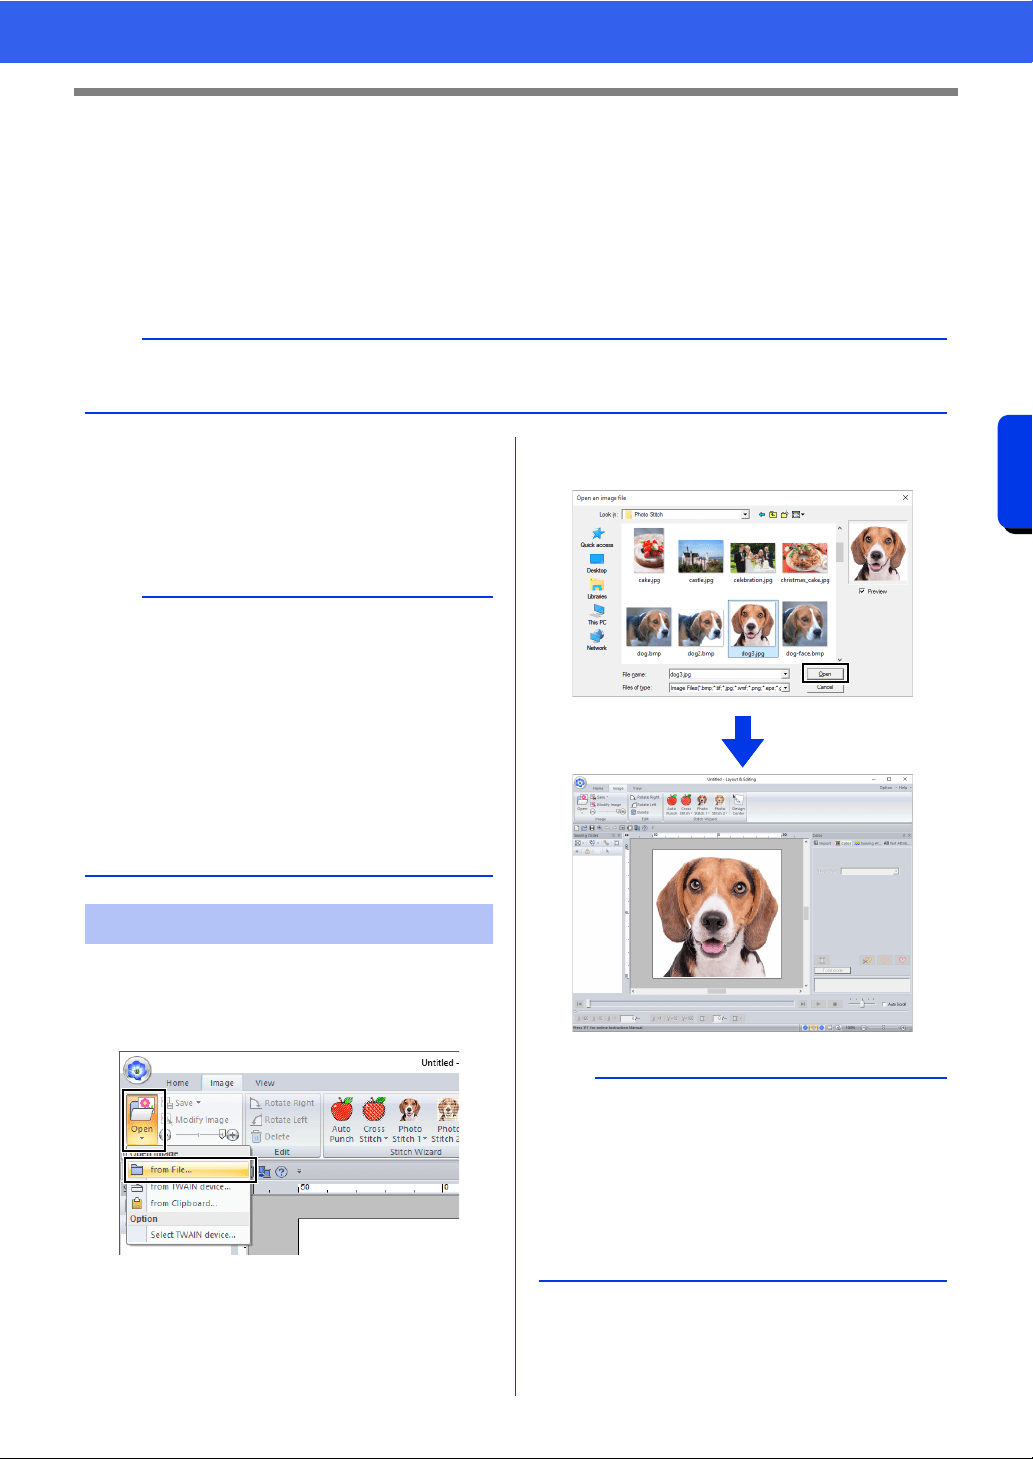
3 Select the drive, the folder and the file. Click
[Open].
a
Only one image can be added to the work area. If you try to display a different image, it will replace the
previous one.
b
• Vector image data in the ".wmf" (Windows
Metafile), ".emf" (Enhanced Metafile) and ".svg"
(Scalable Vector Graphics) file formats can be
converted to shape patterns as it is without
some information not supported.
cc "Importing vector images (WMF/EMF/SVG)"
on page 105
• If an EPS file doesn't contain a "Preview" image,
it can not be displayed correctly. When you
create a file in EPS format, be sure to save it with
preview image.
Importing image from a file
b
•If the [Preview] check box is selected, the
contents of the selected file will appear in the
[Preview] window.
• Various clip art images can be found in the
[ClipArt] folder (in the folder where PE-DESIGN
was installed) at:
C:\Program Files (x86)\Brother\PE-DESIGN
11\ClipArt
Loading ...
Loading ...
Loading ...