Loading ...
Loading ...
Loading ...
333
Font Creator
Registering Embroidery Data as a Font
2 Save the pattern to the [MyFont] folder at the
following location.
For example, (Drive where PE-DESIGN was
installed)\Program Files (x86)\Brother\PE-
DESIGN 11\MyFont
1 Prepare the embroidery data to be registered,
and rename them so that the character in each
file can be identified by the file name.
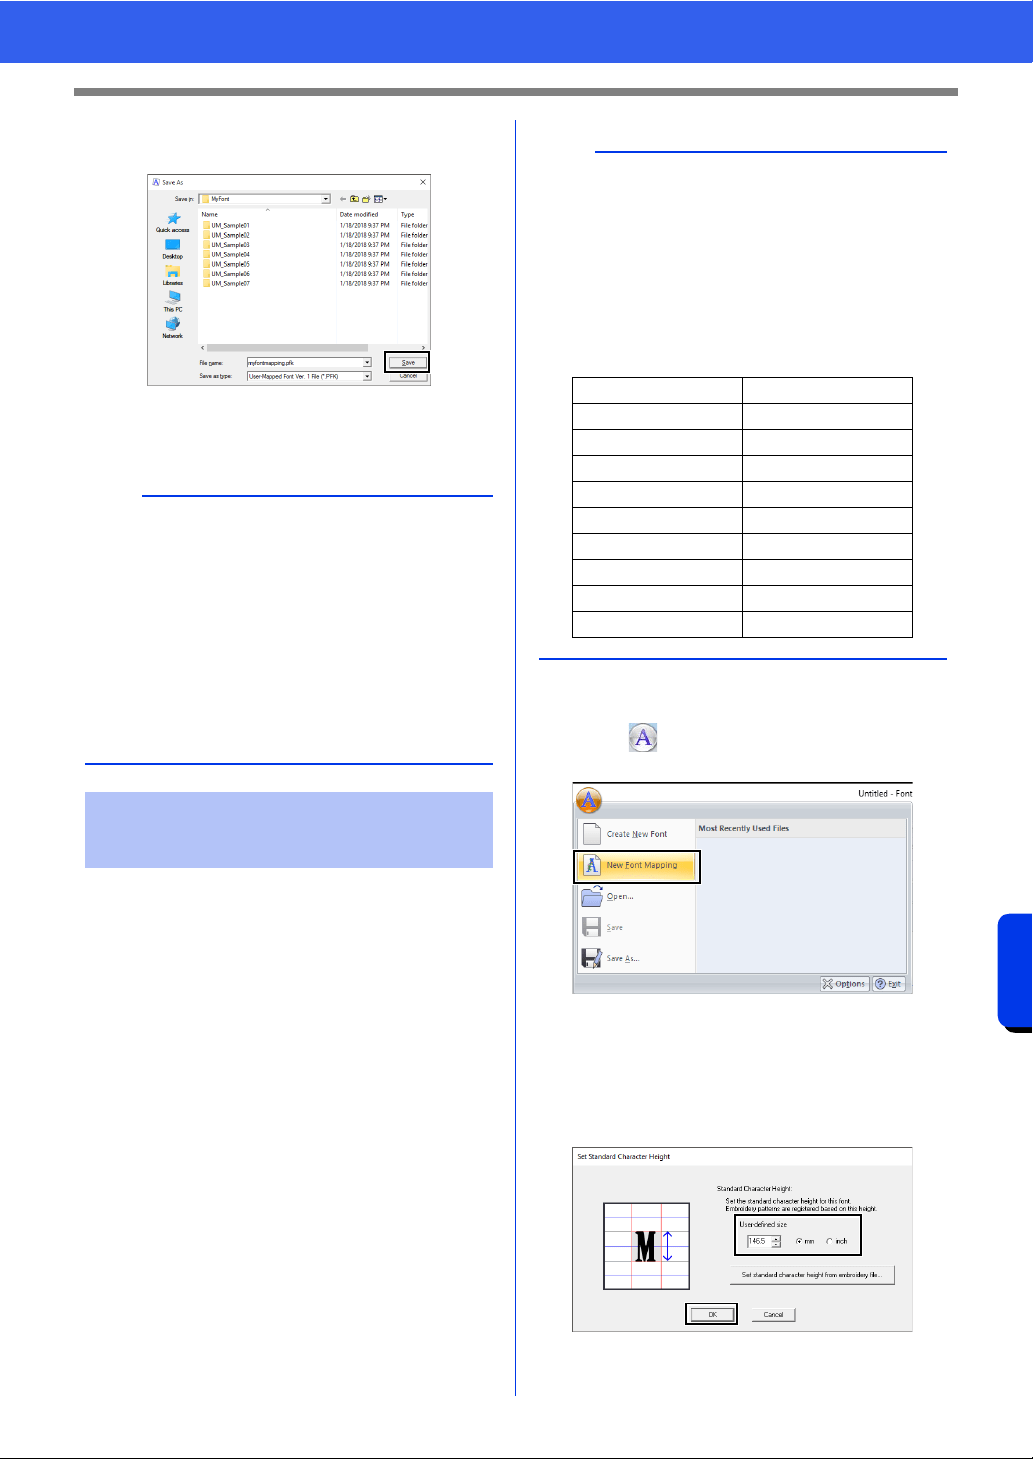
2 Start up Font Creator.
3 Click , and then select [New Font
Mapping] from the command list.
The [Set Standard Character Height]
dialog box appears.
4 Specify the standard character height.
For this example, specify a character height of
146.5 mm, and then click [OK].
cc "Specifying the standard character
height" on page 330
a
• When the font character pattern is saved, text
can be entered with it in Layout & Editing.
cc "User-Mapped Text" on page 135
• If the pattern is saved in a different folder, it
cannot be edited in Layout & Editing.
• When a .pes file that contains user-defined
colors is registered, those colors appear as
[Basic Color] in Layout & Editing.
cc "Checking embroidery design information" on
page 99
Registering embroidery
data (batch registration)
b
Characters are registered according to the file
name of the embroidery data.
In order to differentiate uppercase and lowercase
letters, add "u_" at the beginning of file names for
uppercase letters, and "l_" at the beginning of file
names for lowercase letters (for example, u_A.pes
or l_a.pes).
For characters that cannot be used in file names,
specify their file names as shown below.
Character File name
\ s_bs
/s_sl
:s_cn
* s_as
? s_qm
" s_dq
<s_lt
> s_gt
|s_vb
Loading ...
Loading ...
Loading ...