Loading ...
Loading ...
Loading ...
135
Creating Embroidery Patterns Containing Text
User-Mapped Text
User-Mapped Text
■ Entering user-mapped text
1 Register the embroidery data with Font
Creator.
cc "Registering Embroidery Data as a Font"
on page 330
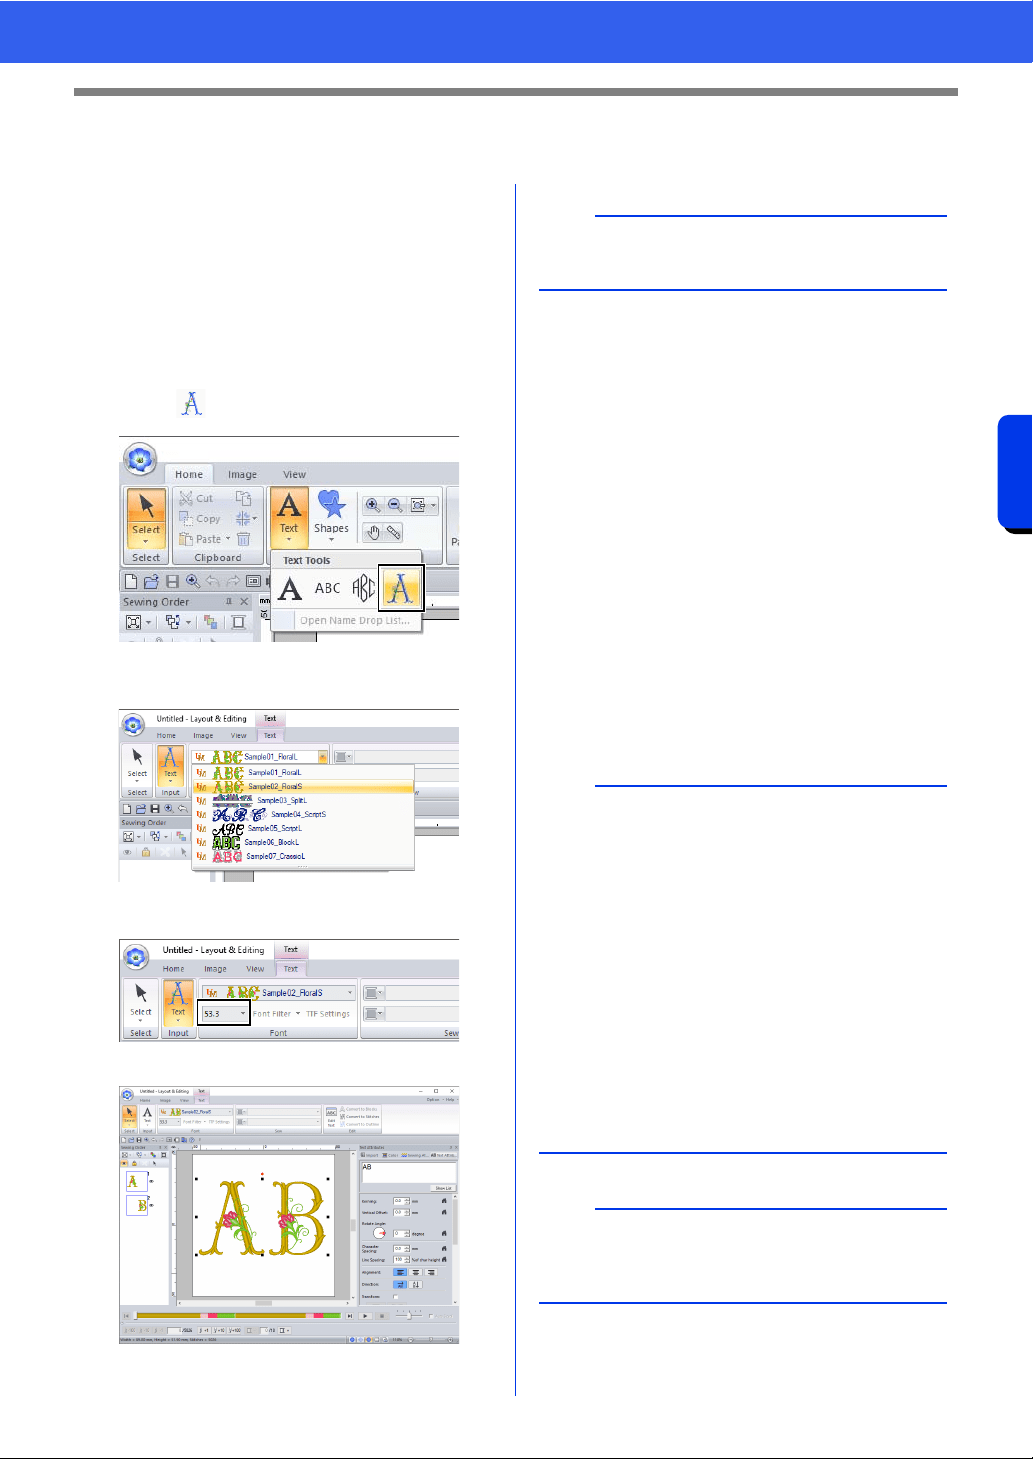
2 Click the [Home] tab.
3 Click [Text] in the [Tools] group, and then
click .
4 Click the [Font] selector, and then select the
desired font.
The standard character height for the
selected font appears.
5 Enter the text.
cc "Entering text" on page 117
The settings for all user-mapped text attributes
except the font are specified in the same way that
they are specified for regular text patterns.
However, with user-mapped text, the following
parameters, commands or operations cannot be
used.
• Sew type
• Sewing Attributes
• Font Filter
• TTF Settings
• Convert to Blocks
• Convert to Outline
• Some editing of individual characters
• Name Drop
• Changing colors
• Some transform functions
b
The [Text] tab appears when a user-mapped text
pattern or the User-mapped text tool is selected.
b
• To edit entered user-mapped text, select the
user-mapped text with the [Select] tool, and
then type the new text into the text field in the
[Text Attributes] pane. There are three other
ways to edit text.
cc "Editing entered text" on page 118
• To change the color of text, perform either of the
following operations.
Click [Convert to Stitches] on the [Text] tab
to convert the text pattern to a stitch pattern
whose thread colors can be changed.
However, the text data will no longer be
available.
Change colors in the embroidery data of the
original .pes file.
a
Enlarging or reducing user-mapped text from the
standard character height may reduce the
embroidery quality.
Loading ...
Loading ...
Loading ...