Loading ...
Loading ...
Loading ...
143
Creating Embroidery Patterns Using Images
Tutorial 6-1: Auto Punch
Tutorial 6-1: Auto Punch
In this section, we are going to use the Auto Punch function to automatically create an embroidery pattern from
an image. This creates an embroidery pattern from shapes and colors in the image.
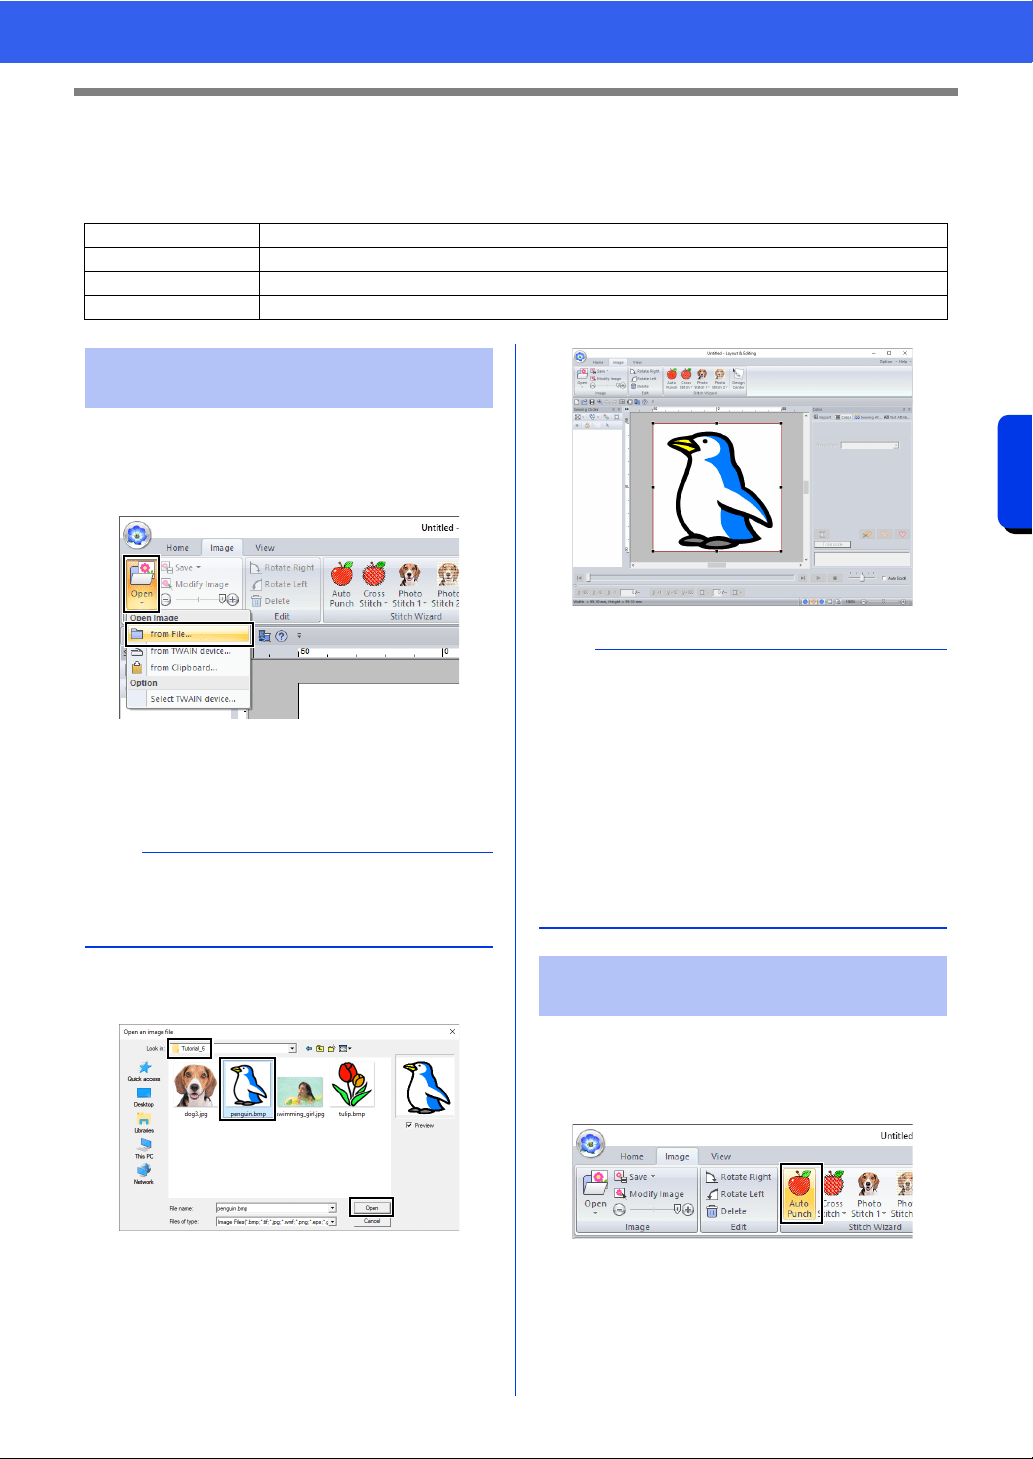
1 Click the [Image] tab.
2 Click [Open] in the [Image] group, and then
click [from File].
3 Double-click the [Documents (My
documents)\PE-DESIGN
11\Tutorial\Tutorial_6] folder to open it.
4 Select the file [penguin.bmp], and then click
[Open], or double-click the file's icon.
The image appears in the work area.
1 Click the [Image] tab.
2 Click [Auto Punch] in the [Stitch Wizard]
group.
Step 1 Importing image data into Layout & Editing
Step 2 Starting the Auto Punch wizard
Step 3 Applying an image mask and adjusting its size and position
Step 4 Creating a border from the mask outline and converting to an embroidery pattern
Step 1 Importing image data into
Layout & Editing
b
When this application is installed, the [PE-
DESIGN 11] folder is installed in the Documents
folder.
b
• Images with few and distinct colors work best
with [Auto Punch].
• Repeat steps
1 to 4 to choose another picture
image.
For details on other procedures, refer to the
following.
cc
f of "Select Mask dialog box" on page 159
• You can import picture images from a scanner,
or clipboard, and import that image.
cc "Importing Image Data" on page 163
Step 2 Starting the Auto Punch
wizard
Loading ...
Loading ...
Loading ...