Loading ...
Loading ...
Loading ...
302
Programmable Stitch Creator
Creating Fill/Stamp Stitch Pattern
1 Click the [Home] tab.
2 Click [Draw Line] in the [Tools] group.
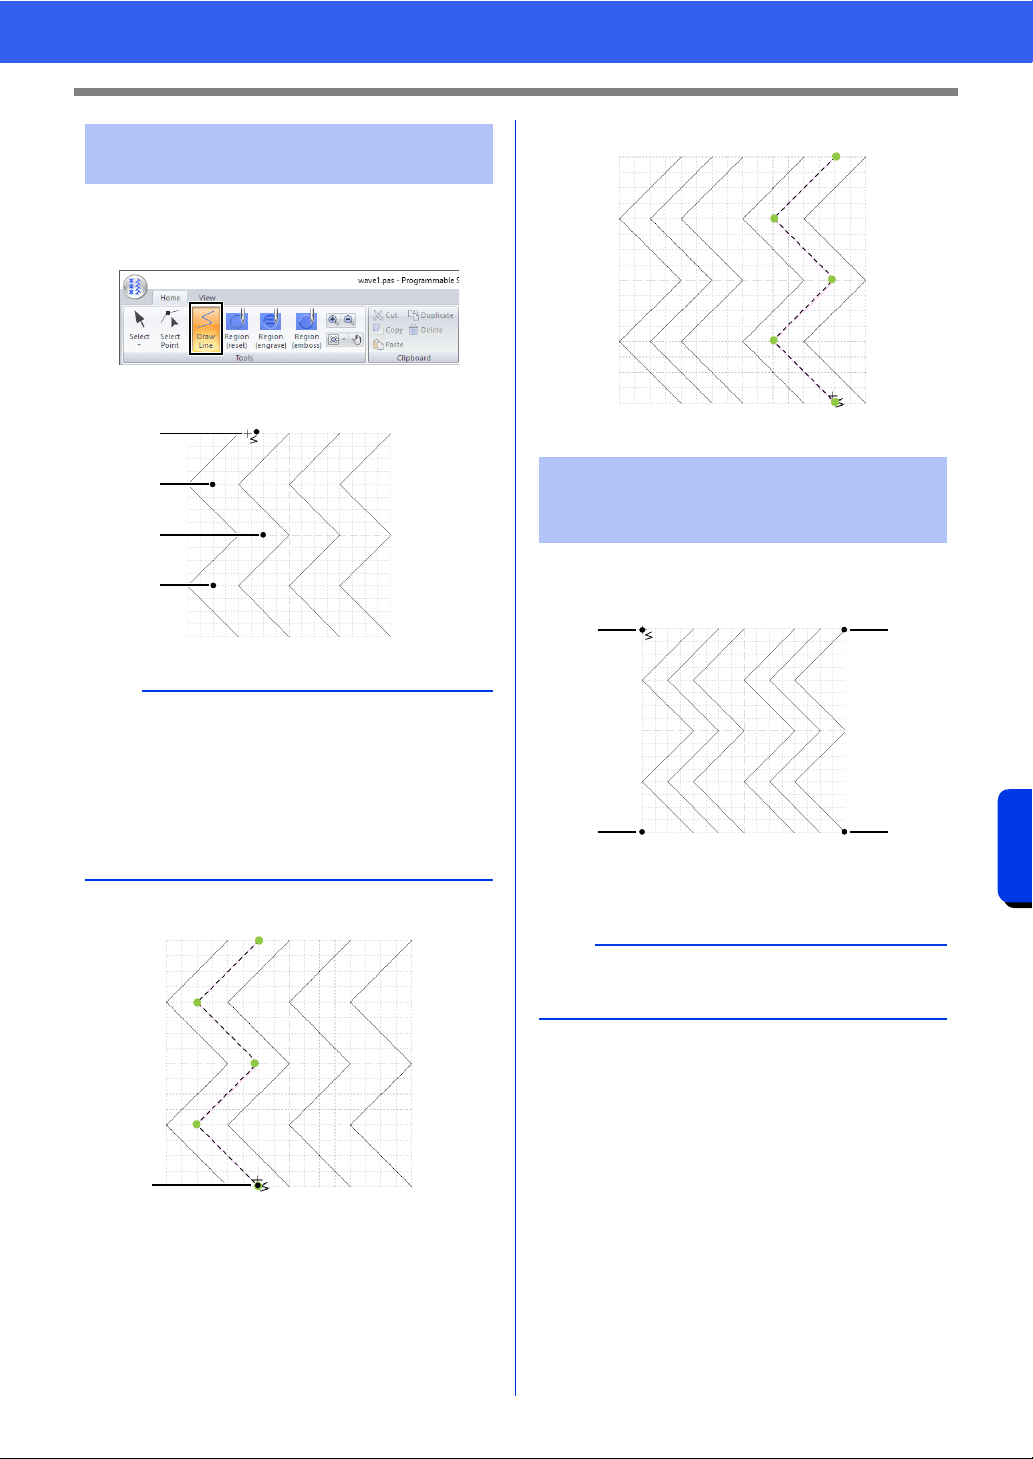
3 Click points (1) through (4).
4 Double-click (5) (end point).
5 Repeat the previous operations.
1 Click (1), and then double-click (2).
Next, click (3), and then double-click (4).
Lines are drawn along the top and bottom
edges of the Design Page.
Step 2 Drawing lines to edit the
fill/stamp stitch pattern
b
• To remove the last point that was entered, right-
click the mouse button.
cc "Reshaping a fill/stamp stitch patterns" on
page 305
• The grid width can be changed.
cc "Changing the grid settings" on page 319
1
2
3
4
5
Step 3 Applying embossing/
engraving effects to the
fill/stamp stitch pattern
b
In order to create an effect, the lines must form a
closed region.
12
43
Loading ...
Loading ...
Loading ...