Loading ...
Loading ...
Loading ...
312
Programmable Stitch Creator
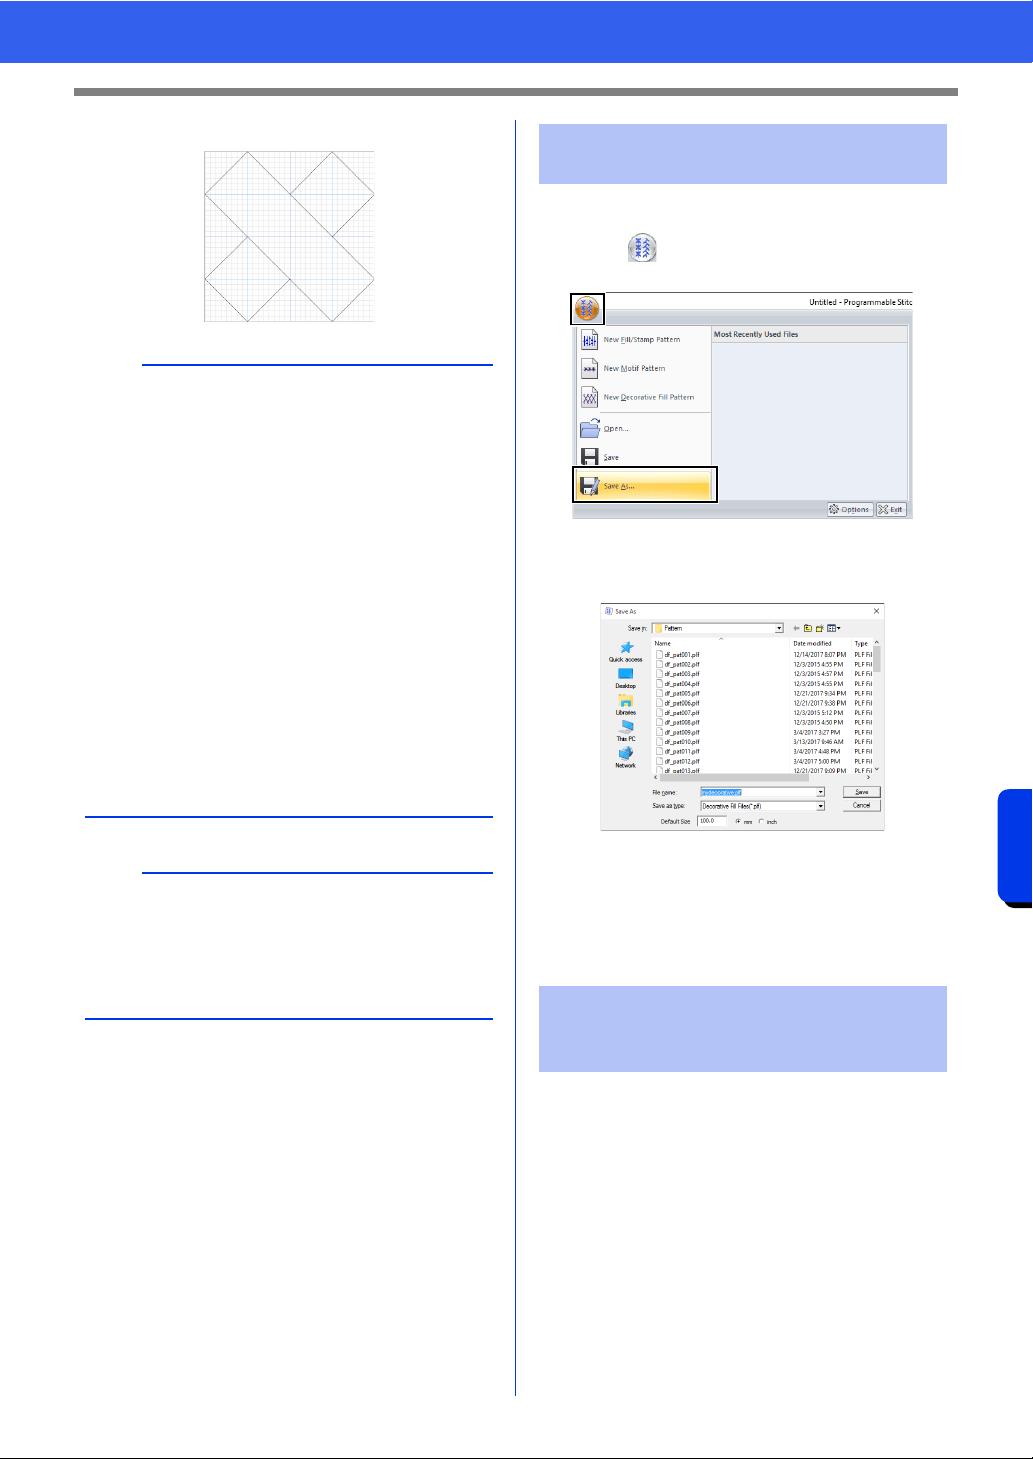
Creating a Decorative Fill Pattern
5 Enter all necessary points.
Decorative fill patterns are saved in the .plf format.
1 Click , and then select [Save As] from the
command list.
2 Select the destination, and then type in the file
name.
Specify the size beside [Default Size].
Click [mm] or [inch] to select the
measurement units.
3 Click [Save].
1 Start up Layout & Editing.
2 Select a shape.
3 From the [Region sew type] selector on the
[Shapes] tab of the Ribbon, select
[Decorative Fill Stitch].
4 Display the [Sewing Attributes] pane.
cc "Specifying sewing attributes" on
page 64
a
• In order to create patterns that will be cleanly
sewn without feeds between them, keep the
following in mind.
• Make sure that all lines in the pattern connect.
• Make sure that patterns can connect at the top
and bottom as well as at the left and right.
• Make sure that there are points at the top,
bottom, left and right where patterns can
connect.
•Use the [Preview] pane to check that patterns
are connecting at the top, bottom, left and
right.
cc "Preview Window" on page 317
• Use the guidelines to easily align the locations
of points on the top, bottom, left and right
edges.
cc "Changing the guideline settings" on
page 319
b
• The editing procedures for Decorative fill mode
are the same as in Fill/Stamp mode. However,
region settings cannot be specified.
cc "Editing a Pattern in Fill/Stamp Mode" on
page 305
Step 3 Saving an edited
decorative fill pattern
Step 4 Using an edited
decorative fill pattern in
Layout & Editing
Loading ...
Loading ...
Loading ...