Loading ...
Loading ...
Loading ...
– 43 –
Chapter 3 Preparation — Preparing for audio input
Preparing for audio input
Prepare the camera for connecting audio input devices.
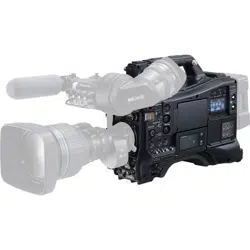
Using the front microphone
Microphones such as the stereo microphone kit AJ-MC900G (optional) can be mounted.
Viewfinder
Microphone holder
<MIC IN> terminal
Viewfinder clamping screw
Fig. 1 Fig. 2 Fig. 3
1
Open the microphone holder. (Fig. 1)
2
Mount the microphone and tighten the viewfinder clamping screw. (Fig. 2)
Mount with the UP indication on the microphone facing up.
3
Connect the microphone cable to the <MIC IN> terminal on the camera. (Fig. 3)
4
Switch the <AUDIO IN CH1> to <AUDIO IN CH4> switches to <FRONT> in accordance to the audio channel to record.
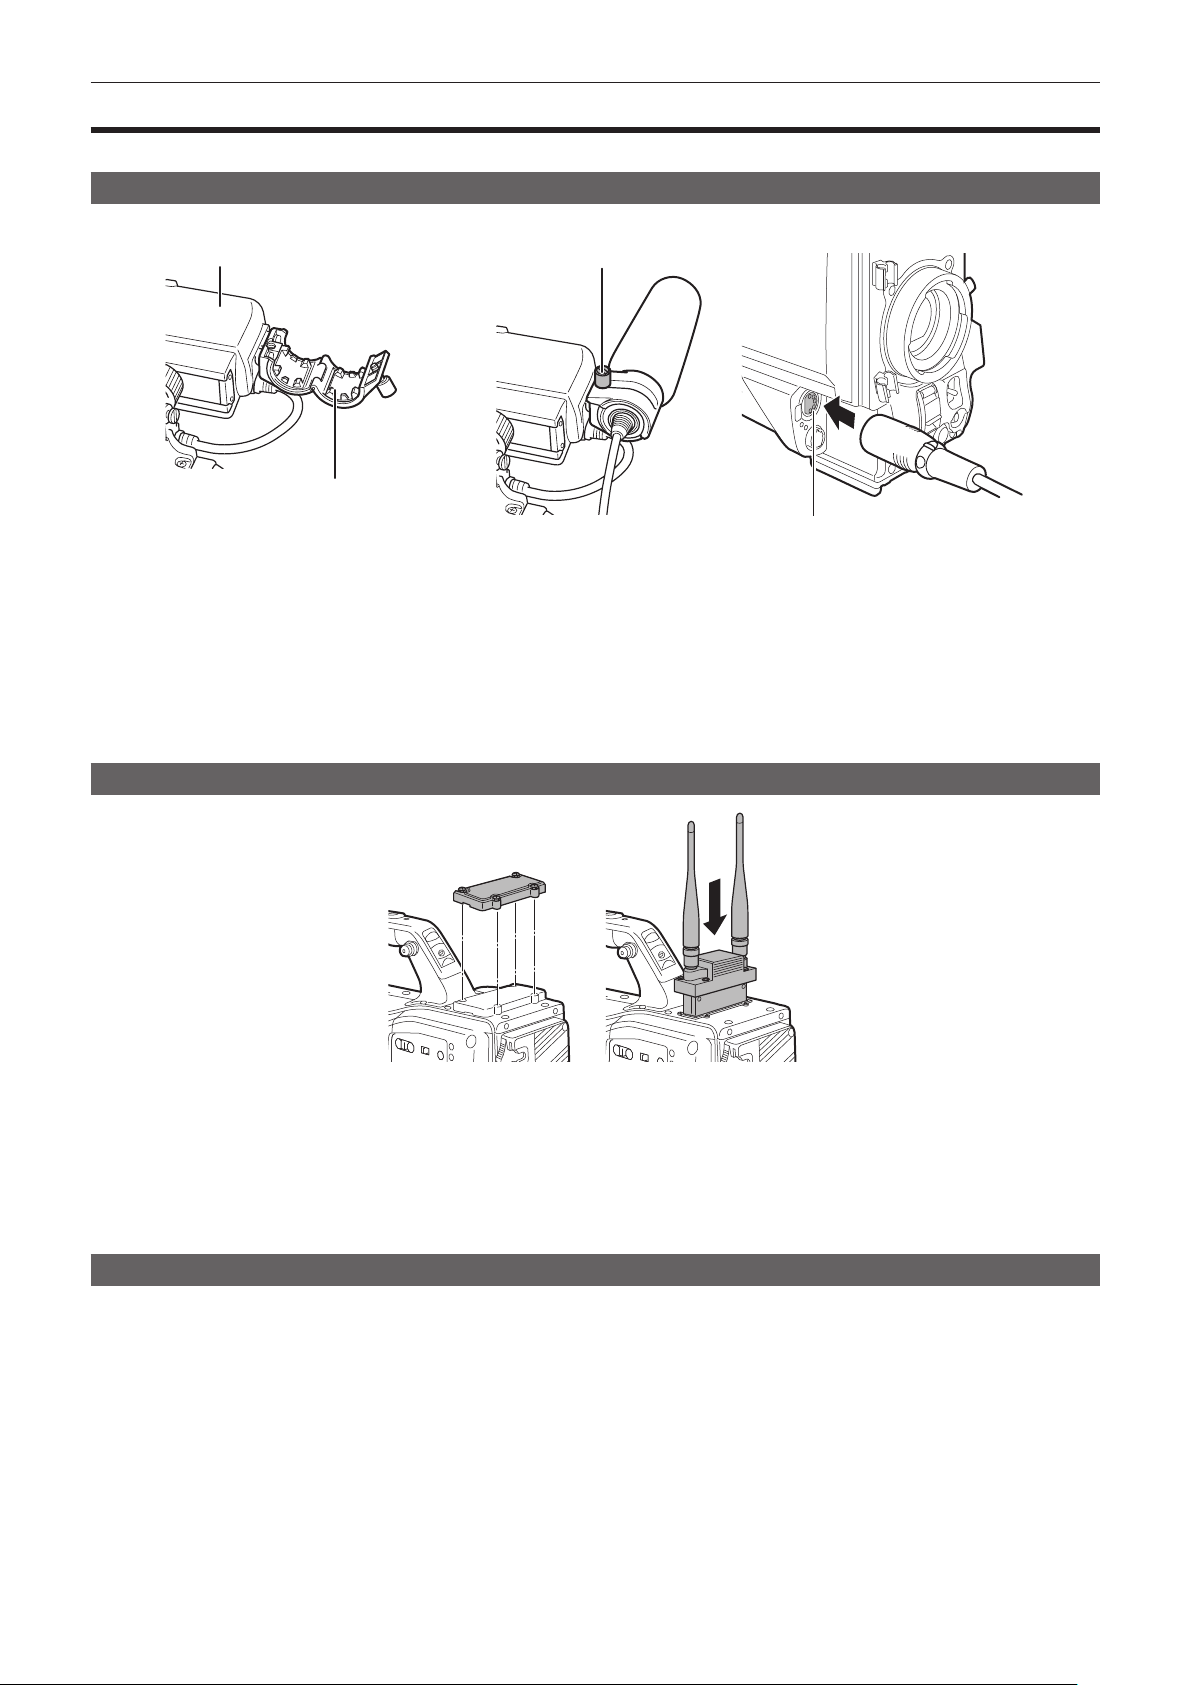
Using the wireless microphone receiver
Fig. 1
1
Remove the cover to insert the wireless microphone receiver and secure it with the screws. (Fig. 1)
2
Switch the <AUDIO IN CH1> to <AUDIO IN CH4> switches to <W.L.> in accordance to the audio channel to record.
3
When using the 2-channel wireless microphone receiver, set to the [AUDIO] menu → [INPUT SETTINGS] → [WIRELESS TYPE] →
[DUAL].
Using audio devices
1
Connect the audio equipment to the <AUDIO IN CH1/3> or <AUDIO IN CH2/4> terminal of the camera with the XLR cable.
2
According to the channel the XLR cable is connected, set the <AUDIO IN CH1> to <AUDIO IN CH4> switches to <REAR>.
3
Set the <LINE>/<MIC> selector switch on the rear panel to <LINE>.
Loading ...
Loading ...
Loading ...