Loading ...
Loading ...
Loading ...
– 38 –
Chapter 3 Preparation — Mounting and adjusting the lens
Adjusting lens ange back
If images are not clearly focused at both telephoto and wide-angle positions during zoom operations, adjust the ange back (distance from the lens
mounting surface to the image formation surface).
Once adjusted, the ange back does not need to be readjusted until the lens is changed.
@
NOTE
t Refer to the lens operating instructions for guidance on adjustment methods and positions of lens parts.
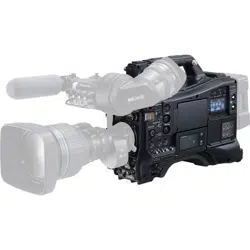
Approximately 3 m
1
Mount the lens on the camera.
Make sure to connect the lens cable.
2
Set the lens iris to manual, and fully open the iris.
3
Place the flange back adjustment chart approximately 3 m from the lens and adjust the lighting on the chart to obtain an
appropriate image output level.
If the image level is too high, use the lters or the shutter.
4
Loosen the F.f (Flange focus) ring clamping screw.
5
Set the zoom ring to the telephoto end position, either manually or by electric drive.
6
Aim the lens at the flange back adjustment chart and turn the distance ring to bring the chart into focus.
7
Set the zoom ring to the wide-angle end position and turn the F.f (Flange focus) ring to bring into focus.
At this time, do not move the distance ring.
8
Repeat steps 5 to 7 until the lens is in focus at both the telephoto and wide-angle positions.
9
Firmly tighten the F.f (Flange focus) ring clamping screw.
@
NOTE
t F.b (Lens ange back) ring may be indicated on some lenses as the F.f (Flange focus) ring.
White shading compensation function
Adjusting the white shading
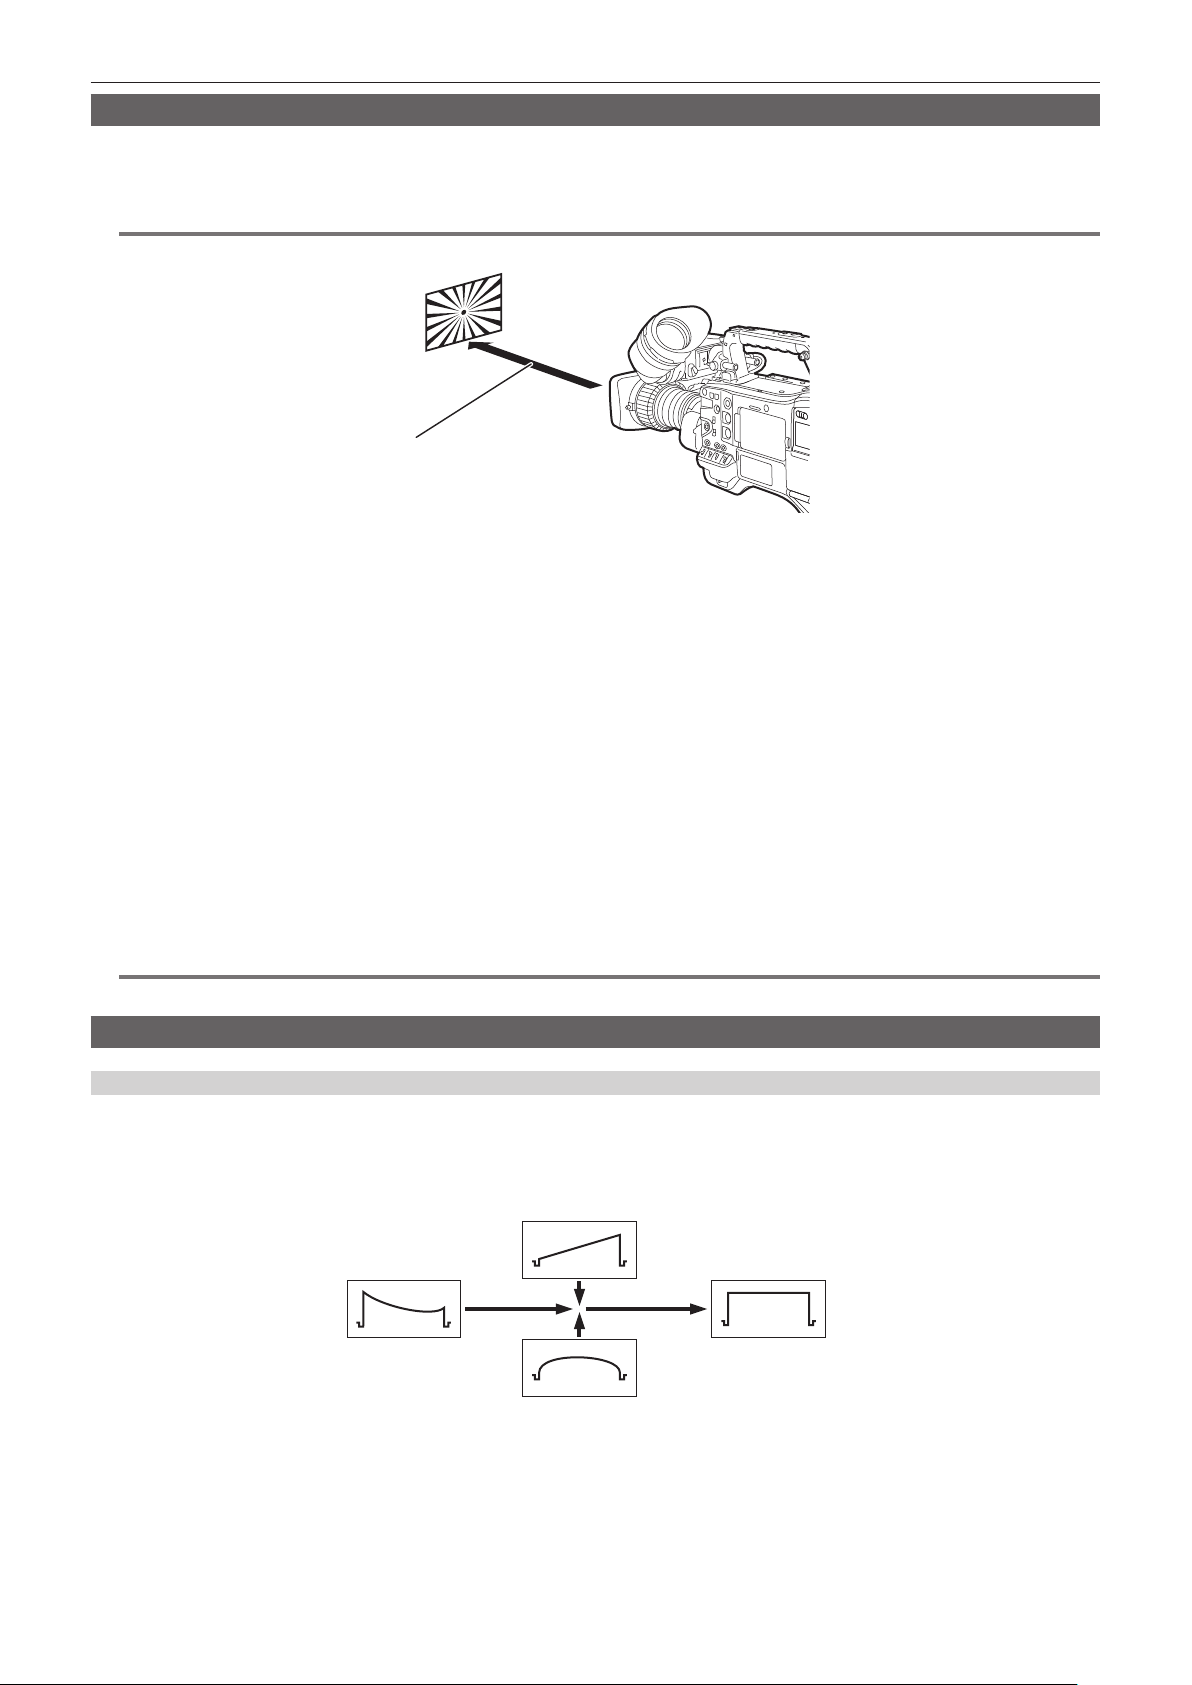
This is a method of combining the sawtooth shaped waveform and parabola waveform to compensate to a atter waveform based on the respective R,
G and B waveforms of the video signal.
We recommend adjusting the R, G and B waveforms in the horizontal and vertical directions while monitoring them on the waveform monitor.
Before adjusting the white shading, make sure to cancel [DS.GAIN] and [D.ZOOM] set to the USER button.
H SAW
H PARA
Before white shading
compensation
After white shading
compensation
1
Set the camera for adjustment.
1) Mount the lens on the camera.
f Make sure to connect the lens cable.
2) Set the <SHUTTER> switch to <OFF>, and the <GAIN> switch to <L> (0 dB).
3) If the lens is equipped with an extender function, release the extender function.
Loading ...
Loading ...
Loading ...