Loading ...
Loading ...
Loading ...
Getting Started
R&S
®
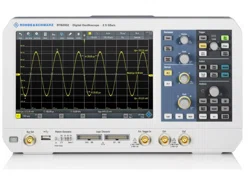
RTB2000
20User Manual 1333.1611.02 ─ 03
The nominal ranges are:
●
100 V to 240 V AC at 50 Hz to 60 Hz
●
0.95 A to 0.5 A
●
max. 60 W
Risk of injury
Connect the instrument only to an outlet that has a ground contact.
Do not use an isolating transformer to connect the instrument to the AC power supply.
1. Connect the power cable to the AC power connector on the rear panel of the
R&S RTB2000.
2. Connect the power cable to the socket outlet.
3. Switch the main power switch at the rear of the instrument to position I.
The STANDBY key lights up. The key is located in the bottom left corner of the
front panel.
You can leave the main power switch on to preserve your last instrument settings. To
disconnect from power supply, power off the instrument.
2.1.3.2 Starting Up and Shutting Down
To start up the instrument
1. Make sure that the R&S RTB2000 is connected to the AC power supply and the
main power switch on the rear panel is in position I.
2. Press the STANDBY key. The key is located in the bottom left corner of the front
panel.
The instrument performs a system check and starts the firmware. If the previous
session was terminated regularly, the oscilloscope uses the last settings.
Table 2-1: Colors of the STANDBY key
Green Instrument is on: firmware is working
Yellow Standby: instrument is off, main power switch is on
Warm-up and prepare the instrument
Make sure that the instrument has been running and warming up before you start the
self-alignment and the measurements. The minimum warm-up time is about 20 min.
Preparing for Use
Loading ...
Loading ...
Loading ...