Loading ...
Loading ...
Loading ...
73
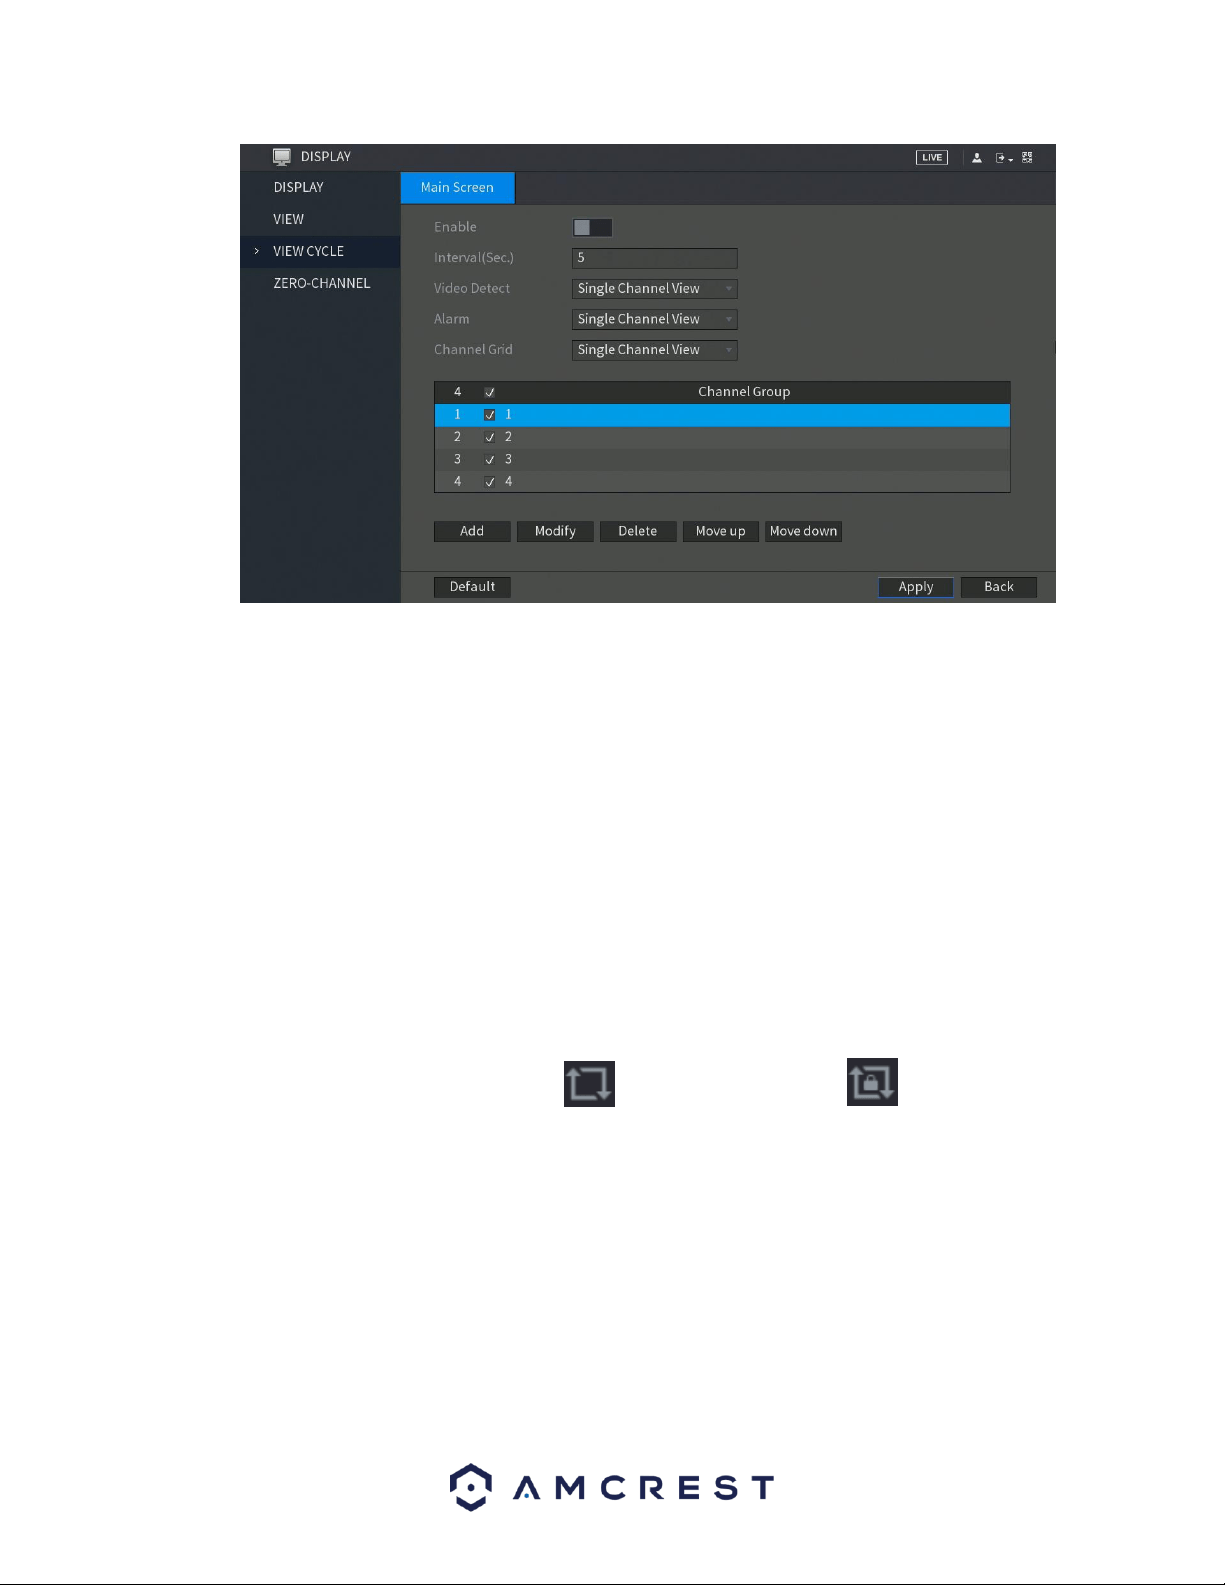
Below is an explanation of the fields on the Tour Setup settings screen:
• Enable: This checkbox allows the user to enable the tour functionality.
o An alternate way to enable or disable tour is by clicking on the navigation bar.
• Interval (Sec): Enter the amount of time that you want each channel group displays on the screen. The
value ranges from 5 seconds to 120 seconds, and the default value is 5 seconds.
• Video Detect: Select the View 1 or View 8 for Motion Detect tour and Alarm Tour (system alarm
events).
• Window Split: In the Window Split list, select View 1, View 4, View 8, or other modes that are
supported by the DVR.
o Add: This button allows the user to add a channel to the tour.
o Delete: This button allows the user to remove a channel from the tour.
o Move Up: This button allows the user to move a camera up in the tour queue.
o Move Down: This button allows the user to move a camera down in the tour queue.
Note: On the navigation bar, you can click to enable the tour and click to disable it.
4.11.3.1. Adding a Channel Group
This function provides you the ability for grouping together channels to more efficiently use the tour
options set up on the DVR. To utilize this function, enable the Enable toggle switch and click on the Add
button located in the Main Screen tab of the View Cycle menu. This will take you to the Add Group
interface.
Loading ...
Loading ...
Loading ...