Loading ...
Loading ...
Loading ...
61
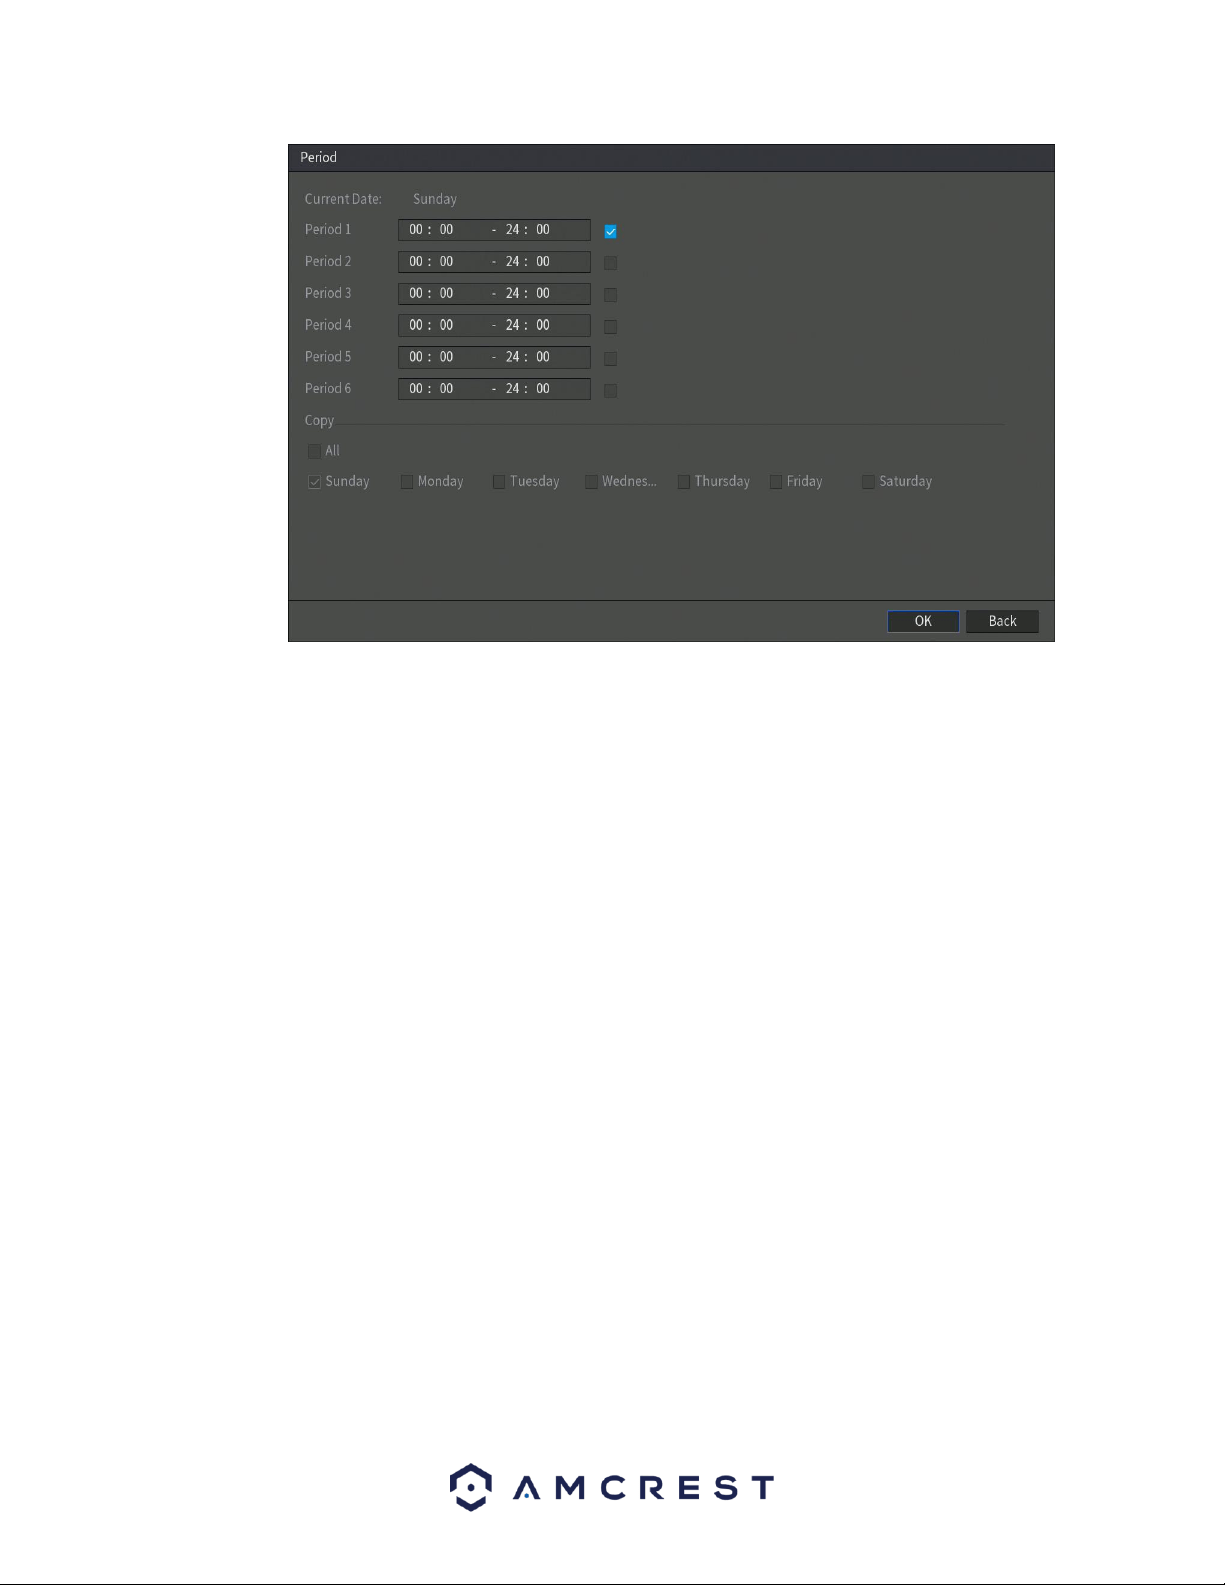
In the period interface, enter the time frame you would like to set as your period and select the
checkbox to enable the settings. There are a total of six periods that you can set for each day.
Under the Copy menu, you can apply these settings to all days of the week by checking the All
option or you can also select specific days as well. To save the settings in this menu, click OK to
continue.
• CAM Anti-Dither: This field allows the user to set the anti-dither time. The values in this field can range
from 5 to 600 seconds. This time value controls how long the alarm signal lasts. Based on motion
detection, a buzzer can go off, a tour can begin, PTZ can be activated, a snapshot can be taken, or a
channel can begin recording.
For example, if the anti-dither time is set to 10 seconds, each alarm may last 10 seconds if the local alarm
is activated. During the process, if the system detects another local alarm signal at the fifth second, the
buzzer, tour, PTZ activation, snapshot, record channel functions will begin another 10 seconds while the
screen prompt, alarm upload, email will not be activated again. After 10 seconds, if system detects
another alarm signal, it can generate a new alarm since the anti-dither time has expired.
• Show Message: This checkbox allows the user to enable the system to show an on-screen message
when a motion detection alarm is triggered.
• Alarm Upload: This checkbox allows the user to enable the system to upload alarm information when a
motion detection alarm is triggered.
• Send Email: This checkbox allows the user to enable the system to send an email when a motion
detection alarm is triggered.
Loading ...
Loading ...
Loading ...