Loading ...
Loading ...
Loading ...
152
4
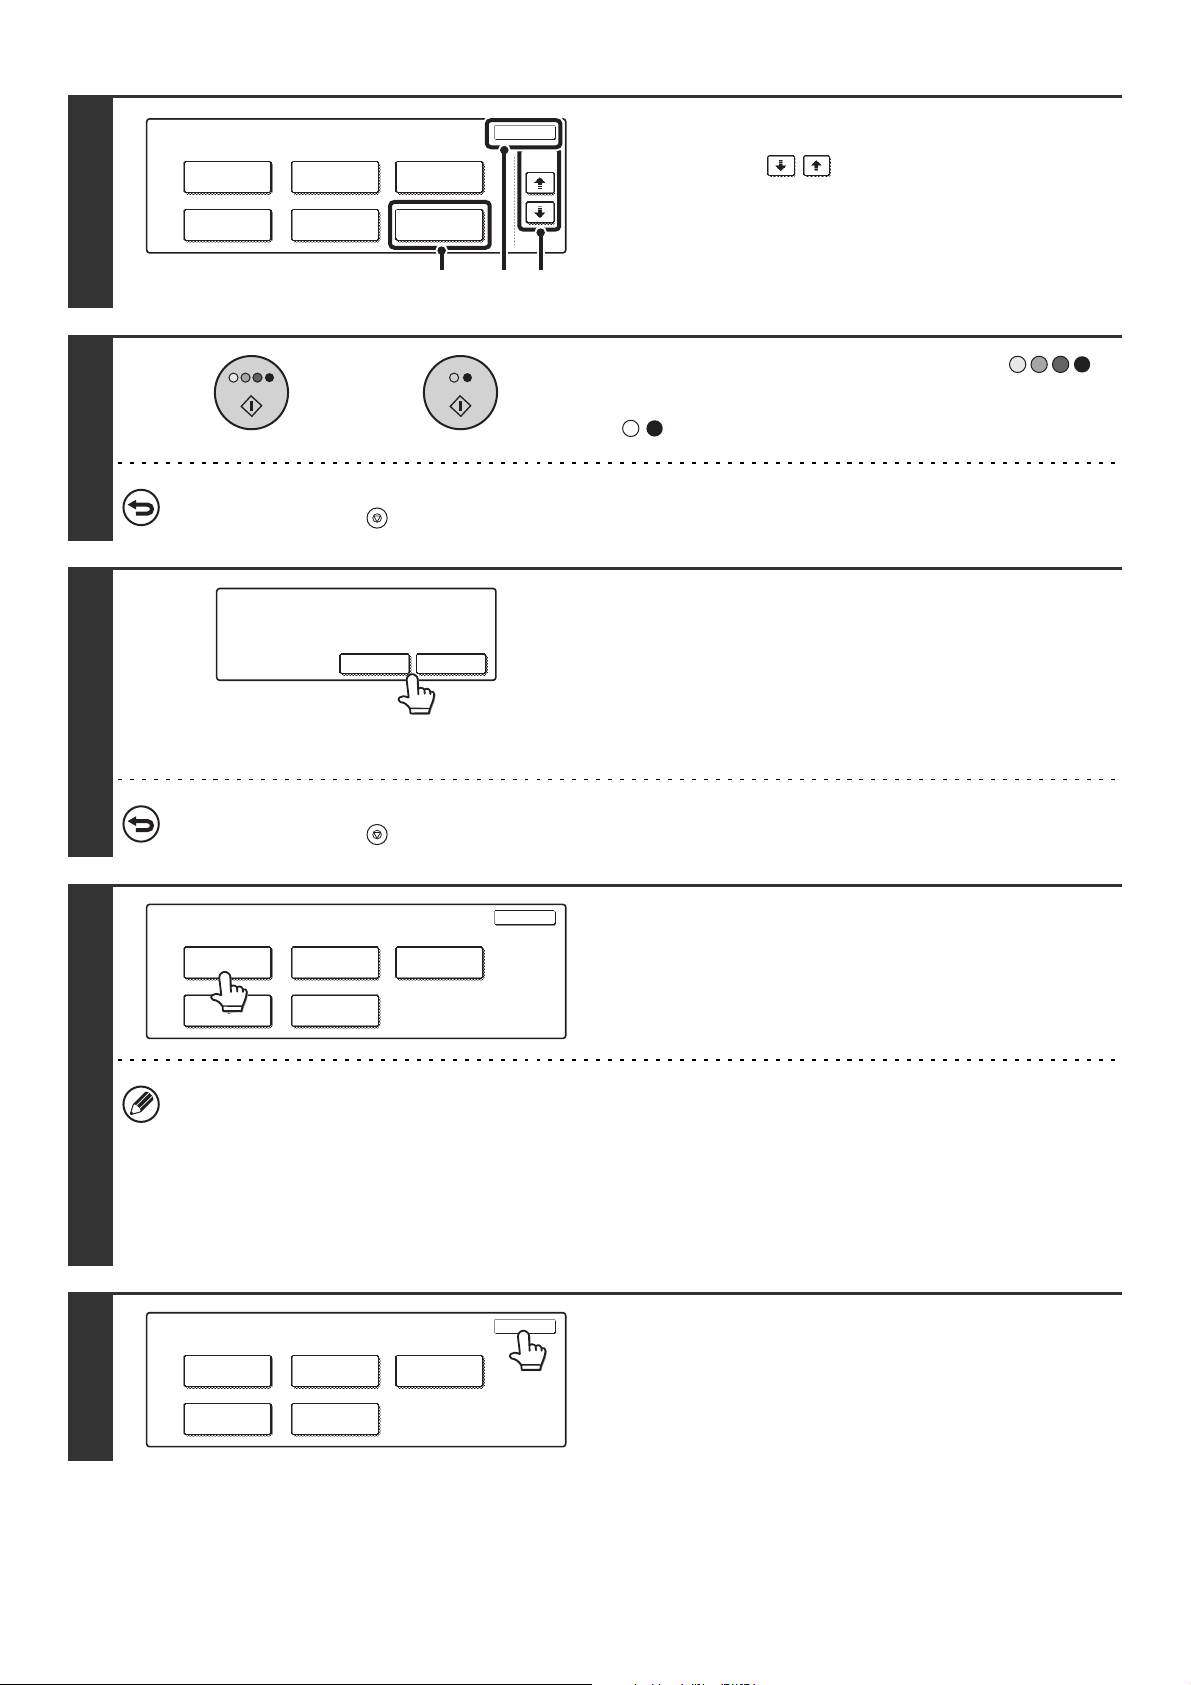
Select Proof Copy.
(1) Touch the keys to switch through
the screens.
(2) Touch the [Proof Copy] key.
(3) Touch the [OK] key.
5
Press the [COLOR START] key ( )
or the [BLACK & WHITE START] key
().
To cancel copying...
Press the [STOP] key ( ).
6
If there are no problems with the first set
that is printed, touch the [End] key. If
you need to make changes, touch the
[Change] key.
If the [End] key is touched, the remaining sets are printed.
If you touched the [Change] key, go to the next step.
To cancel copying...
Press the [STOP] key ( ).
7
Select the settings that you wish to
change.
After changing a setting, touch the [OK] key in that screen. You
will return to this screen.
• Special modes that can be adjusted are "Margin Shift", "Pamphlet Copy", "Tandem Copy", "Covers/Inserts",
"Transparency Inserts", "Multi Shot", and "Stamp".
• For "Pamphlet Copy", "Covers/Inserts", and "Multi Shot", only changes to the settings of those functions can be
made; neither of these functions can be newly added or deleted.
• For the transparency insert function, settings can be changed and the function can be newly added when changes
are made to the settings; however, if the transparency insert function has been previously selected, it cannot be
canceled.
8
Touch the [OK] key.
Special Modes
OK
Stamp
Quick File
Image Edit
File
Color
Adjustments
Proof Copy
3/4
(1)(2) (3)
or
Press [End] to continue.
To make a proof copy again, press
[Start].
Change End
Proof Copy
OK
Color Mode
Output
Paper Select
Special
Modes
2-Sided Copy
Proof Copy
OK
Color Mode
Output
2-Sided Copy
Paper Select
Special
Modes
Loading ...
Loading ...
Loading ...