Loading ...
Loading ...
Loading ...
38
MAC OS 9.0 TO 9.2.2
1
Insert the "Software CD-ROM" into your
computer's CD-ROM drive.
Insert the "Software CD-ROM" that shows "Disc 2" on the
front of the CD-ROM.
2
Double-click the [CD-ROM] icon ( ) on
the desktop.
3
Double-click the [MacOS] folder.
4
Double-click the [Installer] icon ( ).
5
Click the [Install] button.
6
The License Agreement window will
appear. Make sure that you understand
the contents of the license agreement
and then click the [Yes] button.
7
Read the message in the window that
appears and click the [Continue]
button.
Installation of the PPD file begins.
After the installation, a message prompting you to restart
your computer will appear. Click the [OK] button and
restart your computer.
This completes the installation of the software. Next,
configure the printer driver settings.
8
Select [Chooser] from the Apple Menu.
9
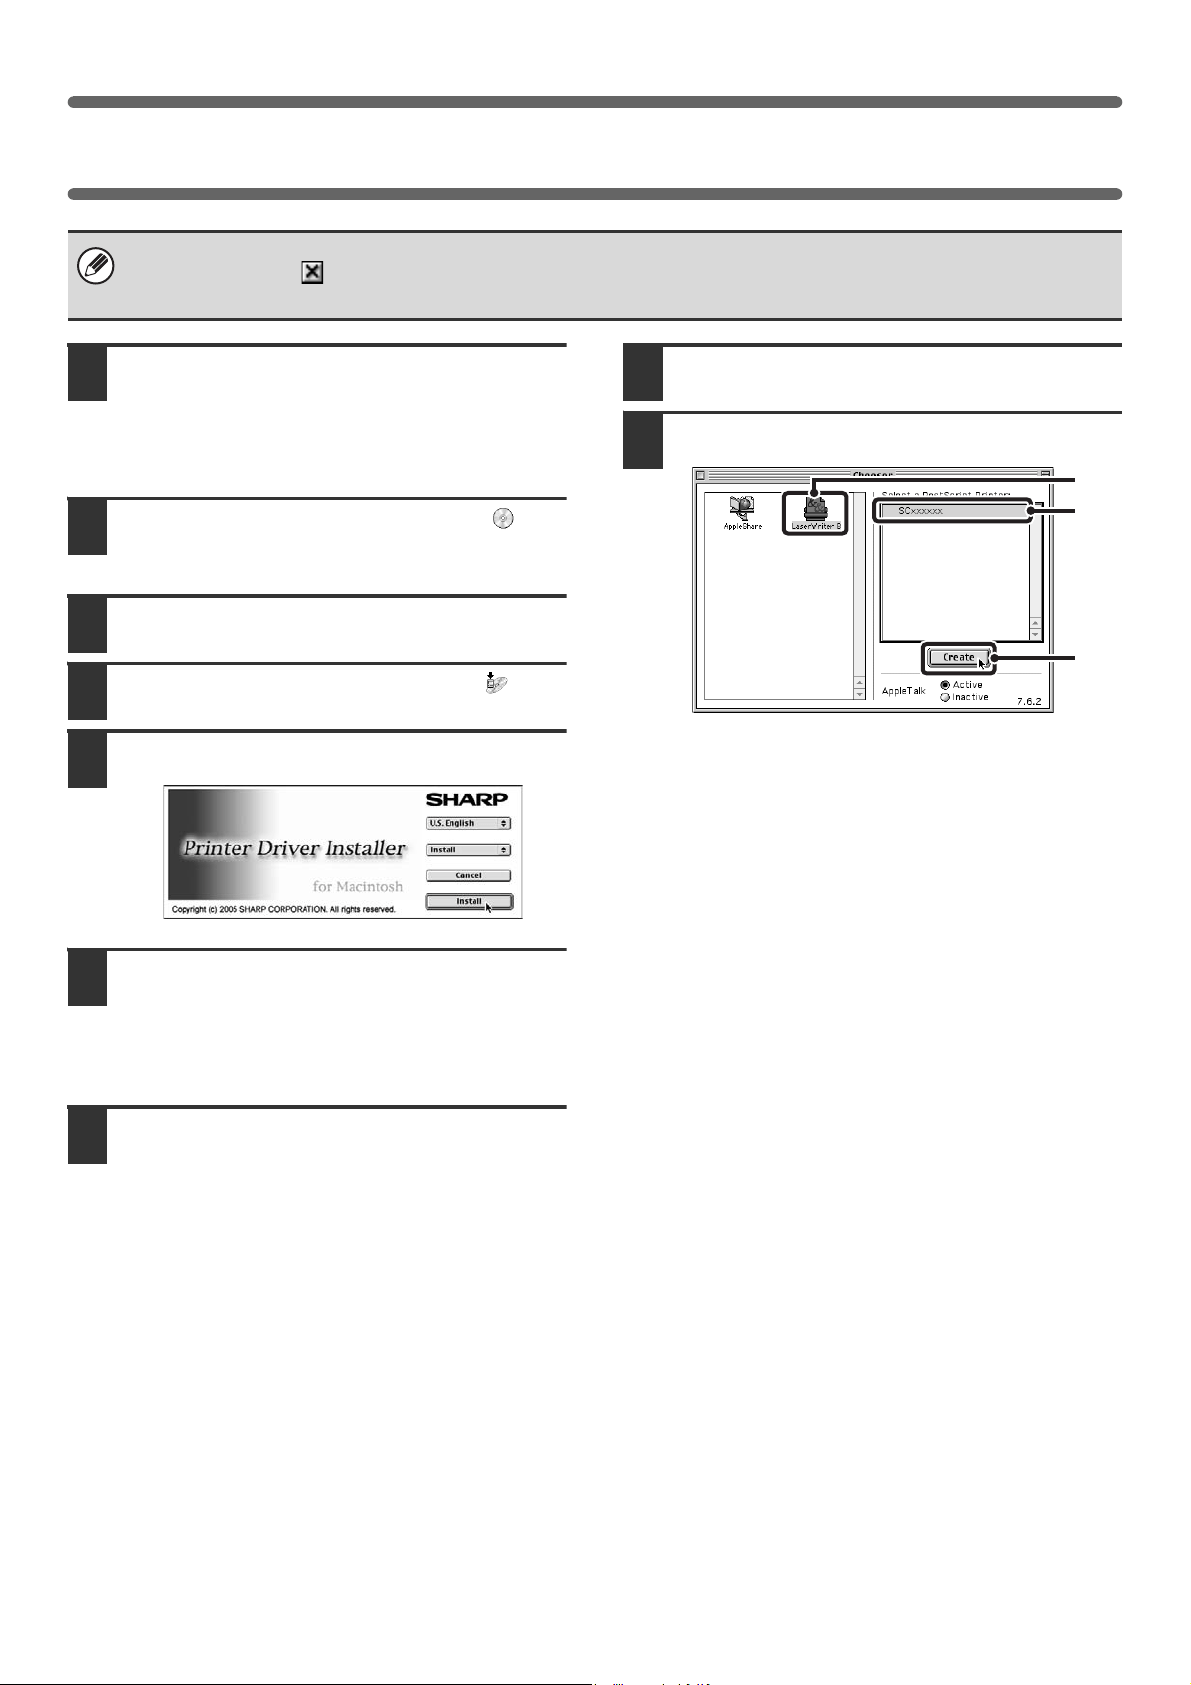
Create a printer.
(1) Click the [LaserWriter 8] icon.
If multiple AppleTalk zones are displayed, select the
zone that includes the printer.
(2) Click the machine's model name.
The machine's model name usually appears as
[SCxxxxxx]. ("xxxxxx" is a sequence of characters
that varies depending on your model.)
(3) Click the [Create] button.
If you are using Mac OS 9.0 to 9.2.2, make sure that "LaserWriter 8" has been installed and that the "LaserWriter 8"
checkbox is selected in "Extensions Manager" in "Control Panels". If not, install it from the system CD-ROM supplied with
your Macintosh computer.
(2)
(3)
(1)
!mx4500_us_ins.book 38 ページ 2005年10月31日 月曜日 午前11時57分
Loading ...
Loading ...
Loading ...