Loading ...
Loading ...
Loading ...
36
MAC OS X (v10.1.5)
If Mac OS X v10.1 has not been updated to version 10.1.5, be sure to update to version 10.1.5 before installing the PPD
file. For information on how to update, see the Help file on your Macintosh computer.
1
Insert the "Software CD-ROM" into your
computer's CD-ROM drive.
Insert the "Software CD-ROM" that shows "Disc 2" on the
front of the CD-ROM.
2
Double-click the [CD-ROM] icon ( ) on
the desktop.
3
Double-click the [MacOSX] folder.
4
Double-click the [Version 10.1] folder.
5
Double-click the [MX-PBX1] icon ( ).
6
Click the [Continue] button.
7
The License Agreement window will
appear. Make sure that you understand
the contents of the license agreement
and then click the [Continue] button.
A message will appear asking you if you agree to the
terms of the license. Click the [Agree] button.
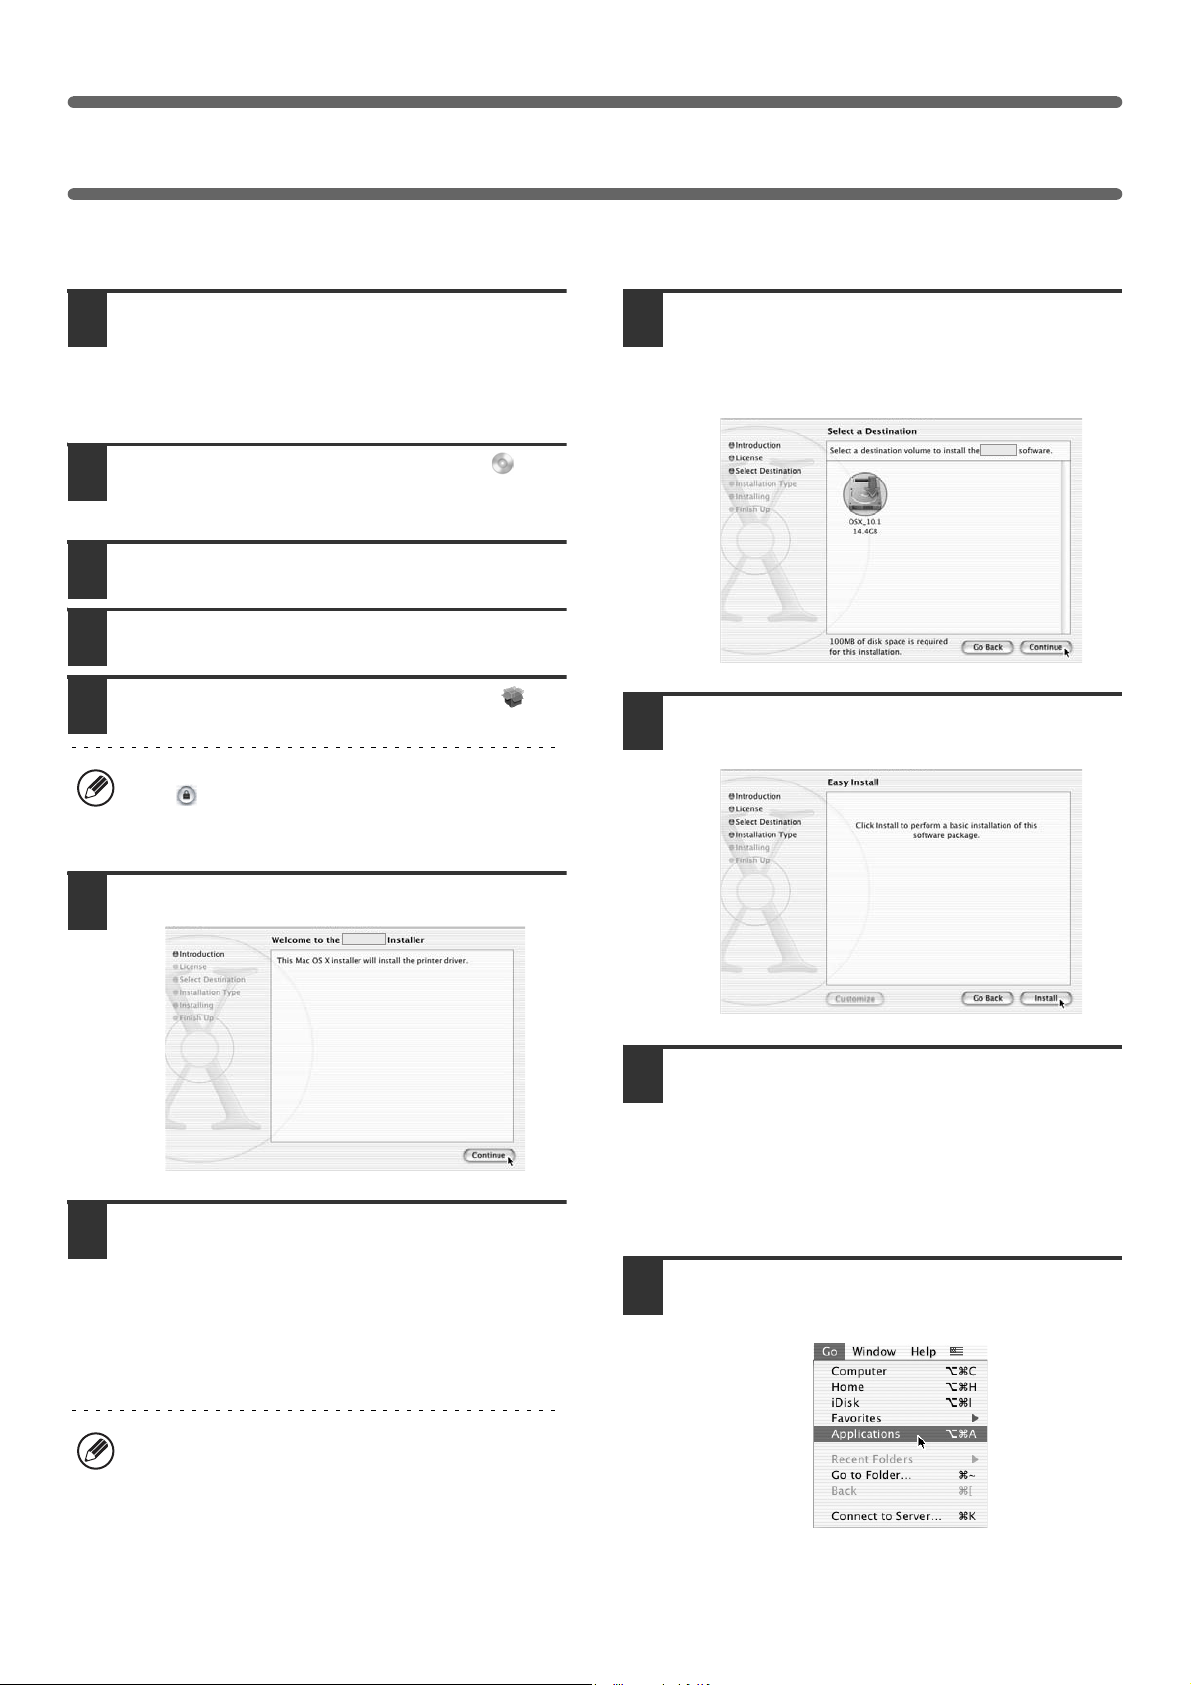
8
Select the hard drive where the PPD file will
be installed and click the [Continue] button.
Be sure to select the hard drive on which your operating
system is installed.
9
Click the [Install] button.
Installation begins.
10
When the message "The software was
successfully installed" appears in the
installation window, click the [Close] button.
This completes the installation of the software. Next,
configure the printer driver settings.
11
Select [Applications] from the [Go]
menu.
If the "Authorization" window appears, click the lock
icon ( ), enter the password, and click the [OK]
button.
If the license appears in the different language,
change the language in the language menu.
!mx4500_us_ins.book 36 ページ 2005年10月31日 月曜日 午前11時57分
Loading ...
Loading ...
Loading ...