Loading ...
Loading ...
Loading ...
183
Print Style Setting
This setting determines the paper selection condition
when printing received faxes. Select one of the three
conditions below.
[Print Actual Size Cut off Disabled]
The received fax image is printed at full size without
dividing it onto multiple sheets of paper. If the same
size of paper or larger paper is not loaded, the fax will
be received in memory and will not be printed until a
suitable size of paper is loaded.
However, if the received fax is longer than 11" x 17"
(A3) size, it will be automatically divided onto multiple
sheets of paper.
[Print Actual Size Cut off Enabled]
Each received image is printed at full size. If
necessary, the image is divided onto multiple sheets
of paper.
[Auto Size Select]
Each received image is printed at full size when
possible. When not possible, the image is
automatically reduced before printing.
Touch the key of the desired paper selection condition
and touch the [OK] key.
Set the Telephone Number for Data
Forwarding
When a problem prevents the machine from printing a
received fax, the received fax can be forwarded to
another fax machine. This setting is used to program the
fax number of the destination fax machine. Only one
forwarding fax number can be programmed (maximum
of 64 digits).
Enter the forwarding fax number with the numeric keys.
To insert a pause between digits of the number, touch
the [Pause] key.
If you wish to specify an F-code confidential memory box
in the destination machine, touch the [Sub Address] key
after entering the fax number and enter the F-code
(sub-address and passcode).
A3 RX Reduce
When this program is enabled and an A3 size fax is
received, the fax is reduced to letter width before
printing.
When the program is enabled, W letter is considered to
be the same size as A3, thus W letter faxes are also
reduced before printing.
To enable this setting, select the checkbox and
touch the [OK] key.
Anti Junk Fax Setting
This setting is used to block fax reception from specified
fax numbers (anti junk fax numbers).
Up to 50 anti junk fax numbers can be stored.
To enable the Anti Junk Fax setting, touch the [Enable]
key. To disable the setting, touch the [Disable] key. After
selecting the setting, touch the [OK] key.
1
Touch the [Enter] key.
2
Press the numeric keys to store the fax
number.
Up to 20 digits can be entered.
To store another fax number, touch the [Next] key and
enter the number.
3
Touch the [OK] key.
1
Touch the [Delete] key.
2
Touch the key of the number that you
wish to delete.
3
Touch the [Yes] key.
4
Touch the [OK] key.
System Settings
Set the Telephone Number for Data Forwarding
Enter the dial number of data recipient via the 10-key pad.
Pause
Sub Address
OK
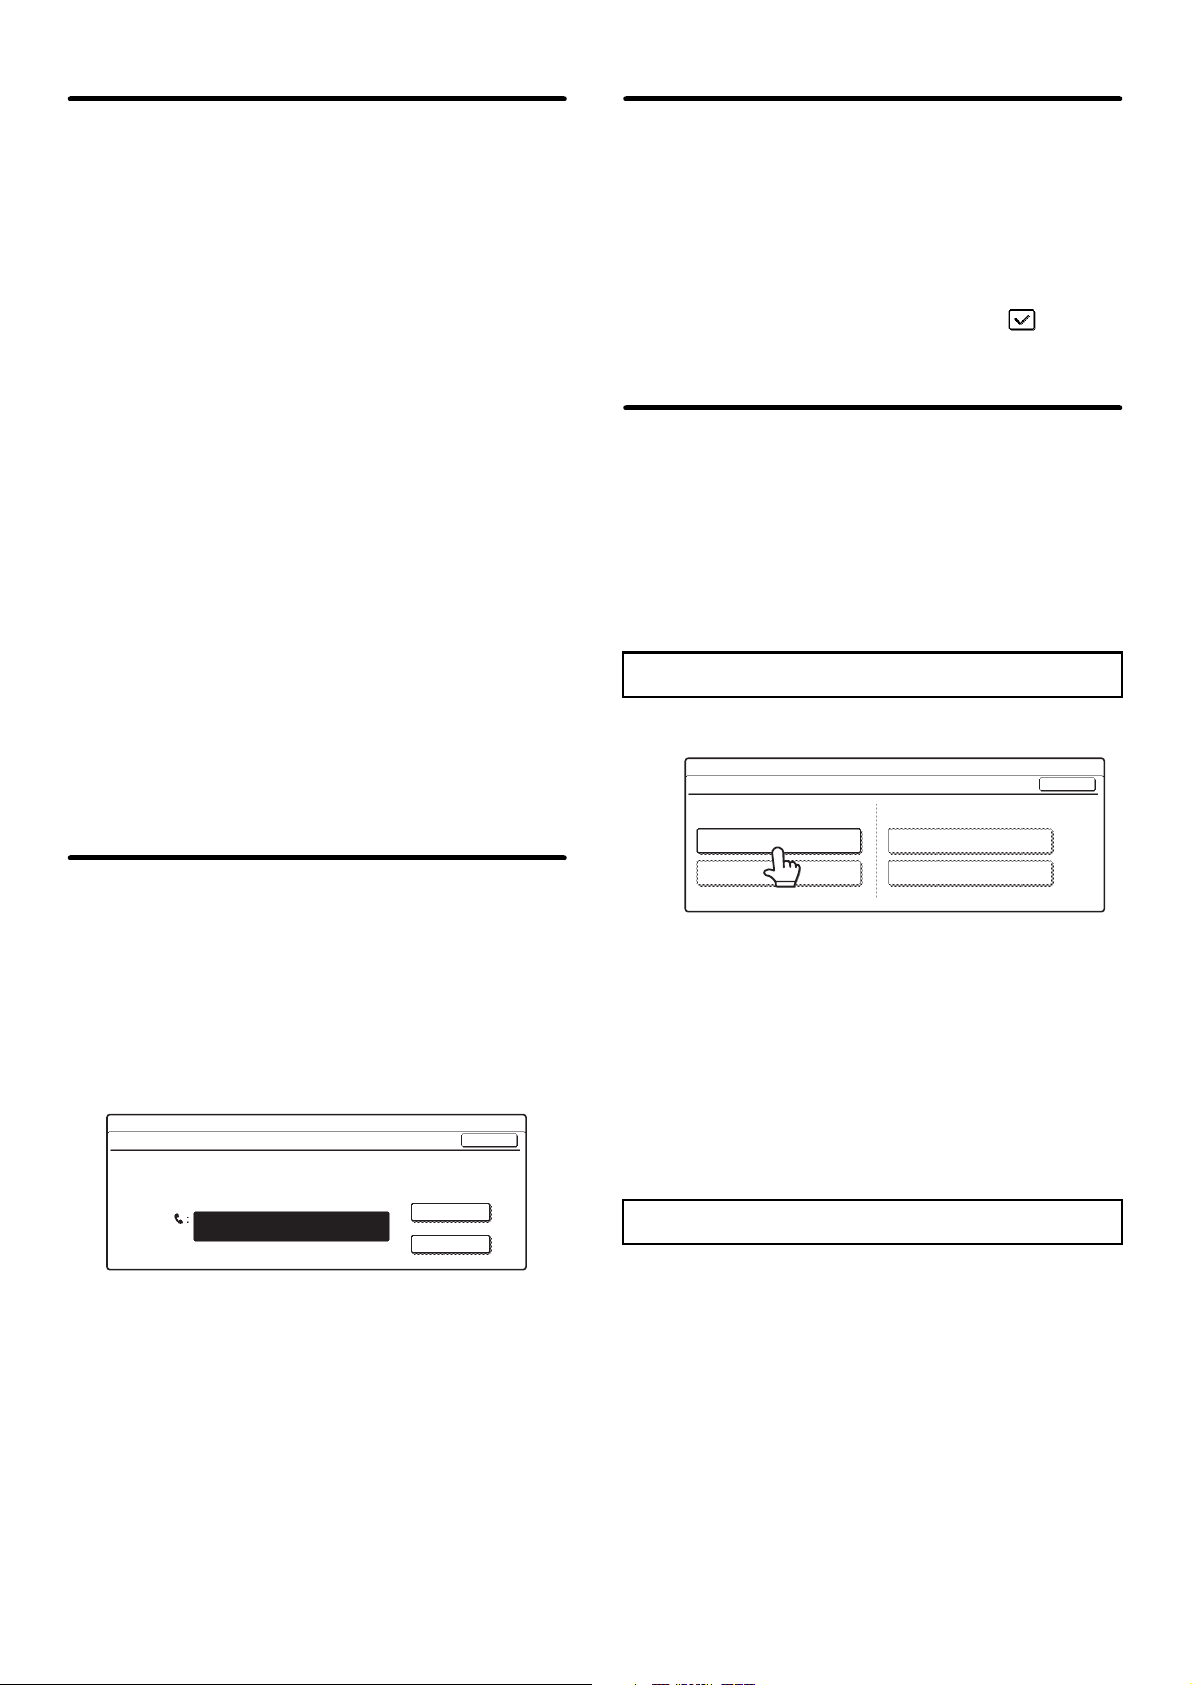
Entering anti junk fax numbers
Deleting an anti junk fax number
System Settings
Anti Junk Fax Setting
OK
Anti Junk Fax Setting
Enter
Delete
Valid
Invalid
Loading ...
Loading ...
Loading ...