Loading ...
Loading ...
Loading ...
1.
Enter the IP address of the radar in the web browser and log in. Click Radar to enter the page.
2.
Oponal: Enable auxiliary. The target track will appear on the radar detecon area. You can
draw a zone with reference to the track. The track will be cleared aer the funcon is disabled.
3.
Oponal: Enable Display Number. The radar will number the targets appearing on the radar
detecon area. The targets will be numbered from 1 to 128 in sequence. If all 128 numbers are
used, the number will start from 1 again.
4.
Draw zones.
1) Click Start Drawing.
2) Click Draw Area → Draw Zone on the upper
le corner of the page.
3) Select Zone Sengs as Draw Zone.
4) Click the mouse
le buon to draw the zone in the radar detecon area and click the right
buon to end drawing.
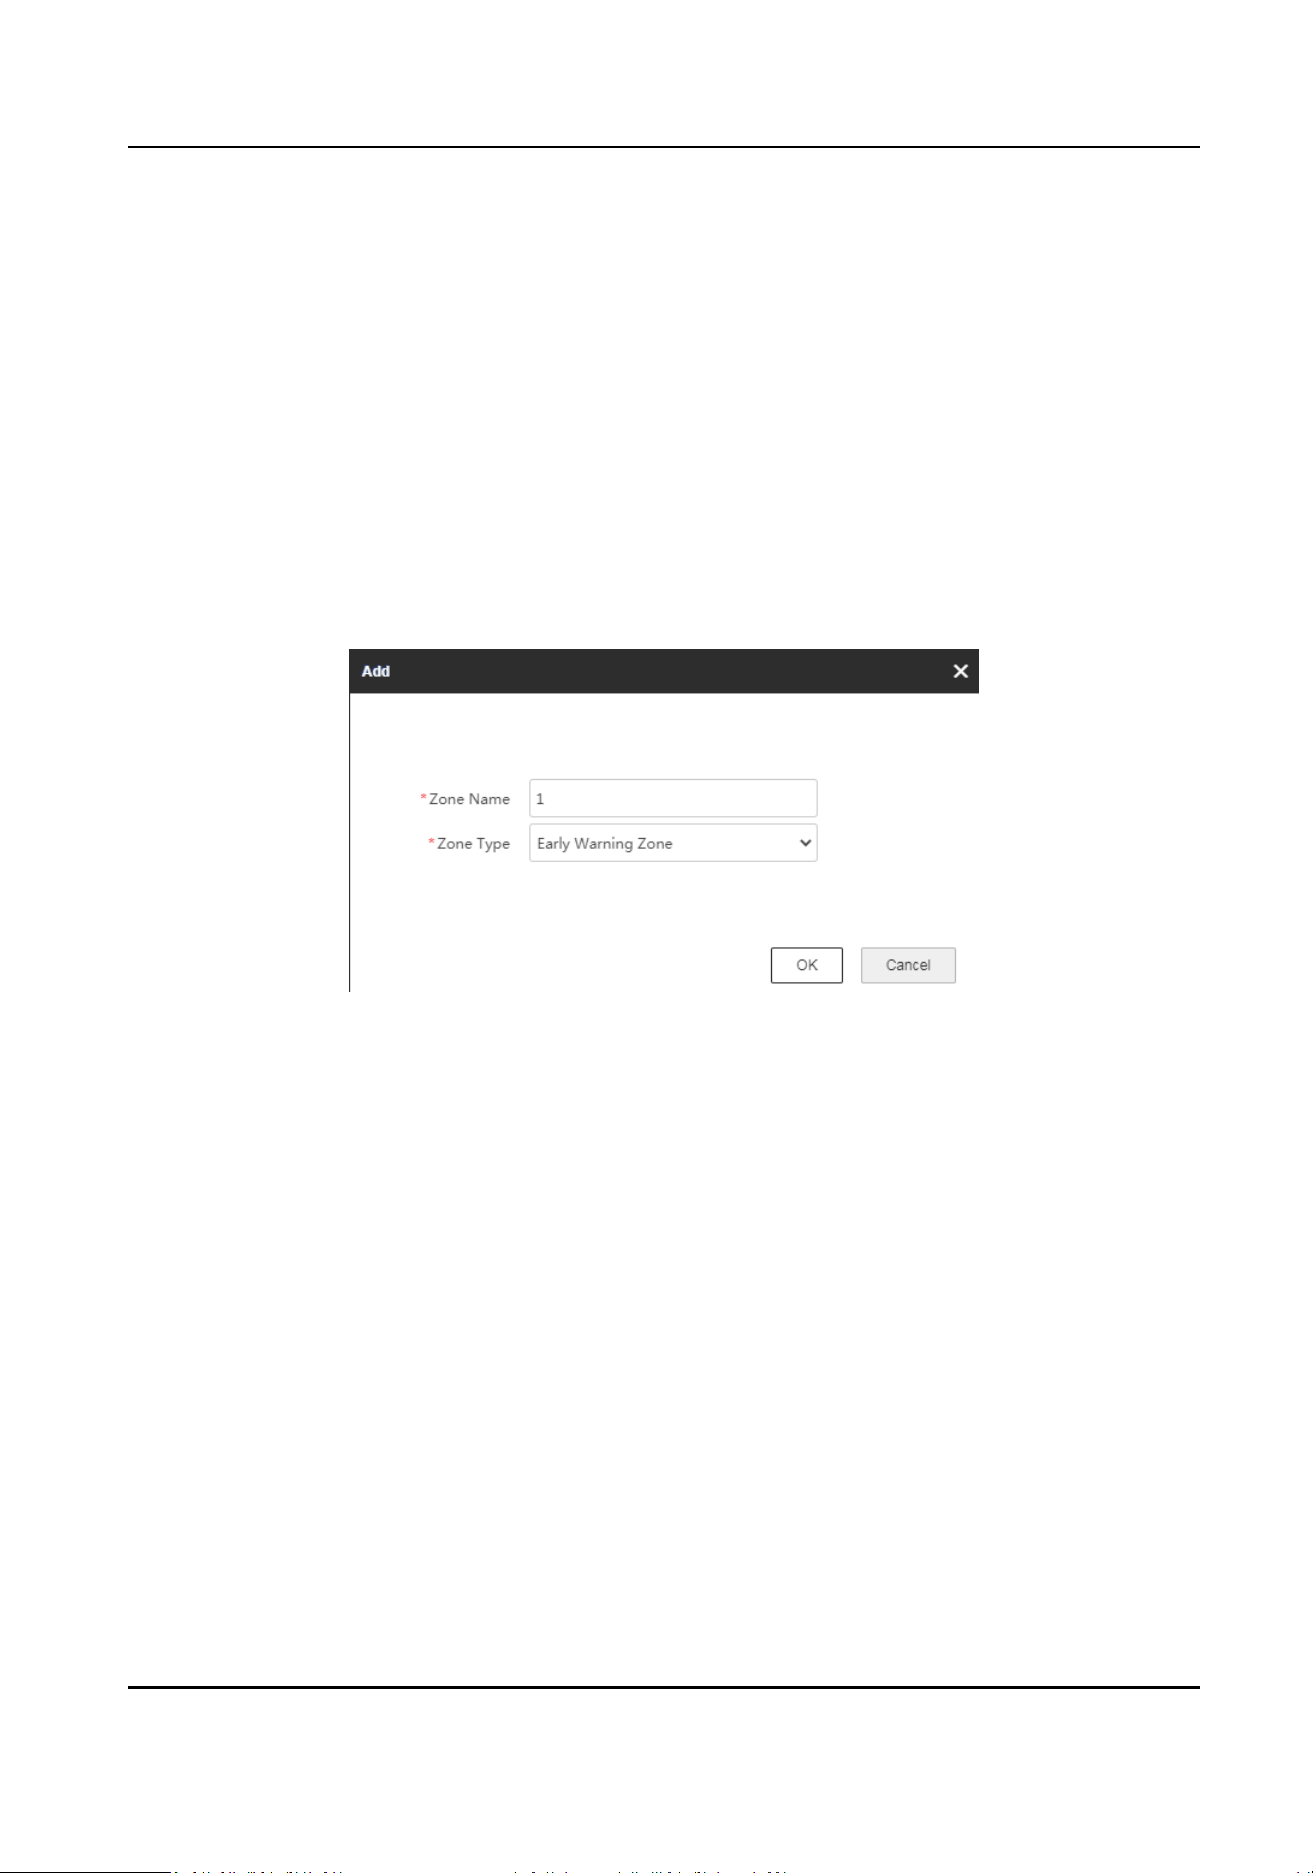
5) Set Zone Name and Zone Type in the popup window.
Figure 4-7 Add Zone
Early Warning Zone
The early warning zone will idenfy targets that have potenal risks in advance and trigger
alarm, but will not store alarm track. It is marked green on the map.
Warning Zone
The warning zone will
idenfy the targets entering the area and trigger alarm. It is marked
orange on the map.
Disabled Zone
The disabled zone will block the tracks of the targets entering into the zone. It is marked
gray on the map.
Security Radar User Manual
18
Loading ...
Loading ...
Loading ...