Loading ...
Loading ...
Loading ...
85
Advanced Guide
Basic Guide
Camera Basics
Auto Mode /
Hybrid Auto Mode
Other Shooting Modes
Playback Mode
Wireless Features
Setting Menu
Accessories
Appendix
Index
P Mode
Tv, Av, M, C1, and C2 Mode
Before Use
● The effect of peripheral illumination correction is slightly less than
that of maximum correction in Digital Photo Professional.
● The higher the ISO speed, the lower the amount of peripheral
illumination correction will be.
● [Diffraction] corrects loss of sharpness not only from diffraction but
also from the low-pass lter and other factors. Thus, correction is
also effective for exposures with the aperture wide open.
● Download software instruction manuals from the Canon website
as needed. For downloading instructions, see “Software
Instruction Manual” (=
175).
Lens Correction Data
Lens correction data for lenses compatible with this feature is registered
(stored) on the camera. Set [Peripheral illumin.] and [Chromatic
aberration] to [Enable] for automatic correction.
Using EOS Utility, you can check which lenses have correction data
registered on the camera. You can also register correction data for lenses
that have not been registered yet. For details, refer to the EOS Utility
instruction manual (=
175).
* Note that there is no need to register information for EF-M lenses, or for EF lenses
that incorporate their own correction data.
● Existing JPEG images cannot be corrected.
● Effects of peripheral illumination correction and chromatic
aberration correction are not displayed when shooting with a
magnied view. Similarly, the effect of diffraction correction is not
displayed at the time of shooting.
● The amount of correction (except diffraction correction) is less for
lenses that do not provide distance information.
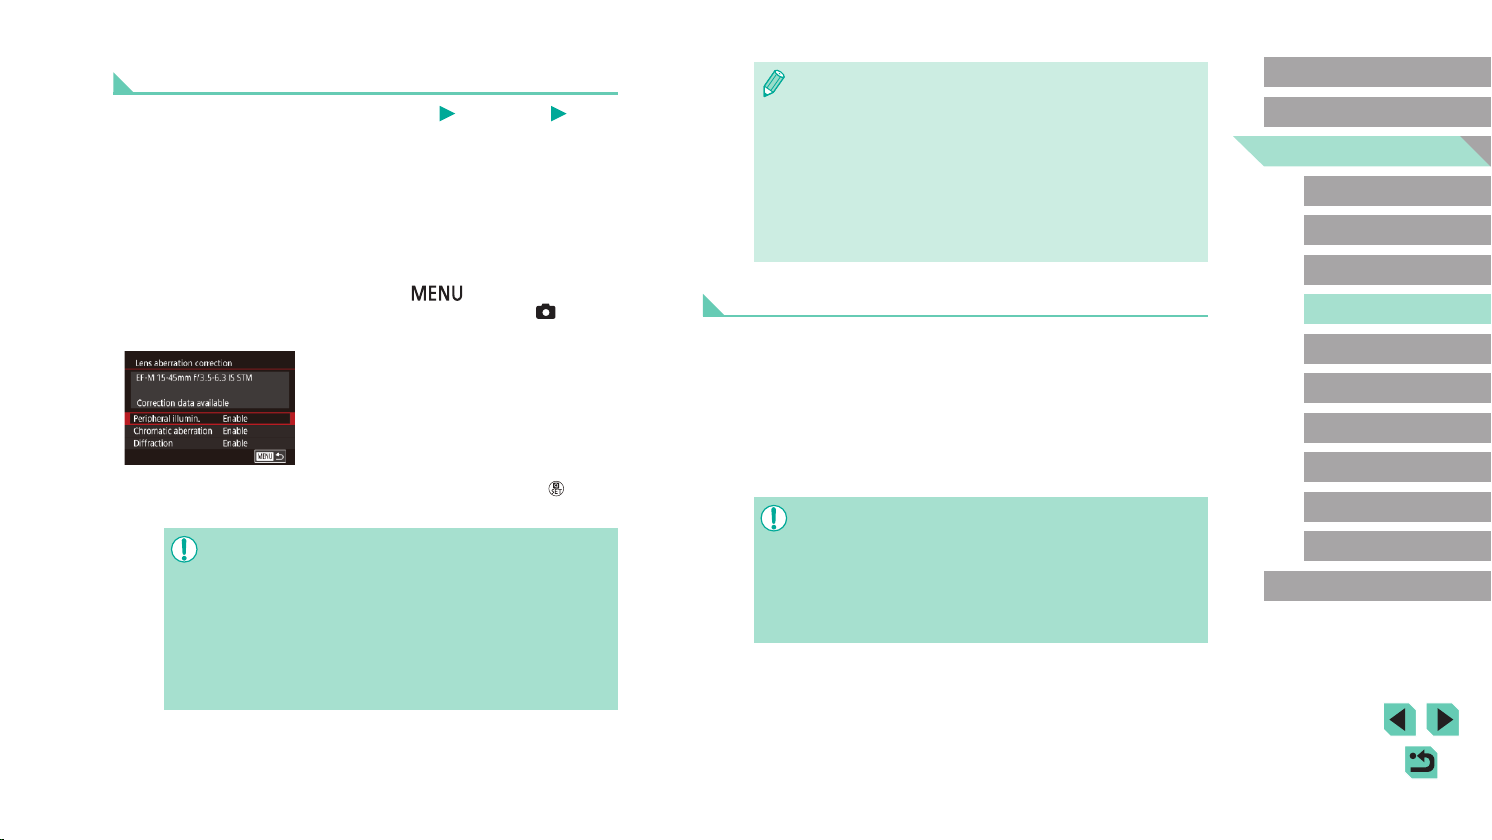
Correcting Lens Aberrations
Still Images
Movies
Correct vignetting and subject color fringing due to lens characteristics, or
lack of image sharpness due to aperture.
Note that when [Correction data not available] is displayed on the setting
screen, correction data has not been added to the camera. See “Lens
Correction Data” (=
85) for details on adding correction data.
1
Choose [Lens aberration
correction].
● Press the [ ] button, choose [Lens
aberration correction] on the [ 4] tab,
and then choose an item (=
33).
2
Conrm that correction data is
available.
● Make sure [Correction data available] is
displayed under the lens name.
3
Apply correction.
● Choose an item and press the [ ] button
to apply the setting (=
33).
● Noise may occur around the edges of images shot under some
conditions if you set [Peripheral illumin.] to [Enable].
● When setting [Diffraction] to [Enable], keep the following points
in mind.
- When correcting lens aberration, this feature may also make
noise more noticeable, under some shooting conditions.
- The higher the ISO speed, the lower the amount of correction
will be.
- Correction is not applied to movies.
Loading ...
Loading ...
Loading ...