Loading ...
Loading ...
Loading ...
64
Advanced Guide
Basic Guide
Camera Basics
Auto Mode /
Hybrid Auto Mode
Other Shooting Modes
Playback Mode
Wireless Features
Setting Menu
Accessories
Appendix
Index
P Mode
Tv, Av, M, C1, and C2 Mode
Before Use
4
Shoot.
● To start recording, press the movie
button.
● Do not disturb the camera while shooting.
● To cancel shooting, press the movie
button again.
● The camera operates in Eco mode
(=
154) while shooting.
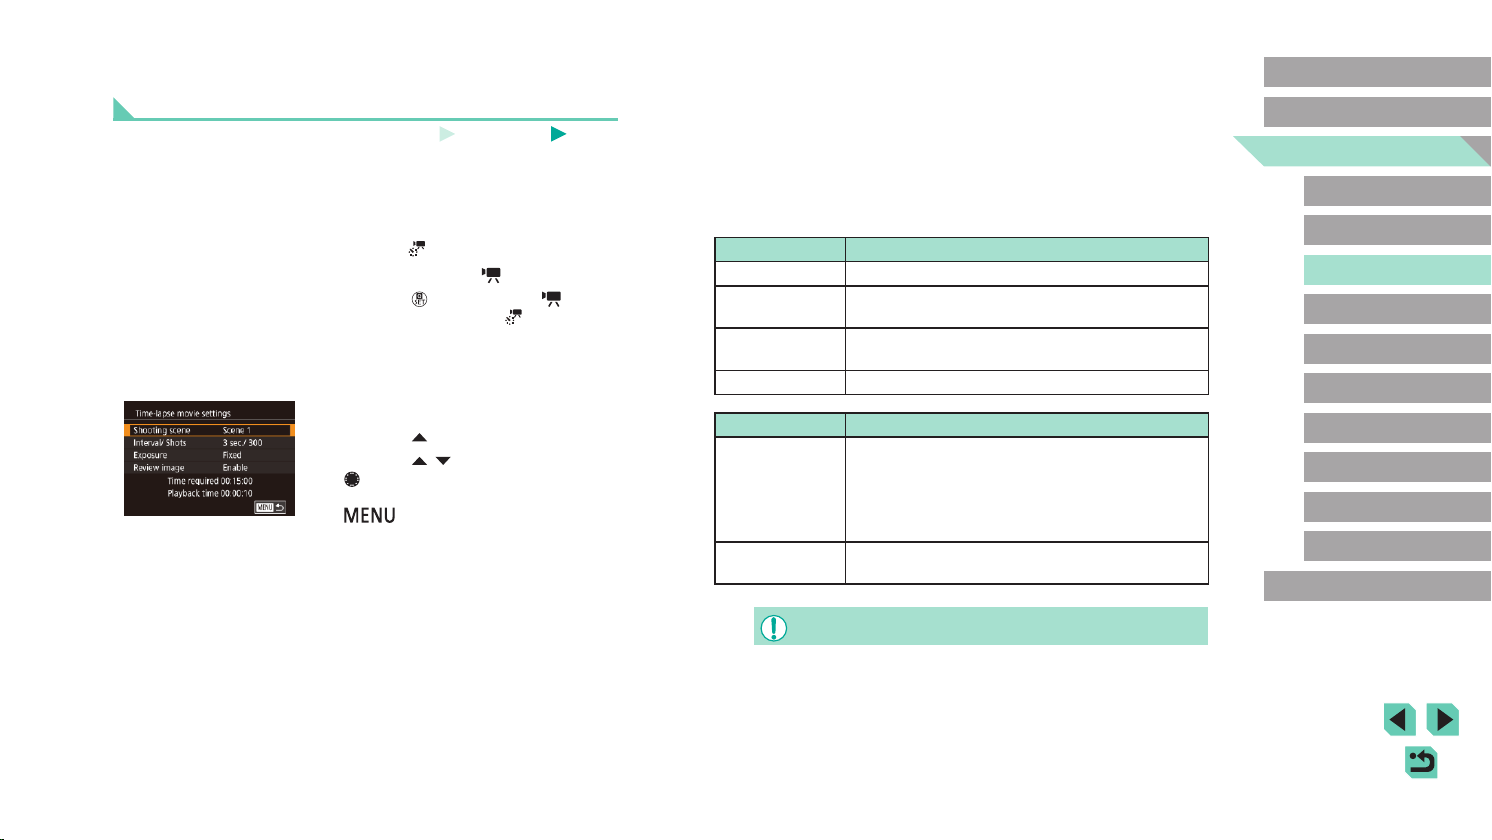
Item Details
Shooting scene Choose from four types of scenes.
Interval/ Shots
Choose the shooting interval (in seconds) and total
number of shots.
Exposure
Choose whether exposure is determined by the rst
shot or adjusted for each shot.
Review image Display the previous shot for up to 2 seconds.
Item Details
Time required
Length of the recording session. Varies depending
on the shooting interval and number of shots.
- Scene 1: Up to 1 hour
- Scene 2 or 3: Up to 2 hours
- Custom: Up to 7.5 hours
Playback time
Playback time of the movie created from captured
still images.
● Fast-moving subjects may look distorted in movies.
Recording Time-Lapse Movies (Time-Lapse
Movie)
Still Images
Movies
Time-lapse movies combine images that are shot automatically at a
specied interval. Any gradual changes of the subject (such as changes in
a landscape) are played back in fast motion. You can adjust the shooting
interval and number of shots.
1
Choose [ ].
● Set the mode dial to [ ].
● Press the [
] button, choose [ ] in the
menu, and then choose [ ] (=
32).
● Black bars displayed on the top and
bottom edges of the screen indicate
image areas not recorded.
2
Congure movie settings.
● Press the [ ] button.
● Press the [
][ ] buttons or turn the
[ ] dial to choose an item. Choose
the desired option, and then press the
[ ] button.
3
Secure the camera.
● Mount the camera on a tripod or take
other measures to keep it still.
Loading ...
Loading ...
Loading ...