Loading ...
Loading ...
Loading ...
65
Advanced Guide
Basic Guide
Camera Basics
Auto Mode /
Hybrid Auto Mode
Other Shooting Modes
Playback Mode
Wireless Features
Setting Menu
Accessories
Appendix
Index
P Mode
Tv, Av, M, C1, and C2 Mode
Before Use
● Press the [ ] button to choose [Rec.
level], and then press the [ ] button. On
the next screen, press the [ ][ ] buttons
or turn the [ ] dial to adjust the level, and
then press the [ ] button.
● To restore the original setting, repeat this
process but choose [Auto].
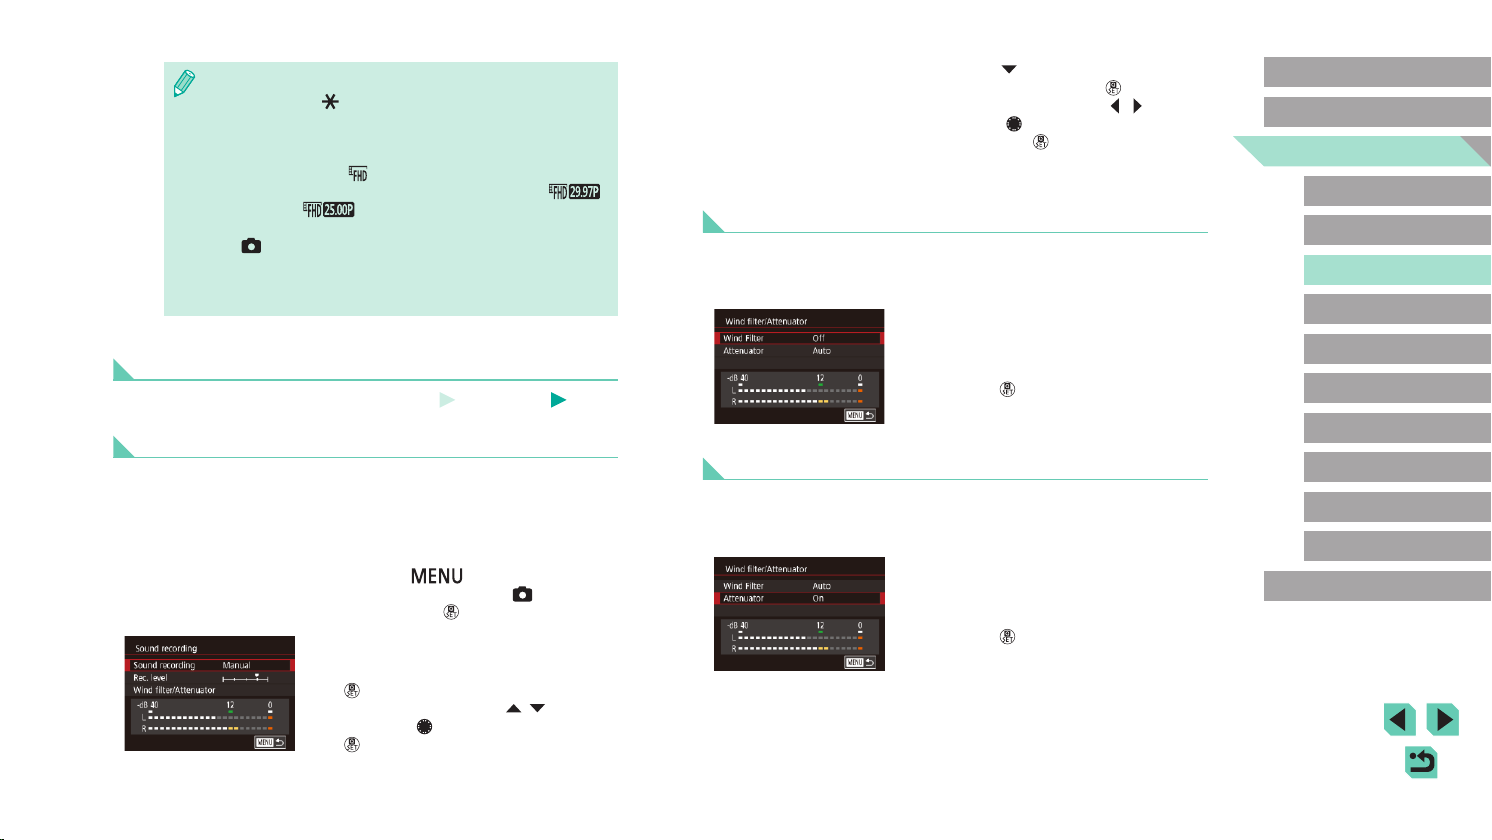
Deactivating the Wind Filter
Noise caused by strong wind can be reduced. However, the recording
may sound unnatural when this option is used when there is no wind. In
this case, you can deactivate the wind lter.
● Access the [Sound recording] screen
as described in step 1 of “Adjusting the
Recording Volume” (=
65).
● Choose [Wind lter/Attenuator], and then
press the [
] button.
● Choose [Wind Filter], and then choose
[Off].
Using the Attenuator
Set to [Auto] to reduce audio distortion by automatically activating and
deactivating the attenuator to suit shooting conditions. The attenuator can
also be set to [On] or [Off] manually.
● Access the [Sound recording] screen
as described in step 1 of “Adjusting the
Recording Volume” (=
65).
● Choose [Wind lter/Attenuator], and then
press the [
] button.
● Choose [Attenuator], and then choose
[On] or [Off].
● When [Exposure] is set to [Fixed], exposure can also be locked
by pressing the [
] button before shooting.
● Sound is not recorded.
● Focus remains constant during shooting, after it is determined for
the rst shot.
● The movie quality is [
] and cannot be changed.
● The time-lapse movie frame rate is automatically set to [
]
for NTSC or [
] for PAL and cannot be changed (=
154).
● You can also congure this setting by choosing MENU (=
33)
> [
6] tab > [Time-lapse movie settings].
● When recording over extended periods, if possible, insert a
DC coupler and connect an AC adapter (both sold separately,
=
164).
Sound Settings
Still Images
Movies
Adjusting the Recording Volume
Although the recording level (volume) is automatically adjusted in Auto
setting, you can set the level manually to suit the shooting scene.
1
Access the [Sound recording]
screen.
● Press the [ ] button, choose
[Sound recording] on the [ 8] tab, and
then press the [ ] button (=
33).
2
Congure the setting.
● Choose [Sound recording], press the
[ ] button, choose [Manual] on the next
screen (either press the [ ][ ] buttons
or turn the [ ] dial), and then press the
[ ] button.
Loading ...
Loading ...
Loading ...