Loading ...
Loading ...
Loading ...
80
Advanced Guide
Basic Guide
Camera Basics
Auto Mode /
Hybrid Auto Mode
Other Shooting Modes
Playback Mode
Wireless Features
Setting Menu
Accessories
Appendix
Index
P Mode
Tv, Av, M, C1, and C2 Mode
Before Use
5
Focus.
● While looking at the magnied image,
turn the lens focusing ring to focus.
6
Shoot.
● You can also move the magnifying frame in step 3 by dragging it.
● By touching [
] in the lower right, you can also adjust the
magnication ratio and drag to move the area magnied.
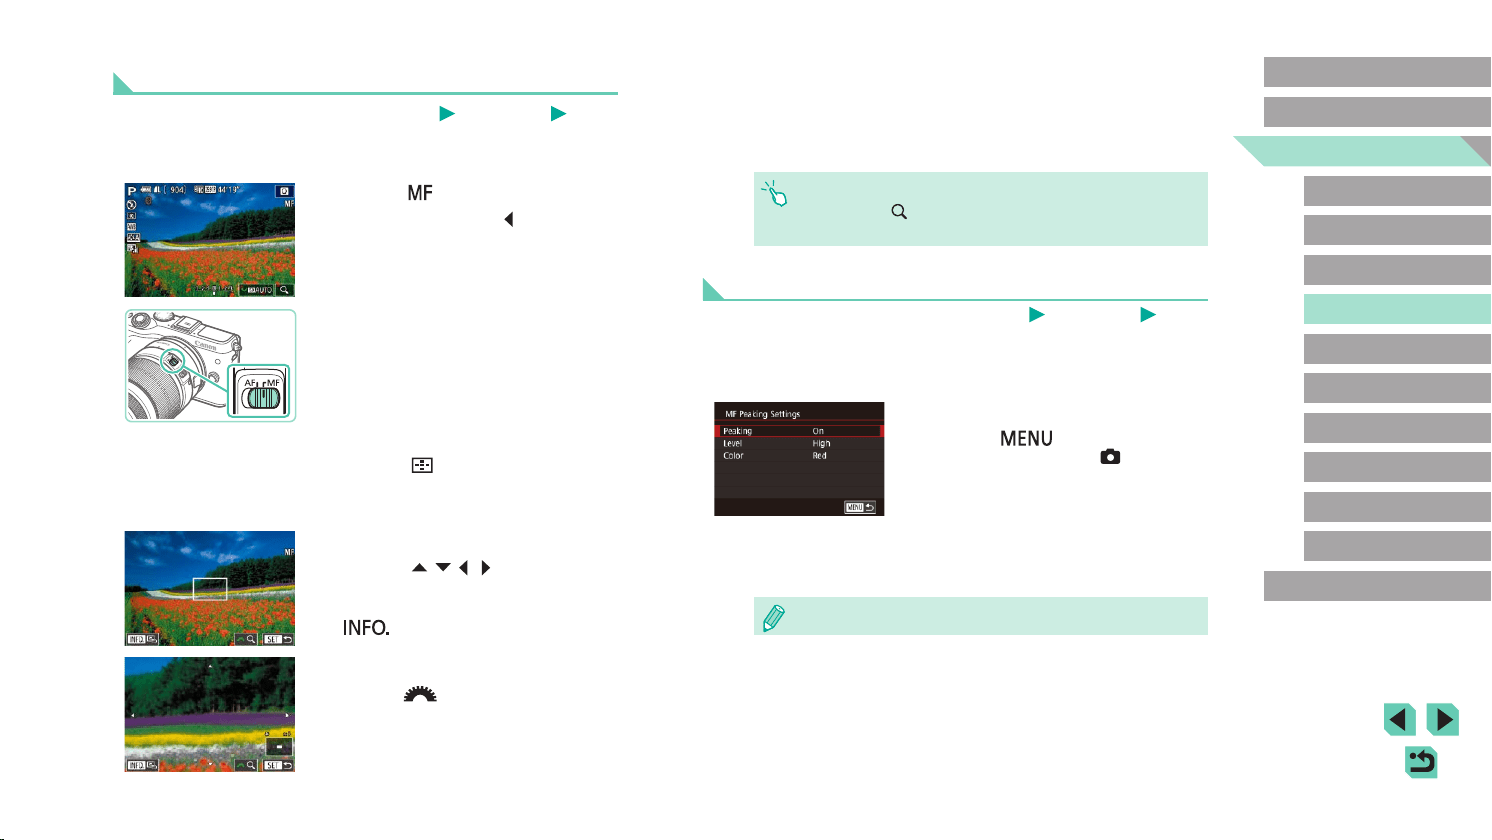
Easily Identifying the Focus Area (MF Peaking)
Still Images
Movies
Edges of subjects in focus are displayed in color to make manual focusing
easier. You can adjust the colors and the sensitivity (level) of edge
detection as needed.
1
Access the setting screen.
● Press the [ ] button, choose [MF
Peaking Settings] on the [ 4] tab, and
then set [Peaking] to [On] (=
33).
2
Congure the setting.
● Choose a menu item to congure, and
then choose the desired option (=
33).
● Colors displayed for MF peaking are not recorded in your shots.
Shooting in Manual Focus Mode
Still Images
Movies
When focusing is not possible in AF mode, use manual focus. To make
focusing easier, magnify the display.
1
Choose [ ].
● EF-M lenses: Press the [ ] button.
● Other lenses: Turn off the camera, set
the lens switch to [MF], and then turn the
camera on again.
● [MF] is displayed.
2
Display the magnifying frame.
● Press the [ ] button.
● The magnifying frame is displayed,
centered on the screen.
3
Select the area to magnify.
● Press the [ ][ ][ ][ ] buttons to move
the frame to an area to magnify.
● To center the frame again, press the
[
] button.
4
Activate magnication.
● Turn the [ ] dial to switch the
magnication between 1x (no
magnication), 5x, and 10x.
Loading ...
Loading ...
Loading ...