Loading ...
Loading ...
Loading ...
159
Advanced Guide
Basic Guide
Camera Basics
Auto Mode /
Hybrid Auto Mode
Other Shooting Modes
Playback Mode
Wireless Features
Setting Menu
Accessories
Appendix
Index
P Mode
Tv, Av, M, C1, and C2 Mode
Before Use
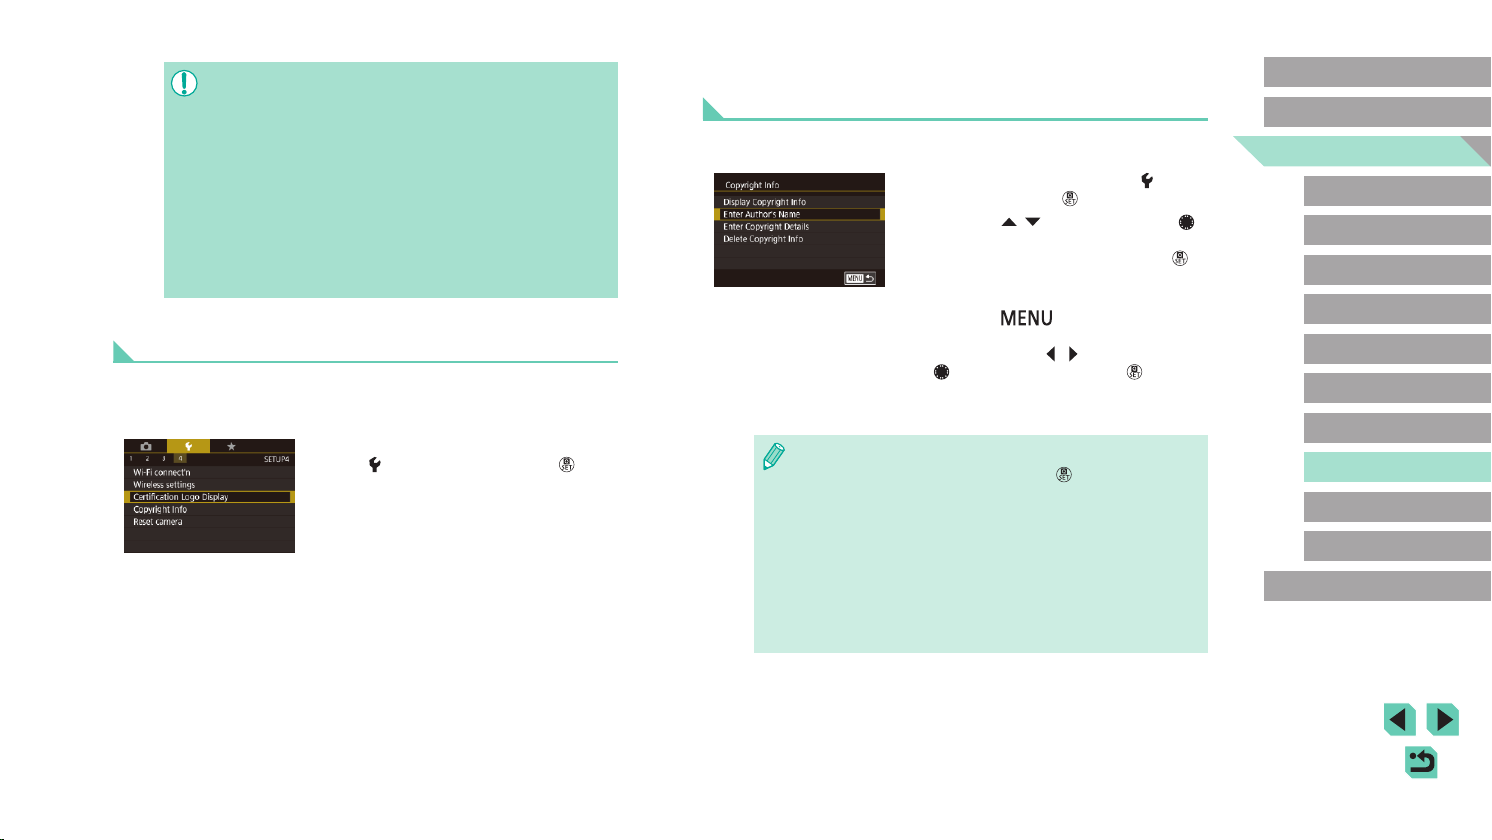
Setting Copyright Information to Record in
Images
To record the author’s name and copyright details in images, set this
information beforehand as follows.
● Choose [Copyright Info] on the [
4] tab,
and then press the [ ] button.
● Press the [
][ ] buttons or turn the [ ]
dial to choose [Enter Author’s Name] or
[Enter Copyright Details]. Press the [ ]
button to access the keyboard, and enter
the name (=
35).
● Press the [
] button. When [Accept
changes?] is displayed, choose [Yes]
(either press the [ ][ ] buttons or turn the
[ ] dial), and then press the [ ] button.
● The information set here will now be
recorded in images.
● To check the information entered, choose [Display Copyright Info]
on the screen above, and then press the [
] button.
● You can also use EOS Utility (=
175) to enter, change, or delete
copyright information on the camera. Some characters entered
with the software may not display on the camera, but will be
correctly recorded in images.
● You can check copyright information recorded in images by using
the software, once you save the images to a computer.
● Download the EOS Utility instruction manual from the Canon
website as needed. For downloading instructions, see “Software
Instruction Manual” (=
175).
● The image sensor is extremely delicate. Clean the sensor with
care.
● Use a blower without a brush attached. A brush can scratch the
sensor.
● Do not insert the blower tip inside the camera beyond the lens
mount. It can damage the shutter curtains.
● Never use canned air or gas to clean the sensor. The blowing
force can damage the sensor or the spray gas can freeze on the
sensor.
● If a smudge that cannot be removed with a blower remains,
having the sensor cleaned by a Canon Customer Support Help
Desk is recommended.
Checking Certication Logos
Some logos for certication requirements met by the camera can be
viewed on the screen. Other certication logos are printed in this guide, on
the camera packaging, or on the camera body.
● Choose [Certication Logo Display] on
the [
4] tab, and then press the [ ]
button.
Loading ...
Loading ...
Loading ...