Loading ...
Loading ...
Loading ...
174
Advanced Guide
Basic Guide
Camera Basics
Auto Mode /
Hybrid Auto Mode
Other Shooting Modes
Playback Mode
Wireless Features
Setting Menu
Accessories
Appendix
Index
P Mode
Tv, Av, M, C1, and C2 Mode
Before Use
● Any attenuator settings you have congured are also applied to
recording with the external microphone (=
65).
● Connecting an external microphone will deactivate [Wind Filter]
(=
65).
● Recording is also possible by connecting a commercially available
microphone with a mini plug (3.5 mm diameter) to the external
microphone IN terminal.
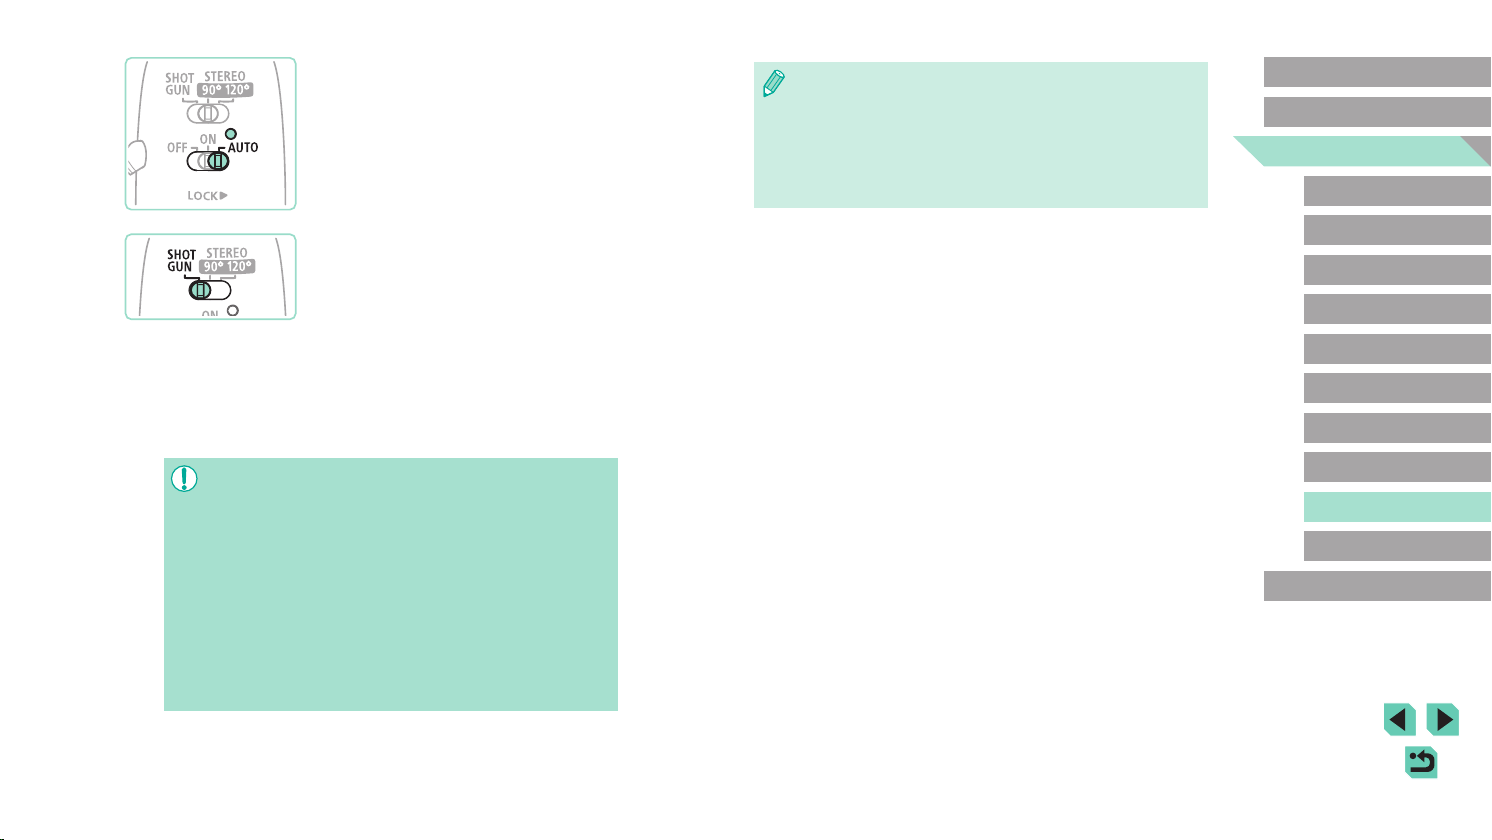
4
Turn on the camera, and then the
external microphone.
● Slide the power switch of the external
microphone from [OFF] to [AUTO]. When
set to [AUTO], the microphone will be
automatically turned on and off in sync
with the camera power switch and Auto
Power Down feature.
5
Adjust microphone directivity to
match the subject.
● Use the microphone directivity switch to
set the directivity.
6
Remove when nished.
● After turning off the camera and
microphone, unplug the output plug and
remove it by following the attachment
instructions in reverse.
● The external microphone requires a battery for power. Replace
the battery when the power check lamp is no longer lit.
● When testing microphone operation, check by speaking instead of
tapping the microphone or breathing on it.
● When recording, do not touch the microphone, cable, or wind
screen. These sounds will be recorded.
● Noise may be recorded as a result of radio or high-voltage
interference from nearby radio towers, high-voltage power lines,
mobile phones, or other sources of strong electromagnetic waves.
● Noise may be recorded when wireless camera features are used.
For best results, avoid using wireless features when recording.
● Using the microphone where it is cold may cause recordings to
be distorted.
Loading ...
Loading ...
Loading ...