Loading ...
Loading ...
Loading ...
Steps
1.
Enter Live View module and start live view of one camera.
Note
For details about starng live view, refer to for details.
2.
Link the camera with an access control point.
1) Right click on the live view window and select Link to Access Control Point to open the Set
Linked Access Control Point window.
2) Check Enable to enable the linkage.
3) Select access control point from the drop-down list.
4) Click OK.
Note
One camera can be linked to only one access control point; Dierent cameras can be linked to
the same access control point.
3.
Start the camera's live view again to make the sengs eecve.
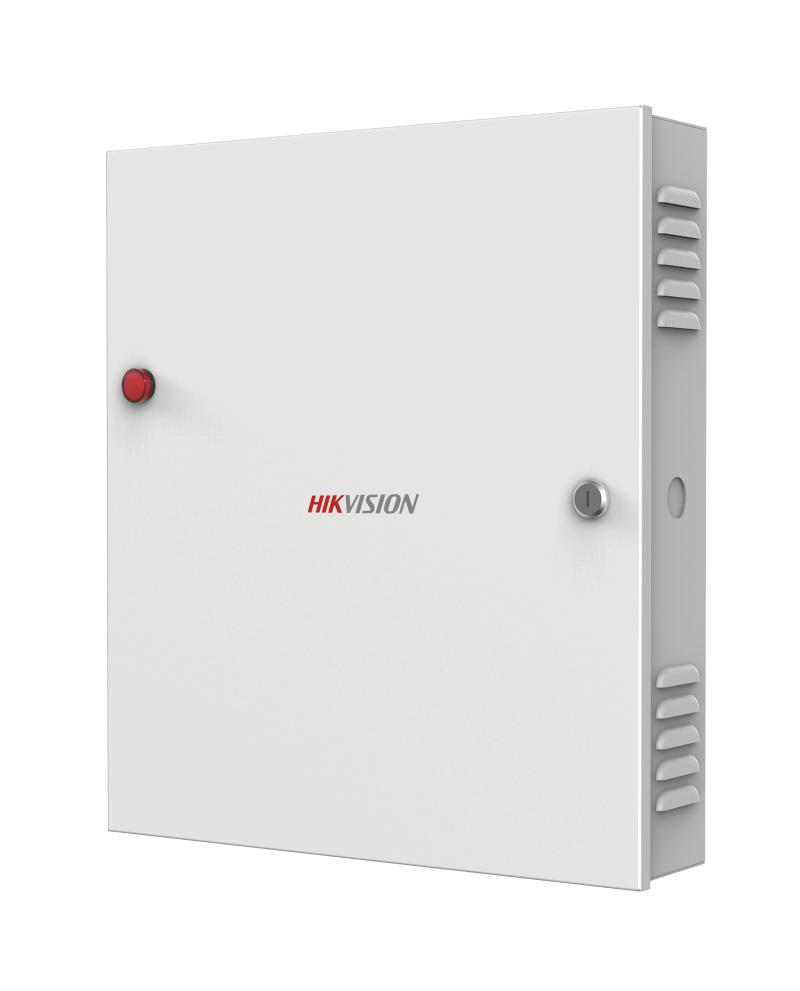
Four door control buons will appear on the toolbar during live view.
4.
Click to control the door to open, close, remain open, or remain closed.
8.1.13 Display Access Control Point on E-map
You can add the access control point on the E-map. When the alarm of the access control point is
triggered, you can view the alarm nocaon on the E-map, check the alarm details, and control
the door.
Perform this task when you need to display the access control point on the e-map as hot spot.
Steps
Note
●
For Video Access Control Terminal, you can also add its camera to the E-map to view the live
view of the camera.
●
For detailed operaons of E-map, refer to .
1.
Enter E-map module.
2.
Click Edit on the E-map toolbar to enter the map eding mode.
3.
Click on the toolbar to open the Add Hot Spot window.
4.
Select the access control point to be added as hot spot.
5.
Oponal: Edit hot spot name, select the name color, and select the hot spot icon by double-
clicking the corresponding eld.
6.
Click OK.
Access Controller User Manual
104
Loading ...
Loading ...
Loading ...