Loading ...
Loading ...
Loading ...
NOTE
l
When the normal charge connector is con-
nected to the charge port, the charging indi-
cator will blink. When charging is started,
the charging indicator is illuminated and the
charging port courtesy lamp blinks 3 times
and then goes off automatically.
l
If you want to confirm the drive battery level
or the predicted charging time during charg-
ing, one of the doors is opened or the multi
information display switch is operated, the
drive battery level display (I) appears and
the predicted charging time display (J) ap-
pears in the multi information display.
In addition, when the remaining time is less
than 1 hour, the predicted charging time dis-
play (J) appears --:-- and does not indicate a
malfunction.
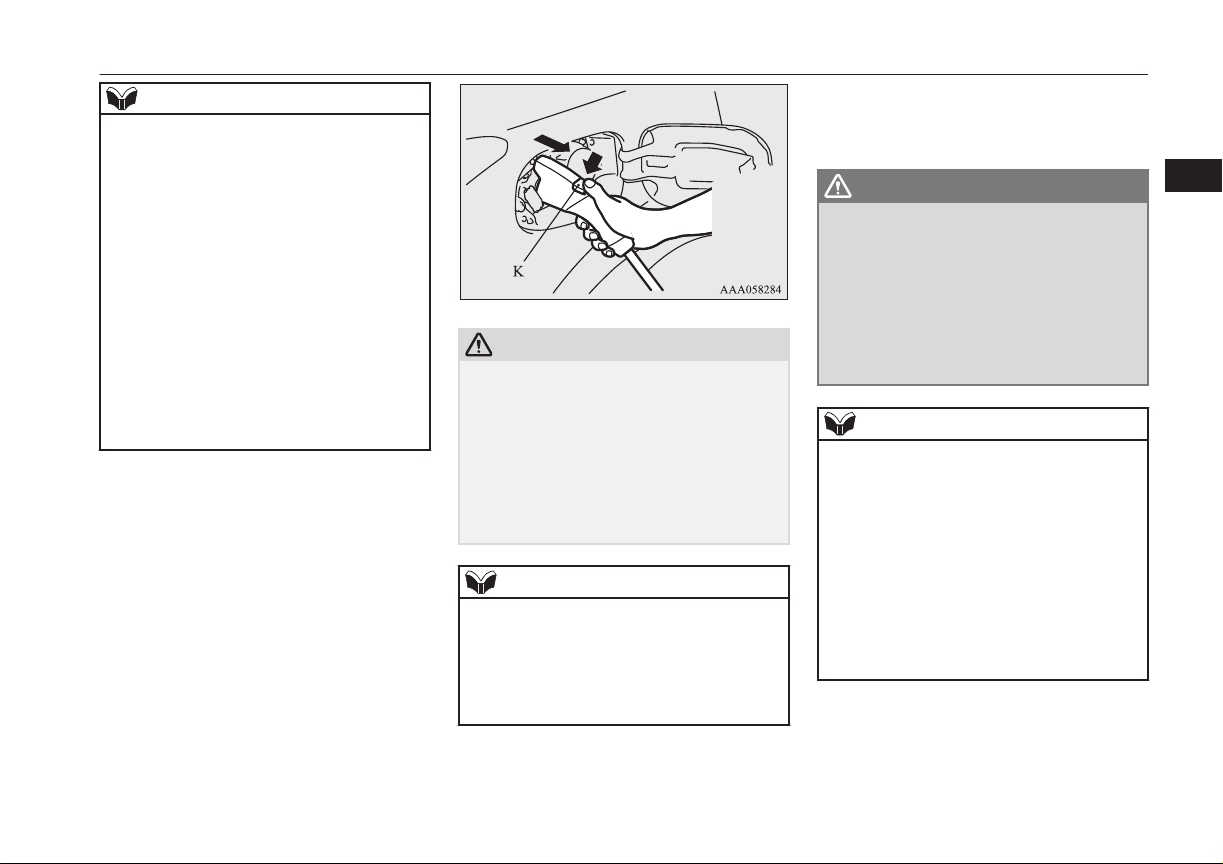
9. Charging is complete when the charging
indicator turns off. Pull out the normal
charge connector while pressing the but-
ton (K).
CAUTION
l
Be sure to check the normal charge connec-
tor is removed from the normal charge port.
The vehicle can be driven with the charge
connector inserted when it is not locked
completely which may result in a serious ac-
cident.
Be sure the charge connector is removed
completely from the vehicle after the charg-
ing is completed.
NOTE
l
Charging can be stopped half way. In this
case, also, pull out the normal charge con-
nector while pressing the button. Pressing
the manual stop button on the control box
can also stop charging.
Refer to “EV charging cable” on page 3-07.
10. Close the inner lid and press the rear of
the normal charging lid until it clicks to
close it.
WARNING
l
After charging, be sure to close the inner
lid and the normal charging lid complete-
ly.
Be careful that water or dust does not en-
ter in the normal charge port, inner lid
and normal charge connector.
Entry of water or dust could cause elec-
tric current leakage, resulting in a fire or
electric shock.
NOTE
l
Make sure that the inner lid is completely
closed.
If the normal charging lid is forcibly closed
without completely closing inner lid, the
hinge on the inner lid may be broken.
l
When the operation mode is switched to ON
while the charging lid is not completely
closed, a warning may be displayed on the
information display of the multi information
display.
Refer to “Warning display list” on page
6-24.
11. Remove the charging cable plug from
the outlet.
12. Install the cap on the normal charge con-
nector.
Normal charging (charging method with rated AC 220-240V outlet)
3-15
OGGE16E1
Charging
3
Loading ...
Loading ...
Loading ...