Loading ...
Loading ...
Loading ...
6
Select <Encryption>.
7
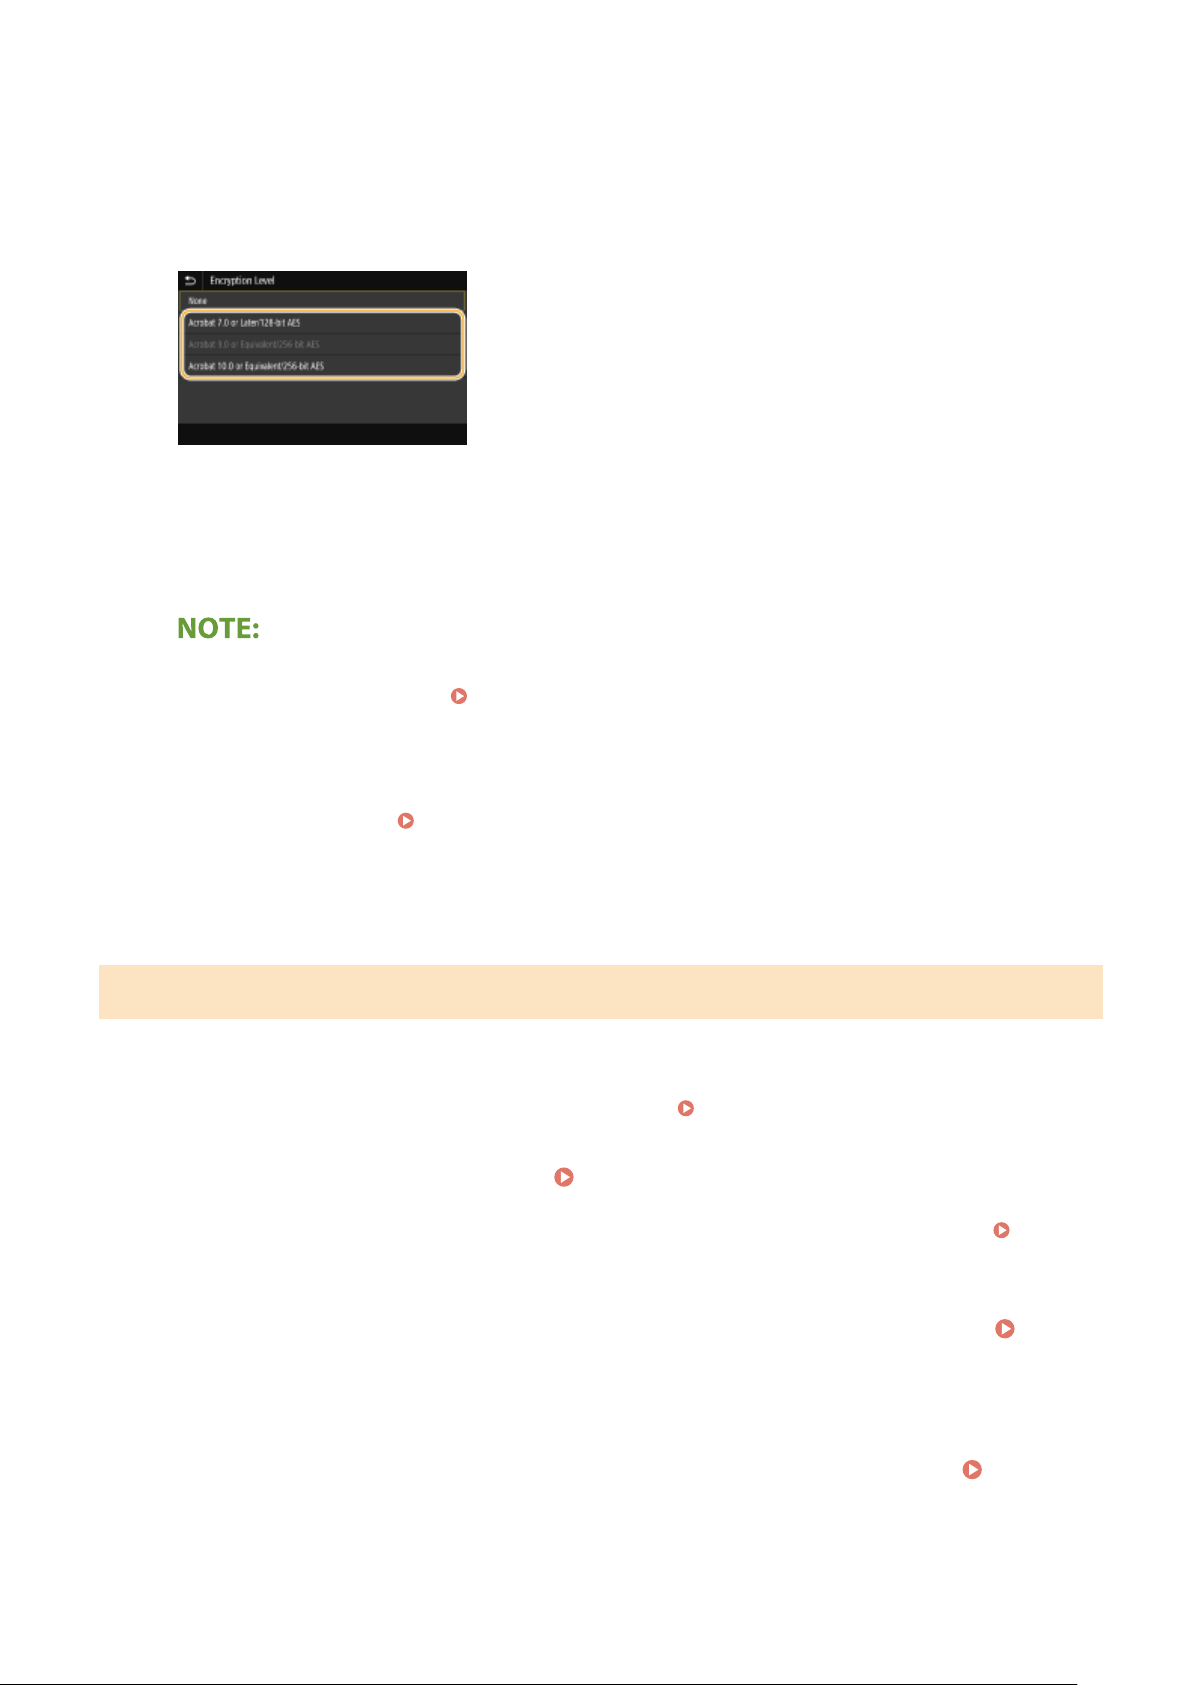
Select the encryption level.
<Acrobat 7.0 or Later/128-bit AES>
Encrypt the le in the 128-bit envir
onment, which can be opened by Adobe Acrobat 7.0 or later.
<Acrobat 10.0 or Equivalent/256-bit AES>
Encrypt the le in the 256-bit environment, which can be opened by Adobe Acrobat 10.0.
● <Acr
obat 10.0 or Equivalent/256-bit AES> can be changed to <Acrobat 9.0 or Equivalent/256-bit AES> with a
different compatible version.
<256-bit AES Set. (Encrypt. PDF)>(P. 490)
8
Enter the encryption password, and select <Apply>.
● On ho
w to enter text, see
Entering Text(P. 131) .
9
Enter the password, and select <Apply>.
Adding a Device Signature
Convert the scanned original into a PDF le with a de
vice signature. The device signature serves the same purpose as
sealing or signing a document; it can be used to check where the le was created and whether the document has been
tampered with or falsied after the signature was appended. To assign the device signature to a PDF le, you need to
generate the key and certicate for the device signature in advance.
Generating a Device Signature Key(P. 417)
1
Select <Scan> in the Home screen.
Home Screen(P. 122)
● If the login scr
een appears, specify the user name, the password, and the authentication server.
Logging
in to Authorized Send(P
. 133)
2
Select <USB Memory>, <E-Mail>, or <File> in the Scan Basic Features screen.
Scan
Basic Featur
es Screen(P. 281)
● If you select <USB Memory>, pr
oceed to step 4.
3
Specify the destination, and specify the scanning settings as necessary.
Basic
Operations for Scanning Originals(P. 284)
Scanning
310
Loading ...
Loading ...
Loading ...