Loading ...
Loading ...
Loading ...
Note:
• The PHOTO Input setting can be confirmed using the on-
screen ir_formation.
• The PHOTO Input setting wil{ be stored in memory even
when the DVD Video Camera is turned off.
• Refer to "Recording (Dubbing) Images" on page 75 to
see how to connect the DVD Video Camera to another
device
• "PHOTO Input" is displayed only when Input Source" is
set to "LINE" or "S LINE" (VDR-M7OPP only).
• "OSD Outpot"is displayed only when input Source"is set
to "CAMERA"
Self Timer
You can record photos using the self timer fi.mction, as with ordinary cameras.
1 resstheMENU button
choose "Self Timer" on the
"Record Functions Setup"
menu screen, and then press
the 1_/1! button.
2 Select "On", and then press
the l_/ll button.
The self timer will be set.
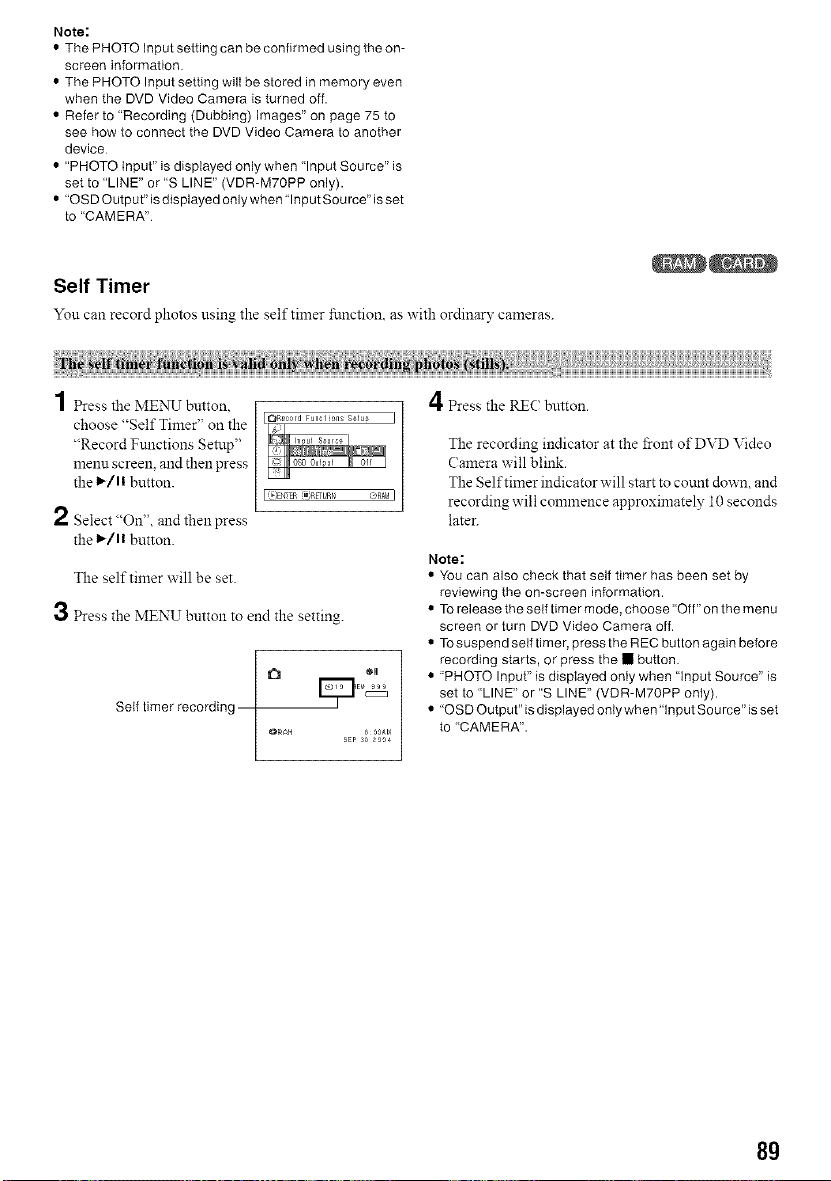
3 Press the MENU button to end the setting.
Self timer recording
SEP 3O _004
4Press the RIZCbutton.
The recording indicator at the i_-ont of DVD Video
Camera will blink.
The Self timer indicator will start to cotmt down, and
recording will commence approximately 10 seconds
later.
Note:
• You can also check that self timer has been set by
reviewing the on-screen in{ormation.
• To release the self timer mode, choose "Off" on the menu
screen or turn DVD Video Camera off.
• TOsuspend self timer, press the REC button again before
recording starts, or press the • button.
• "PHOTO Input" is displayed only when "Input Source" is
set to "LINE" or "S LINE" (VDR-M70PP only).
• "OSD Output" is displayed only when"Input Sou rce" is set
to "CAMERA".
8g
Loading ...
Loading ...
Loading ...