Loading ...
Loading ...
Loading ...
Setting Up Record Functions
Switching Movie Quality (VIDEO Mode)
Choose the movie quality from "XTRA" (only with DVD-RAM disc) "FINE". "STD" and "LPCM" (only with
DVD-R disc).
1 Press the MENU button,
choose "VIDEO Mode" on
the "Record Functions
Setup" menu screen, and
then press the l_/ll button.
2 Choose the desired quality
mode, and then press the I_/1| button.
3 Press the MENU button to end the setting.
lity e_ ®ll
RE_3o mN
Movie qua _ _EF 30 2_4
Note:
• The movie quality setting will be stored in memory even
when the DVD Video Camera is turned off.
• The "VIDEO Mode" setting will not change even if the
DVD-RAM disc is replaced with a DVD-R disc, or vice
versa. However, the setting will switch to "FINE" in the
following cases:
- When the mode is set to "XTRA" with a DVD-RAM disc
inserted and then the disc is replaced with a DVD-R
disc
- When the mode is set to "LPCM" with a DVD-R disc
inserted and the disc is replaced with a DVD-RAM disc
• When using DVD-R disc, you cannot switch the movie
quality while recording on the disc: The DVD Video
Camera will be automatically set to the movie quality first
used with the disc for recording.
• The movie quality setting is effective only during movie
recording: The setting will not be displayed during
recording of stills.
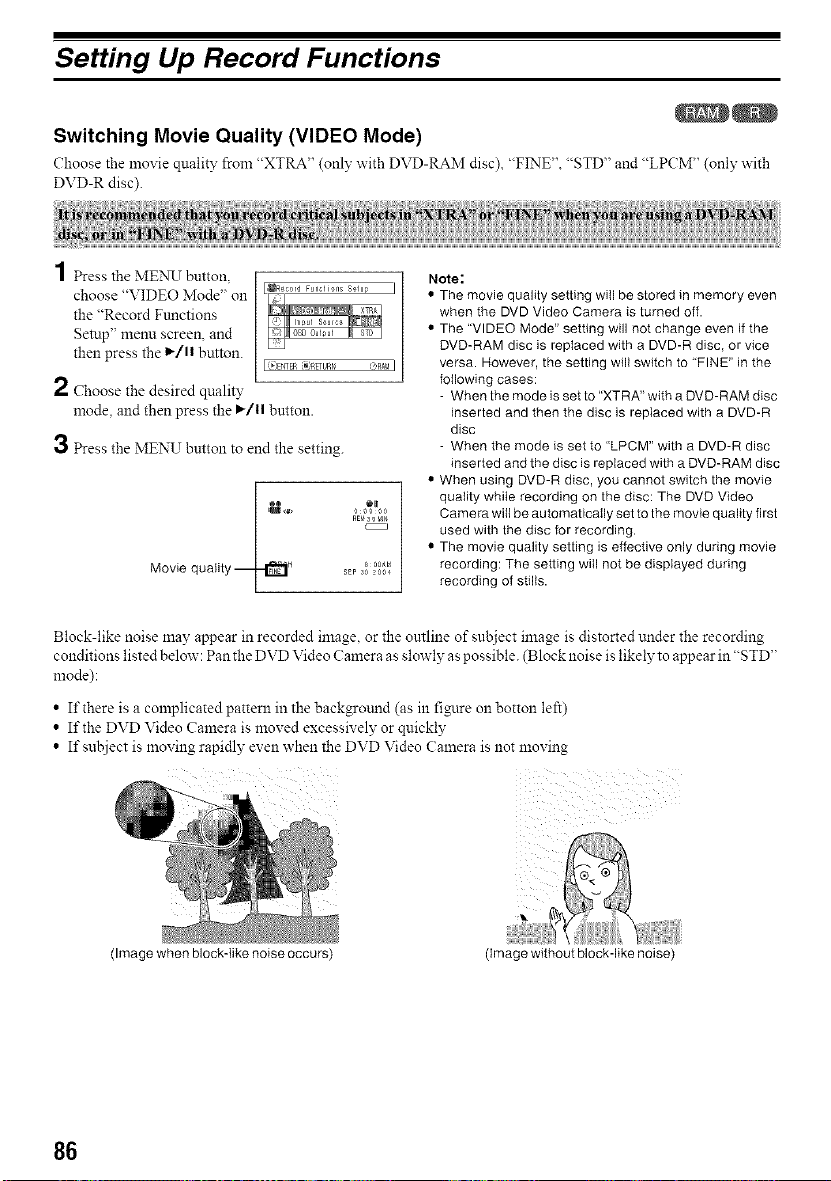
Block-like noise may appear in recorded image, or the outline of subject image is distorted under the recording
conditions listed below: Pan the DVD Video Camera as slowly as possible. (Block noise is likely to appear in "STD"
mode):
• If there is a complicated pattern in the background (as in fi_lre on botton left)
• If the DVD Video Camera is moved excessively or quickly
• If sut!iect is lnoving rapidly even when the DVD Video Calnera is not moving
(Image when block-like noise occurs) (image without block-like noise)
86
Loading ...
Loading ...
Loading ...