
Loading ...
Loading ...
Loading ...
272
EN
Connecting the Camera to External Devices
8
Enabling Camera Wi‑Fi
Before connecting to a network via Wi-Fi, you will need to enable Wi-Fi on the camera.
Connecting via WPS (Connect by WPS)
Connect using the WPS feature on the router or access point.
Menu
MEN U n e n 4. Wi-Fi/Bluetooth n Wi-Fi Connection
1
Highlight [PC Connection] using the FG buttons and press the Q button.
• [PC Connection] options will be displayed.
2
Highlight [Connect by WPS] using the FG buttons and press the Q button.
3
Highlight an option using the FG buttons and press the Q button.
• If you selected [PBC Method], press the WPS button on the router or access point.
• Press the camera Q button to start the connection.
• Some time may be required for connection after the button is pressed.
• If you selected [PIN Method], the camera will display a PIN; enter it on the router or
access point. Press the camera Q button when the router is ready to connect.
4
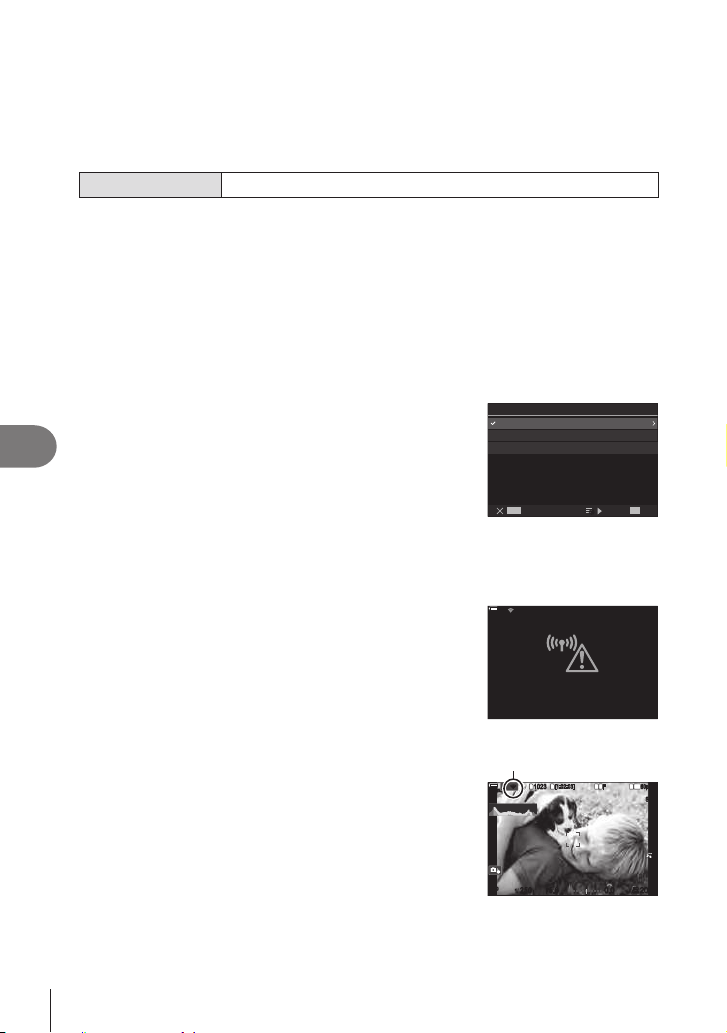
If the camera is able to connect, the network will
be displayed with a check (v) next to the network
name.
• If the camera has been paired with more than one
computer, you will be prompted to choose a computer
before the network is displayed. Highlight the desired
computer using the FG buttons and press the Q
button.
• The camera can be used only with the selected
terminate the current connection.
MENU
SSID_001
OK
HH
]
U
t
O
Connect by WPS
Connect manually
PC Connection
• If the connection fails, the camera will display a
Step 3. Repeat Steps 3–4.
100
%
100
%
Connection failed
5
Press the Q button to exit to the shooting display.
• The camera will return to the standard shooting display.
O on the screen will turn green.
O
1
10231023
P
1
/
250
P
1
/
F
250 5.65.6
1
1
[
1
:
02
:
03
][
1
:
02
:
03
]
FF
60p60p L
-
8L
-
8
S
-
AFS
-
AF
33
200200
L
1
4K
ISO
Auto
ISO
Auto
F
00
+
-
0.00.0
100
%
100
%
rr
OO
Loading ...
Loading ...
Loading ...