
Loading ...
Loading ...
Loading ...
106
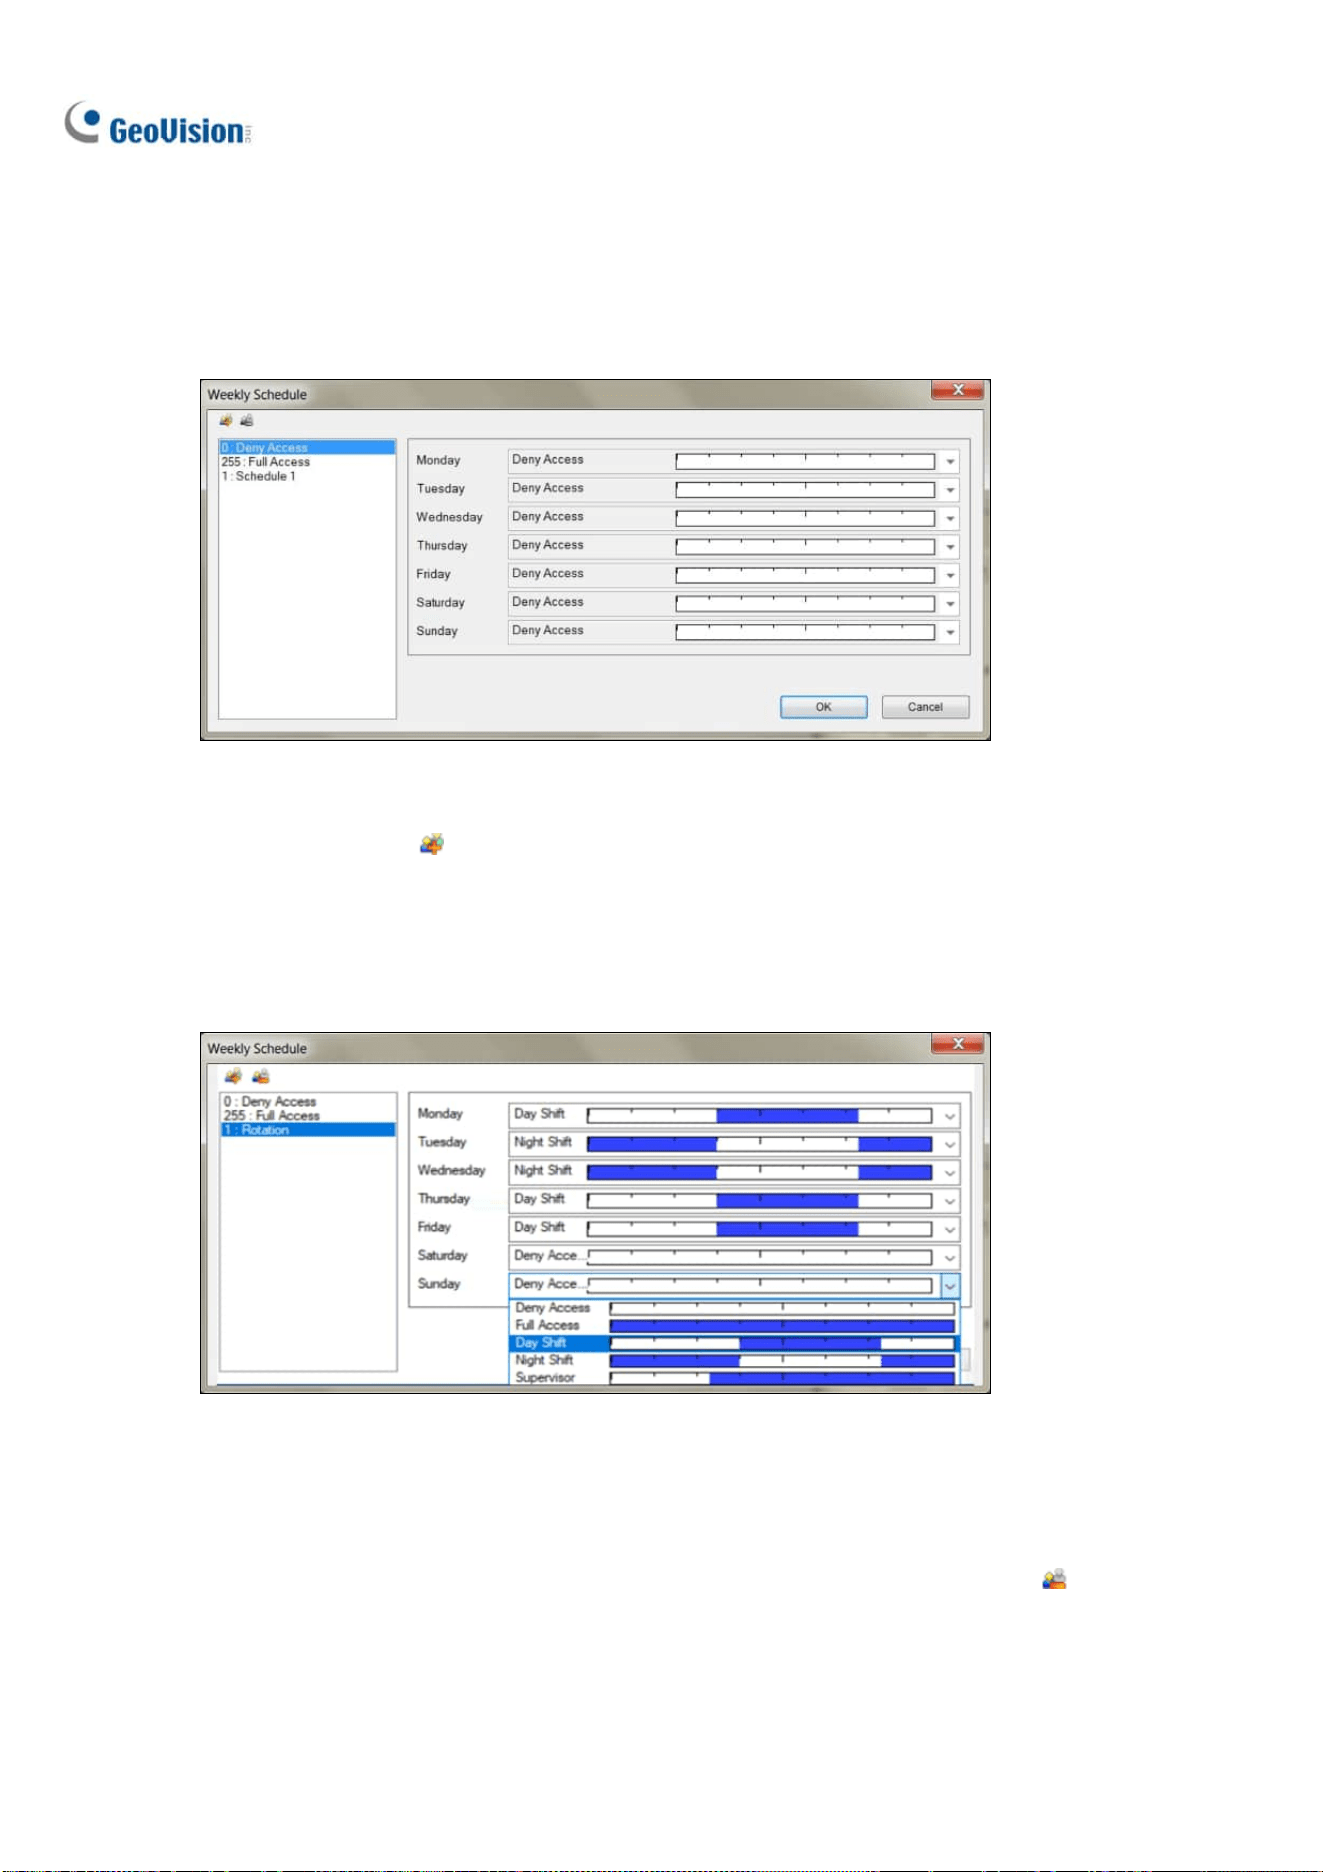
3.6.5.2 Step 2: Setting up Weekly Schedules
Once the desired 24-hour schedules are set, follow Steps 1 to 3 in Enrolling Face Data earlier in this
chapter and select Schedule. In this window, up to 254 weekly schedules can be defined, with two
default schedules for “Full Access” and “Deny Access.”
Figure 3-24
1. Click the Add button
. An ID number ascending from the lowest existing ID will be
automatically generated. Type a desired name for the new schedule, e.g. Rotation and click OK.
2. Select the desired schedules for Monday to Sunday, predefined from Step 1 earlier in this section,
in each of the respective drop-down lists, as exemplified below.
Figure 3-25
3. Repeat Steps 1 to 3 to create multiple schedules if needed, e.g. for Daytime-only and
Weekend-only access.
4. To delete schedules, select the schedule to be deleted and click the Remove button
.
5. Click OK to save the changes.
Loading ...
Loading ...
Loading ...