Loading ...
Loading ...
Loading ...
9. Using Menu Functions
230
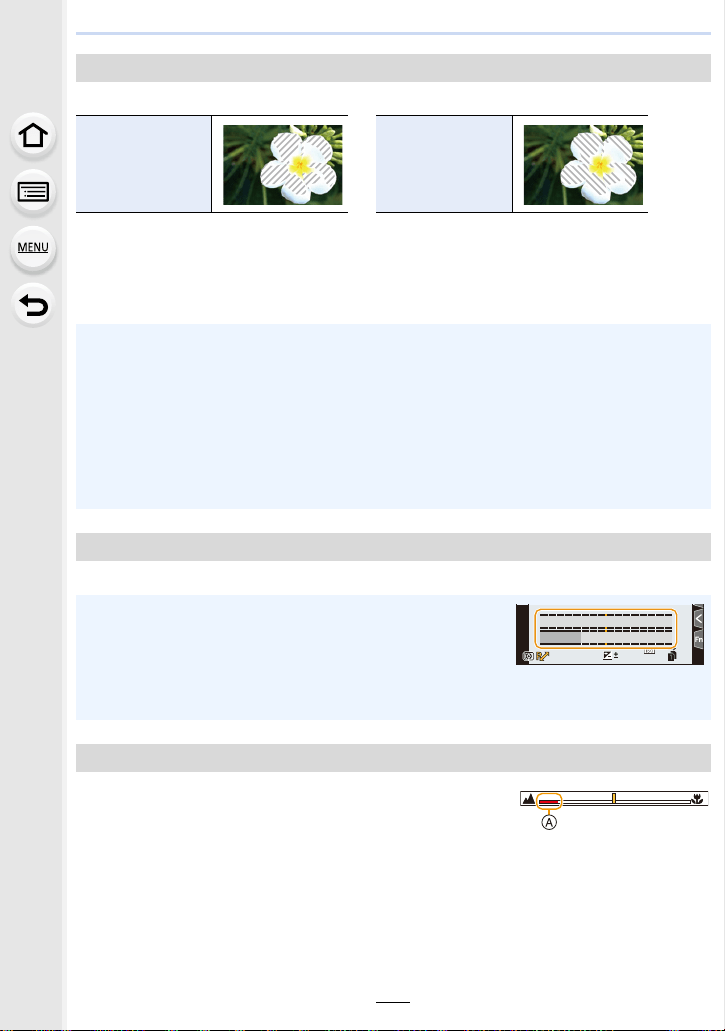
Indicates parts that may become white saturated through overexposure in a zebra pattern.
Select [SET] to set the brightness to be processed as a zebra pattern.
• You can select a brightness value between [50%] and [105%]. In [Zebra 2], you can select
[OFF]. If you select [100%] or [105%], only the areas that are already white saturated are
displayed in a zebra pattern. The smaller the value is, the wider the brightness range to be
processed as a zebra pattern will be.
Display the exposure meter.
When you set the focus manually, an MF guide that allows
you to check the direction to achieve focus is displayed.
A Indicator for ¶ (infinity)
[Zebra Pattern]
[ZEBRA1] [ZEBRA2]
• If there are any white saturated areas, we recommend compensating the exposure towards
negative (P105) referring to the histogram (P229) and then taking the picture.
• Displayed zebra patterns will not be recorded.
• If you assign [Zebra Pattern] to [Fn Button Set] (P60) in the [Custom] ([Operation]) menu,
each time you press the function button to which the setting is assigned, the zebra pattern
toggles as follows:
[Zebra 1]
> [Zebra 2] > [OFF].
When [Zebra 2] is set to [OFF], the setting toggles in the order of [Zebra 1]
> [OFF], allowing
you to switch the setting quickly.
[Expo.Meter]
• Set to [ON] to display the Exposure meter when performing
Program Shift, setting aperture, and setting shutter speed.
• Unsuitable areas of the range are displayed in red.
• When the Exposure meter is not displayed, switch the display
information for screen by pressing [DISP.].
• If no operations are performed for approximately 4 seconds, the Exposure meter disappears.
[MF Guide]
2
00
0
60604.04.0
989898
SSSSSS
FF
250 125 60 30 15
4.02.8 5.6 8.0
Loading ...
Loading ...
Loading ...