Loading ...
Loading ...
Loading ...
55
PLACING THE ORIGINAL ON THE DOCUMENT GLASS
This section explains how to place the original on the document glass.
Allowed original sizes
When a non-standard size original is placed in copy
mode, see "SPECIFYING THE ORIGINAL SIZE" in the
Copier Guide.
When a non-standard size original is placed for fax or
scanner transmission, see "IMAGE SETTINGS" in the
Image Send Guide.
Maximum original size
Standard sizes
11" (height) x 17" (width)
A3: 297 mm (height) x 420 mm (width)
Non-standard sizes
11-5/8" (height) x 17" (width)
297 mm (height) x 432 mm (width)
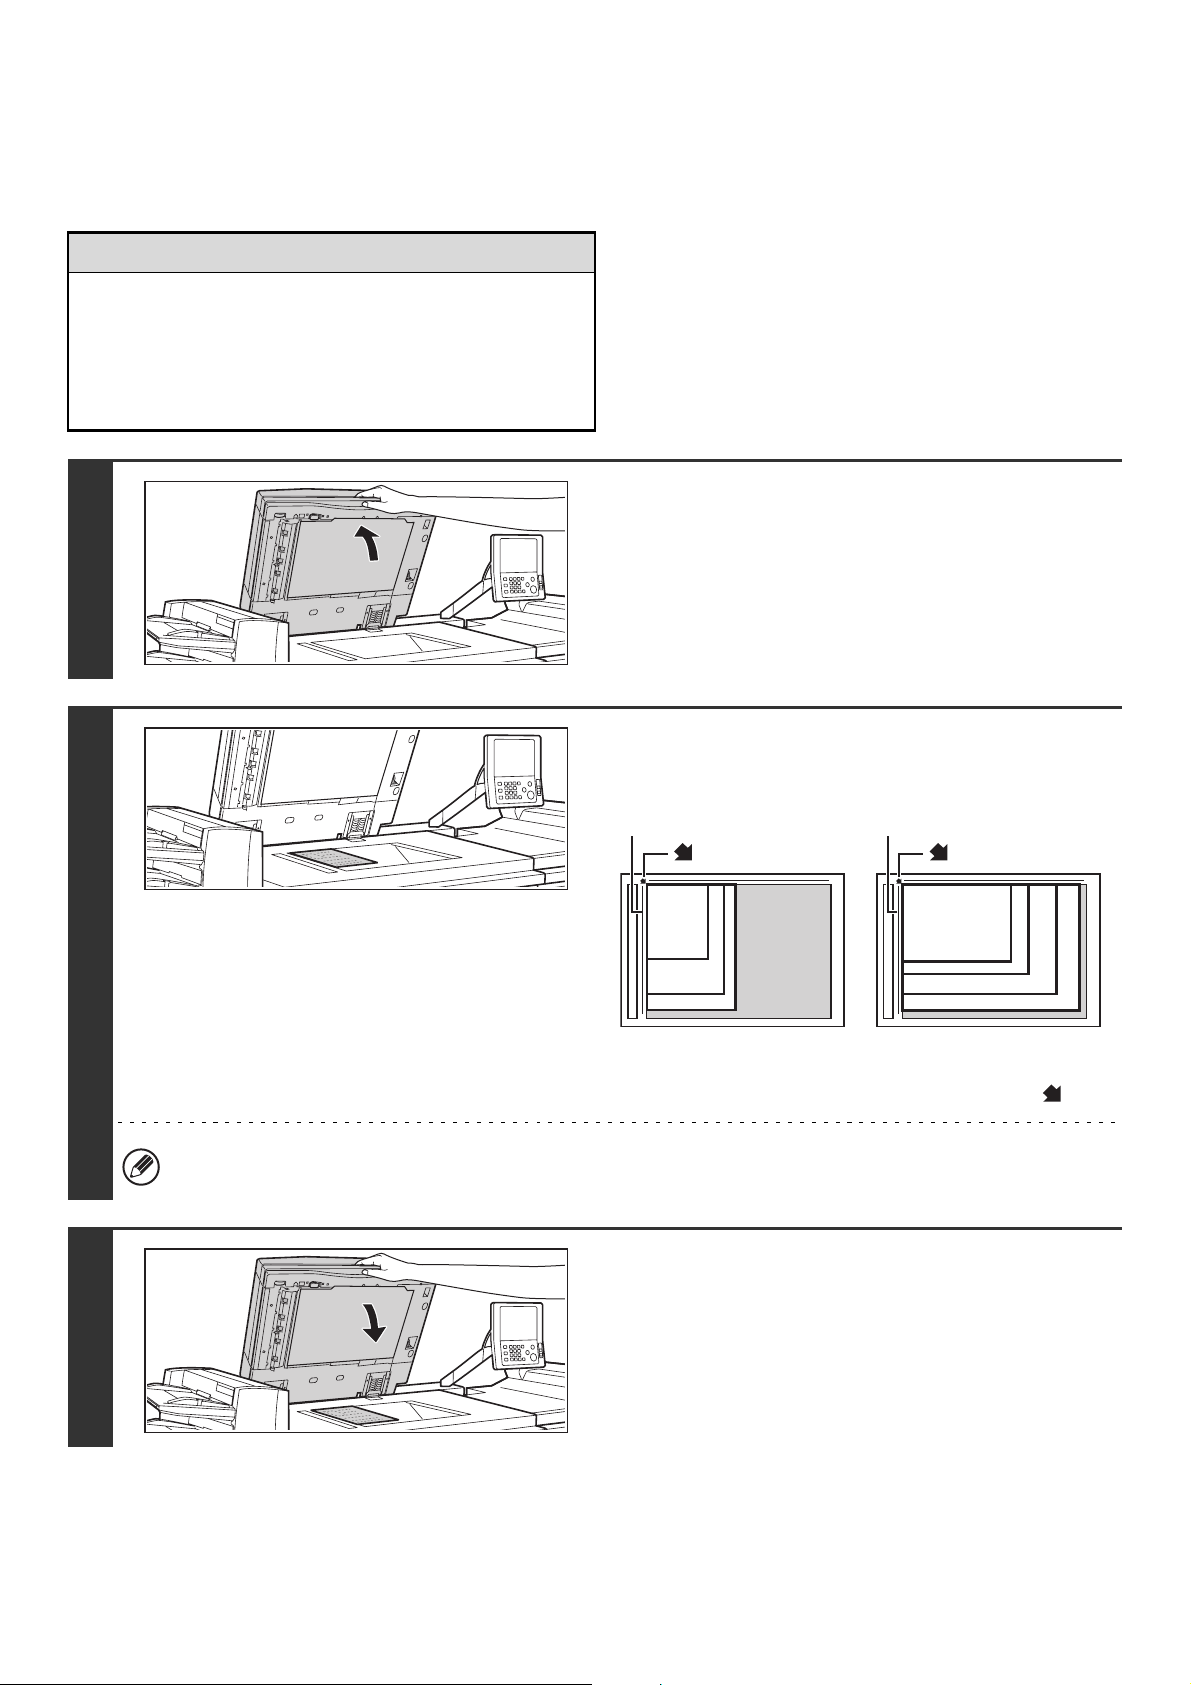
1
Open the automatic document feeder.
2
Place the original.
Place the original face down in the far left corner of the
document glass.
The original should always be placed in the far left corner,
regardless of its size.
Align the top left corner of the original with the tip of the mark.
If you are placing a small non-standard size original on the document glass, it is convenient to place a blank sheet of
8-1/2" x 11" or 5-1/2" x 8-1/2" (A4 or A5) paper on top of the original to facilitate detection of the original size.
3
Close the automatic document feeder.
After placing the original, be sure to close the automatic
document feeder. If left open, parts outside of the original will
be copied black, causing excessive use of toner.
8-1/2" x 11"R (A4R)
B5R
8-1/2" x 14" (B4)
11" x 17" (A3)
8-1/2" x 11" (A4)
5-1/2" x 8-1/2"
(A5)
B5
mark
Document glass scale
Document glass scale
mark
Loading ...
Loading ...
Loading ...