Loading ...
Loading ...
Loading ...
71
Specifying the original scan size (by paper size)
If you place a non-standard size original or wish to change the scan size, you must touch the [Original] key and specify
the original size manually. Follow the steps below after placing the original in the document feeder tray or on the
document glass.
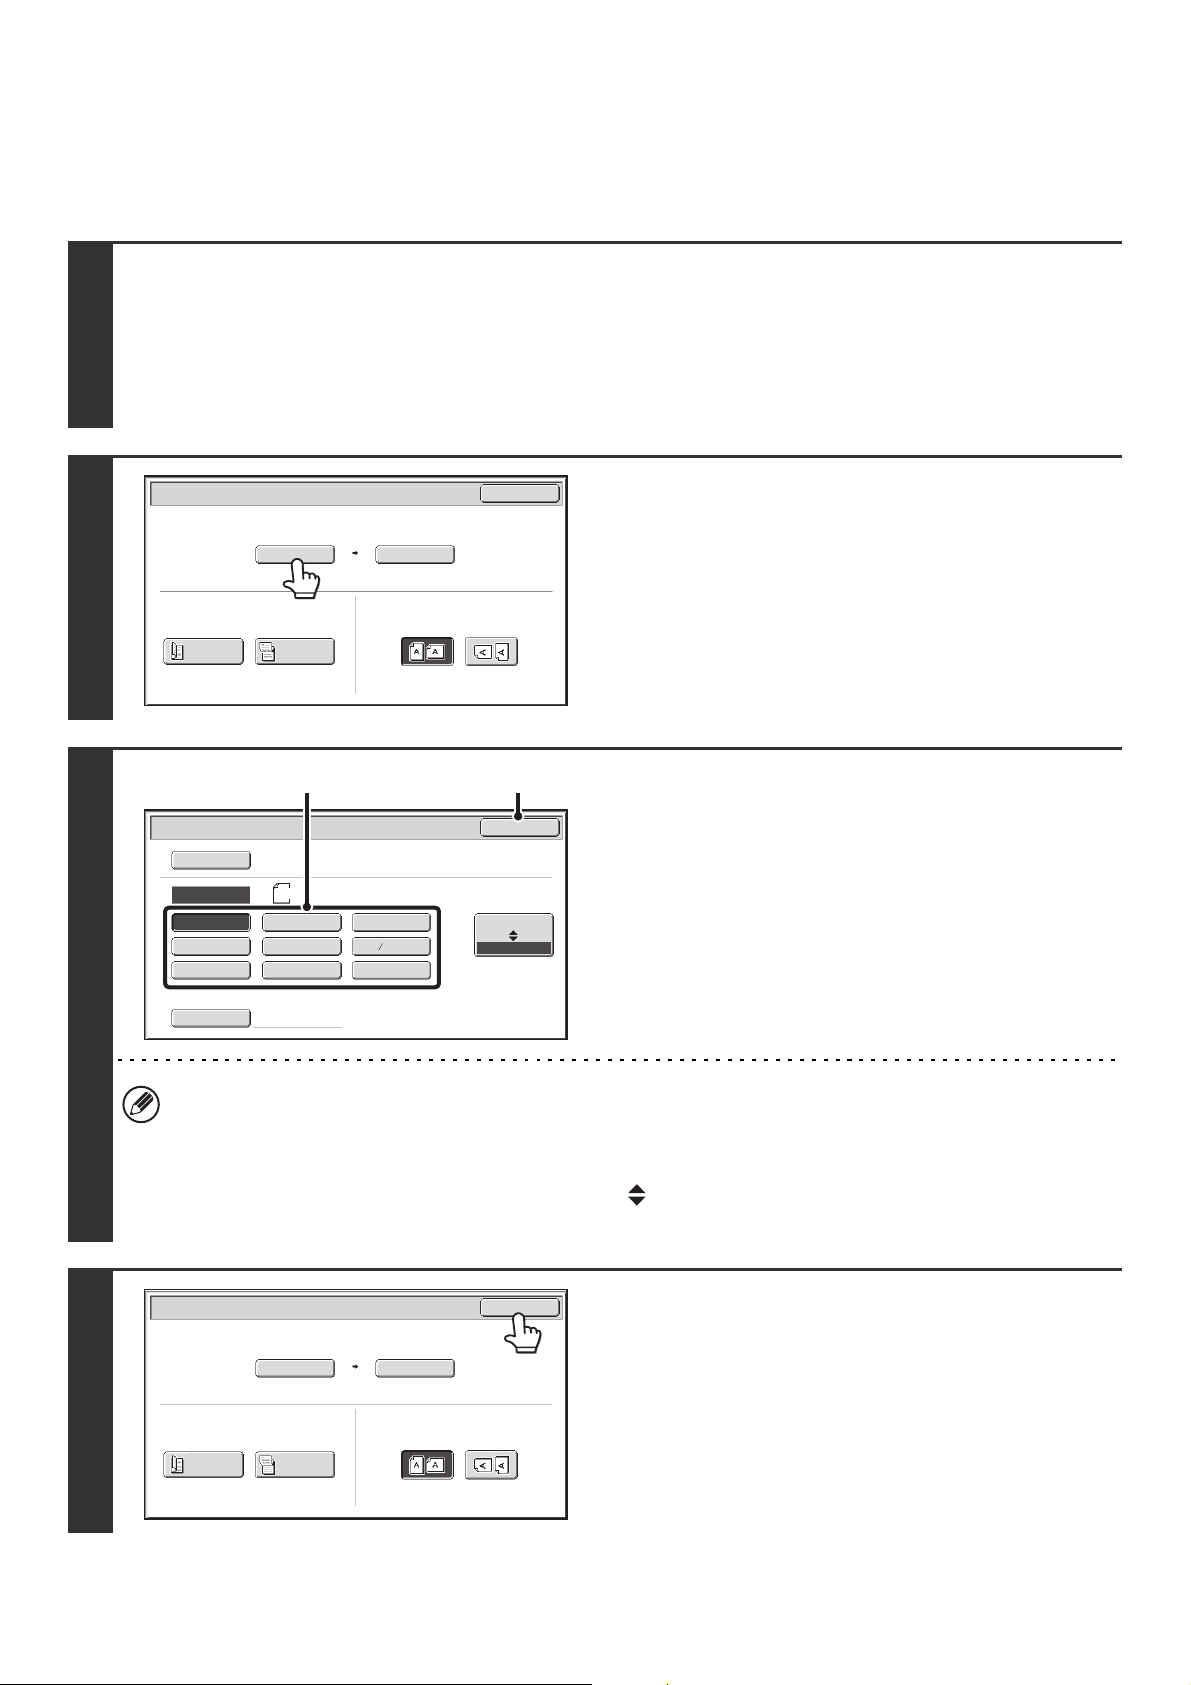
1
Select the mode and display the image settings screen.
(1) Touch the tab of the mode that you wish to use.
(2) Touch the [Original] key.
The automatically detected original size appears to the right of the [Original] key.
☞ IMAGE SETTINGS (page 68)
2
Touch the [Scan Size] key.
3
Specify the scan size.
(1) Touch the appropriate original size key.
(2) Touch the [OK] key.
• If you are sending a long original, touch the [Long Size] key. Use the automatic document feeder to scan a long
original. The maximum width that can be scanned is 31-1/2" (800 mm) (the maximum height is 11" (297 mm)).
• When [Long Size] is selected, the 2-sided scanning setting and send size cannot be changed. Scanning will take
place in mono2.
• To specify an AB size for the scan size, touch the [AB Inch] key to highlight the [AB] side and then specify the
scan size.
4
Touch the [OK] key.
Scan/Original
OK
Auto
Auto 8½x11
Scan Size
2-Sided
Tablet
2-Sided
Booklet
Send Size
100%
Image Orientation
Scan
/Original
OK
Auto
5½x8½
5½x8½R
8½x11
8½x11R
8½x13(216x330)
11x17
8½x14
Size Input
Long Size
Inch
AB
Manual
Manual
8½x13 (216x340)
2
5
(2)(1)
Scan/Original
OK
Auto
5½x8½
Scan Size
2-Sided
Tablet
2-Sided
Booklet
Send Size
100%
Image Orientation
Loading ...
Loading ...
Loading ...