Loading ...
Loading ...
Loading ...
103
3
Select the special modes.
If the base screen is not displayed, touch the [Condition Settings] key.
(1) Make sure that the desired mode is selected.
If the desired mode is not selected, touch the tab of that mode.
(2) Touch the [Special Modes] key.
(3) Touch the [Card Shot] key.
☞ SPECIAL MODES (page 87)
When you return to the base screen after specifying the destination, the base screen of the mode of the specified
destination appears.
4
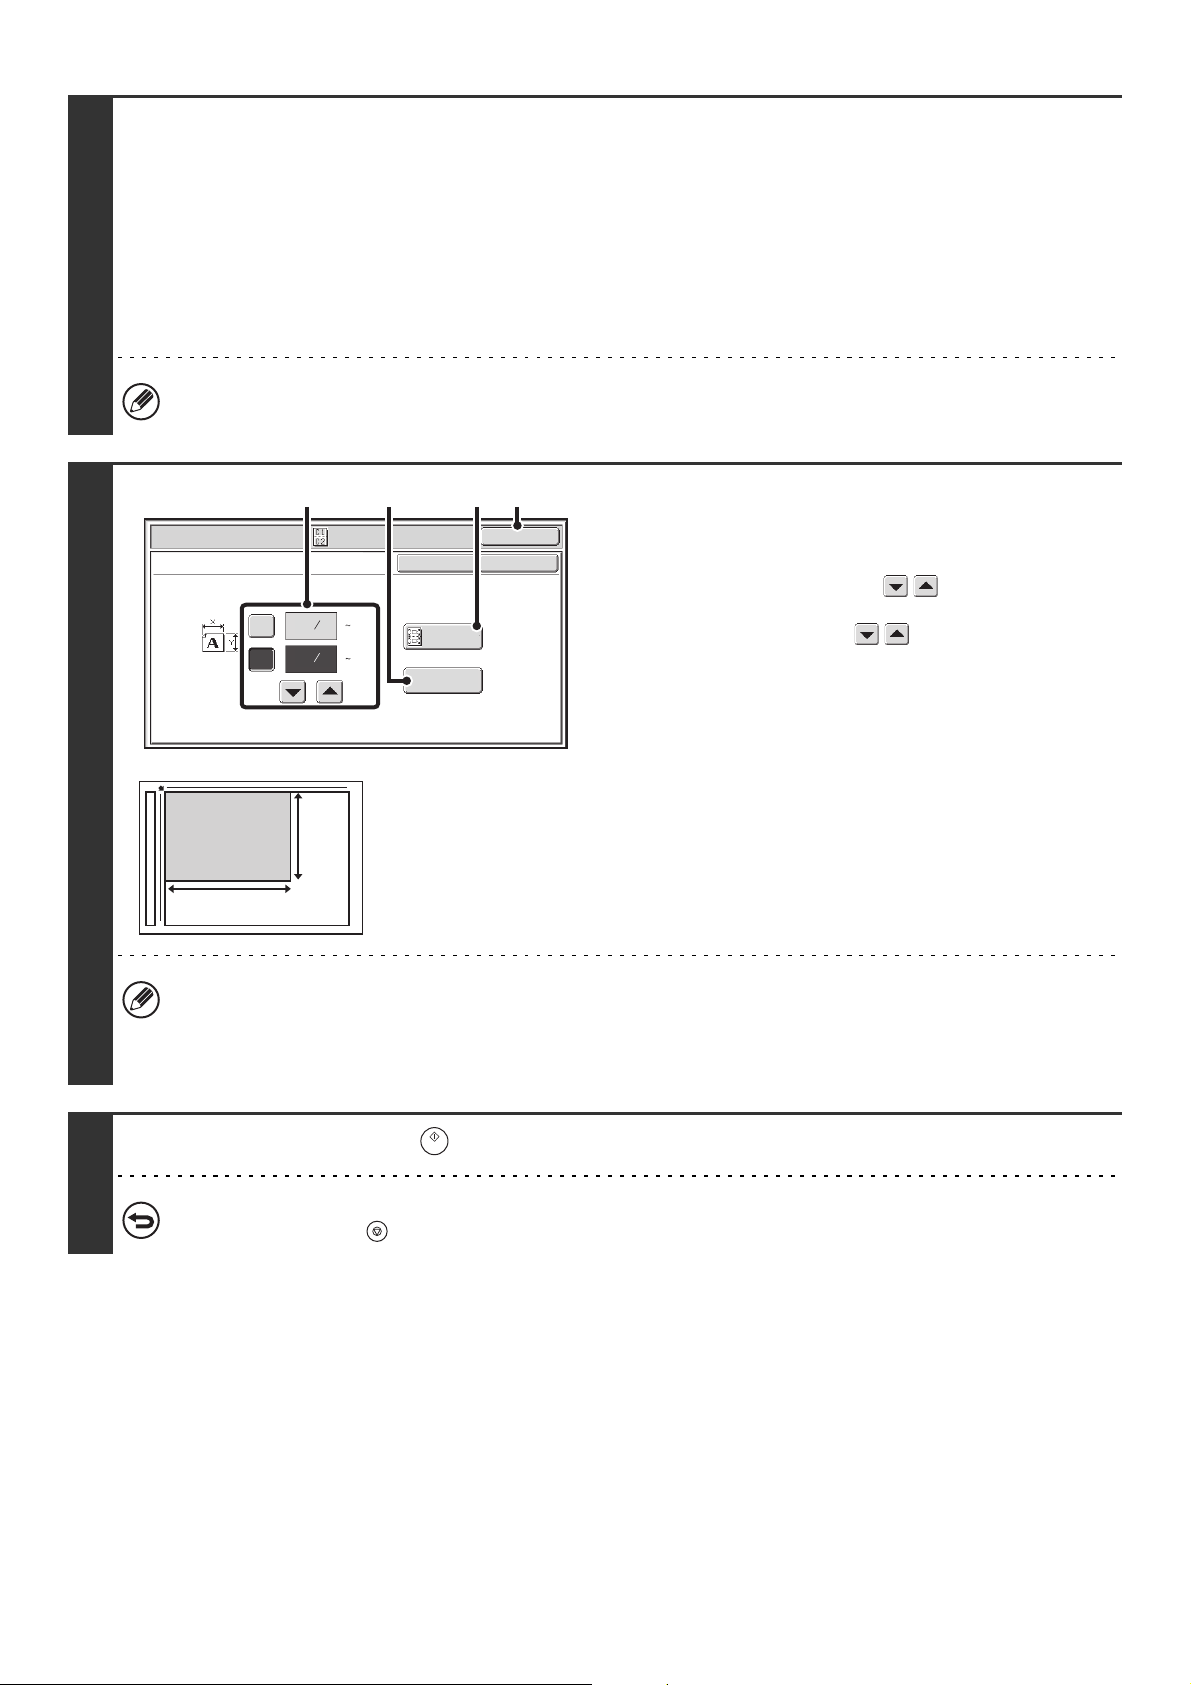
Specify the original size.
(1) Enter the original size.
• Touch the [X] key and enter the horizontal dimension
(X) of the original with the keys.
• Touch the [Y] key and enter the vertical dimension (Y)
of the original with the keys.
(A)To return the original size to the default size, touch the
[Size Reset] key.
(B)To automatically enlarge or reduce the image to fit the
send size, touch the [Fit to Send Size] key. If you wish
to scan the original at the entered original size, there is
no need to touch this key.
(2) Touch the [OK] key.
• The send size will be selected automatically based on the entered original size.
• After selecting Card Shot, you can touch the [Original] key in the base screen to change the original scan size or the
send size. In this case, the screen of this step appears when you touch the scan size key. For the procedure for
setting the send size, see "Specifying the send size of the image" (page 74).
5
Press the [START] key ( ) to scan the front of the card.
To cancel scanning...
Press the [STOP] key ( ) to cancel the operation.
Scan/Special Modes
OK
Card Shot
(1 8 1/2)
inch
(1 8 1/2)
inch
OKCancel
Fit to
Send Size
Size Reset
X
Y
3
8
3
2
8
1
(1) (B) (2)
(A)
X
Y
Loading ...
Loading ...
Loading ...