Loading ...
Loading ...
Loading ...
82
4
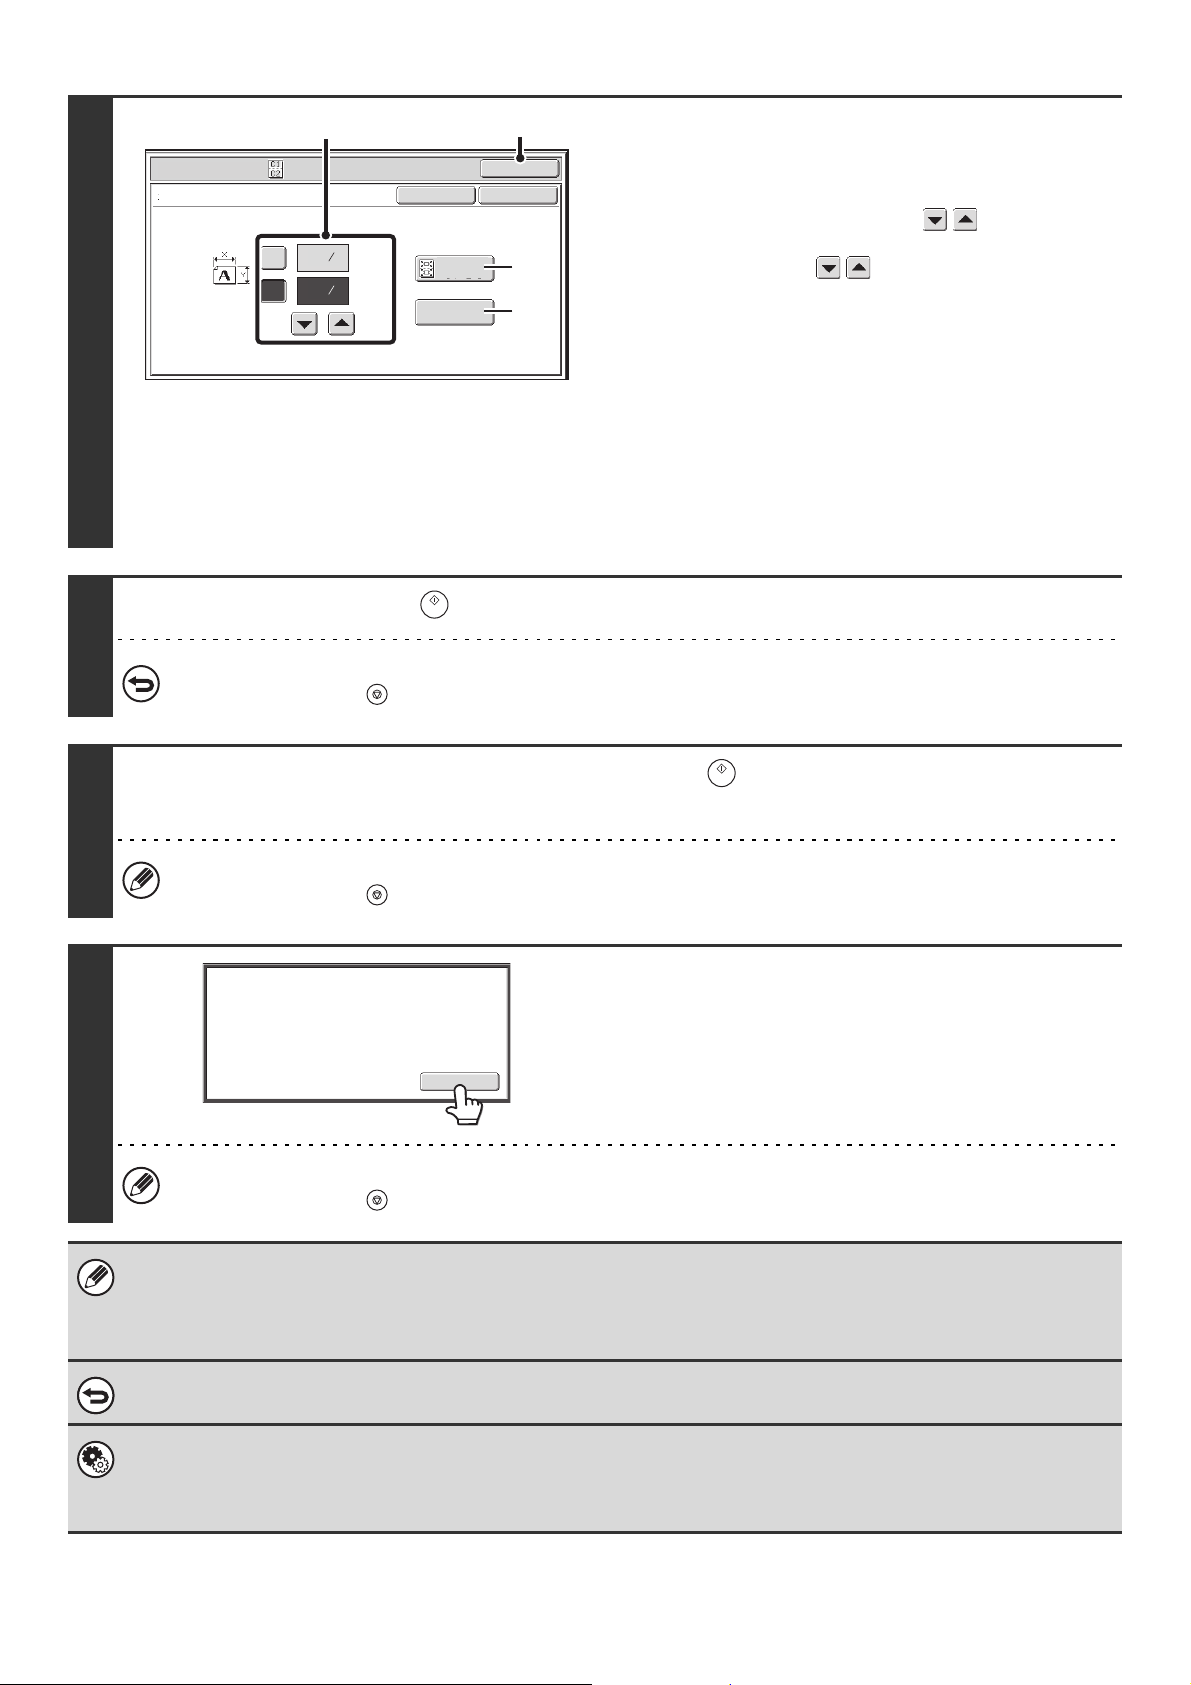
Select card shot settings.
(1) Enter the original size.
With the [X] key highlighted, enter the X (horizontal)
dimension of the original with the keys.
Touch the [Y] key and enter the Y (vertical) dimension of
the original with the keys.
(A) To enlarge or reduce the images to fit the paper
based on the entered original size, touch the [Fit to
Page] key.
(B) The [Size Reset] key can be pressed to return the
horizontal and vertical dimensions to the values set in
"Card Shot Settings" in the system settings
(administrator).
(2) Touch the [OK] key.
You will return to the base screen of copy mode. Make sure
that the entered dimensions appear in the [Original] key.
5
Press the [START] key ( ) to scan the front side of the card.
To cancel scanning...
Press the [STOP] key ( ).
6
Turn the card over and press the [START] key ( ) to scan the reverse side of
the card.
To cancel scanning...
Press the [STOP] key ( ).
7
Touch the [Read-End] key.
Copying will begin.
To cancel copying...
Press the [STOP] key ( ).
• The original must be placed on the document glass.
• Copying is only possible on standard size paper.
• XY Zoom cannot be used when using this function.
• The image cannot be rotated when using this function.
To cancel card shot...
Touch the [Cancel] key in the screen of step 4.
System Settings (Administrator): Card Shot Settings
This is used to set the values to which the size returns when the [Size Reset] key is pressed. 1" to 8-1/2" (25 mm to 210 mm)
can be entered for both the horizontal and vertical dimensions.
The factory default settings are 3-3/8" (86 mm) for X (the width) and 2-1/8" (54 mm) for Y (the height).
Special Modes
OK
Card Shot
OKCancel
Fit to
Page
Size Reset
(1~8 1/2)
inch
(1~8 1/2)
inch
X
Y
3
8
3
2
8
1
(2)(1)
(A)
(B)
Read-End
Place next original. Press [Start].
When finished, press [Read-End].
Loading ...
Loading ...
Loading ...