Loading ...
Loading ...
Loading ...
114
4
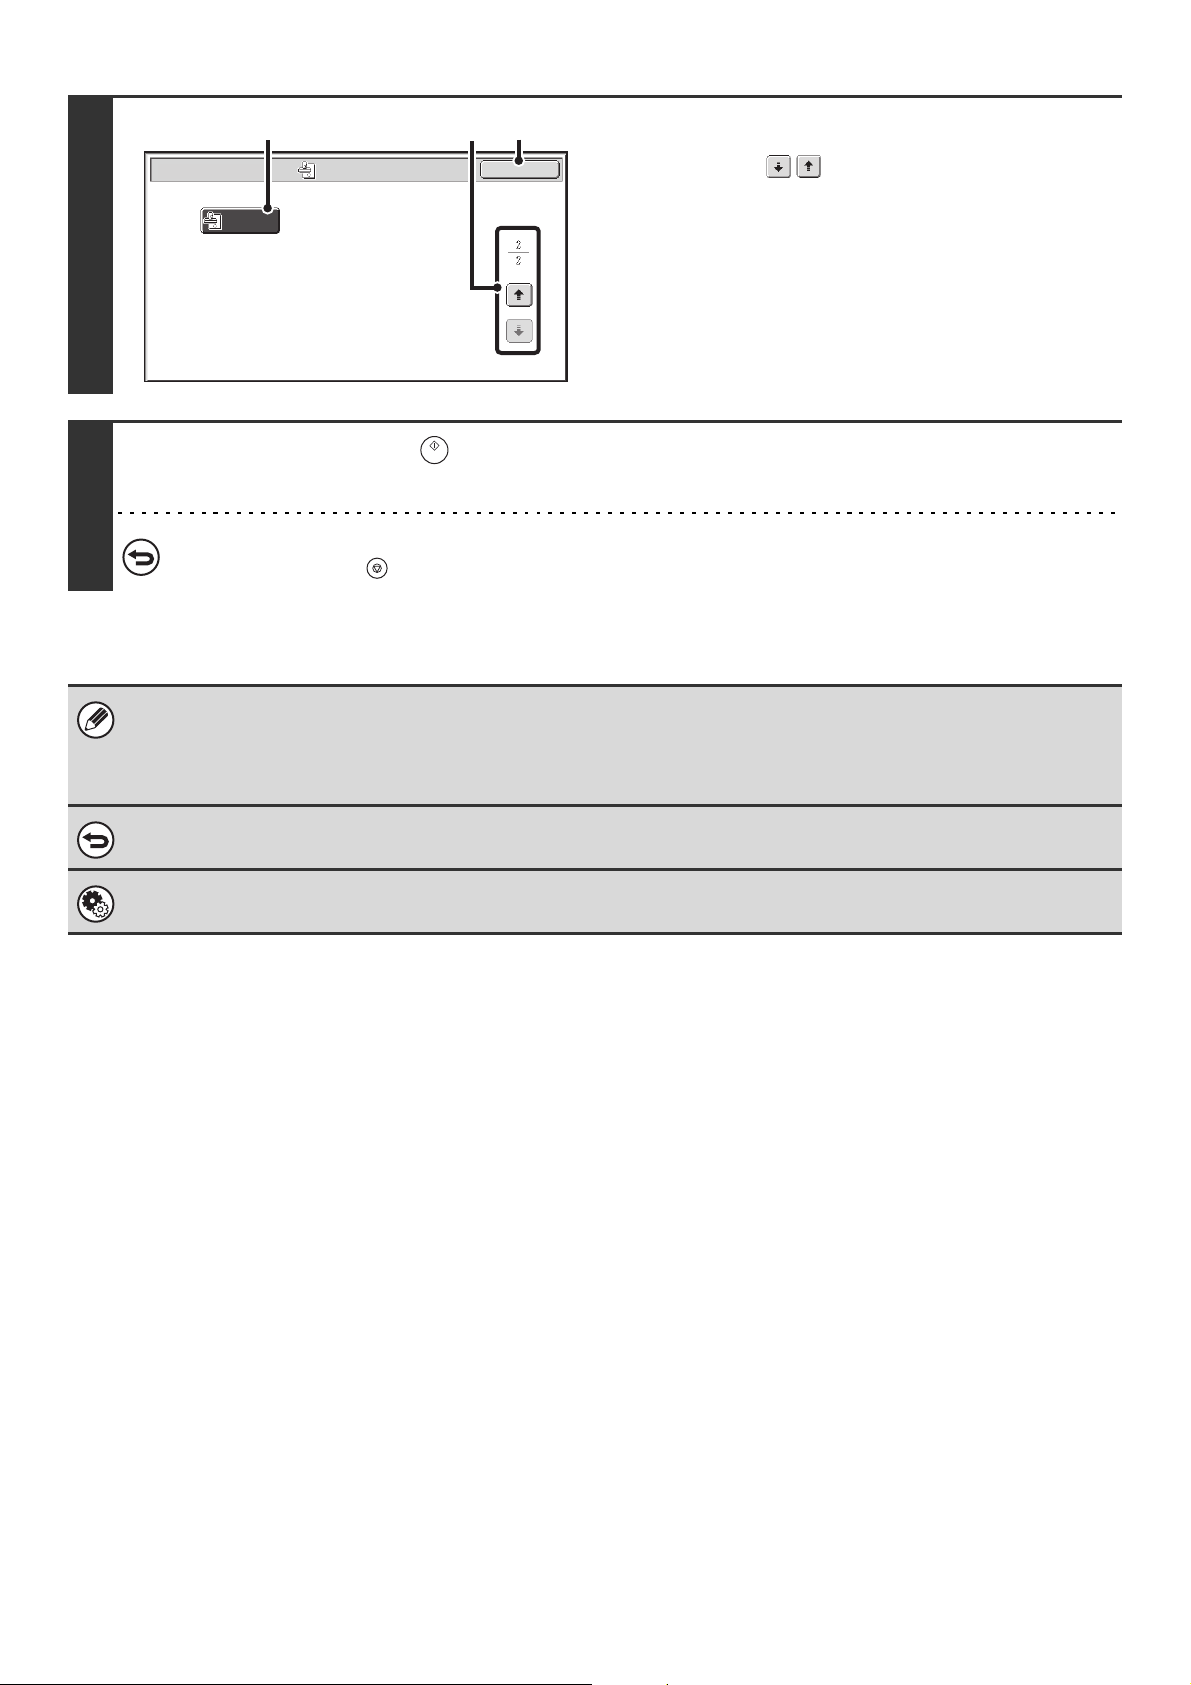
Select "Verif. Stamp".
(1) Touch the keys to switch through the
screens.
(2) Touch the [Verif. Stamp] key so that it is
highlighted.
(3) Touch the [OK] key.
5
Press the [START] key ( ).
Scanning begins. A beep will sound to indicate that scanning is finished.
To cancel scanning...
Press the [STOP] key ( ) to cancel the operation.
• When two-sided scanning is selected, the front side of the original is stamped twice.
• If an error occurs during scanning, an orignial that was not scanned may be stamped.
• When the "O" mark that is stamped on originals starts to become faint, replace the stamp cartridge. For the procedure for
replacing the stamp cartridge, see "REPLACING THE STAMP CARTRIDGE" in the Maintenance Guide.
To cancel the stamp function...
Touch the [Verif. Stamp] key in the screen of step 4 so that it is no longer highlighted.
System Settings (Administrator): Default Verification Stamp
This setting is used to always have originals stamped.
Verif.
Stamp
Scan/Special Modes
OK
(3)
(2)
(1)
Loading ...
Loading ...
Loading ...