
Loading ...
Loading ...
Loading ...
10-10 WHEELS/TIRES
Wheels (Rims)
Rear Wheel Installation
•
Apply high-temperature grease to the grease seal lips.
•
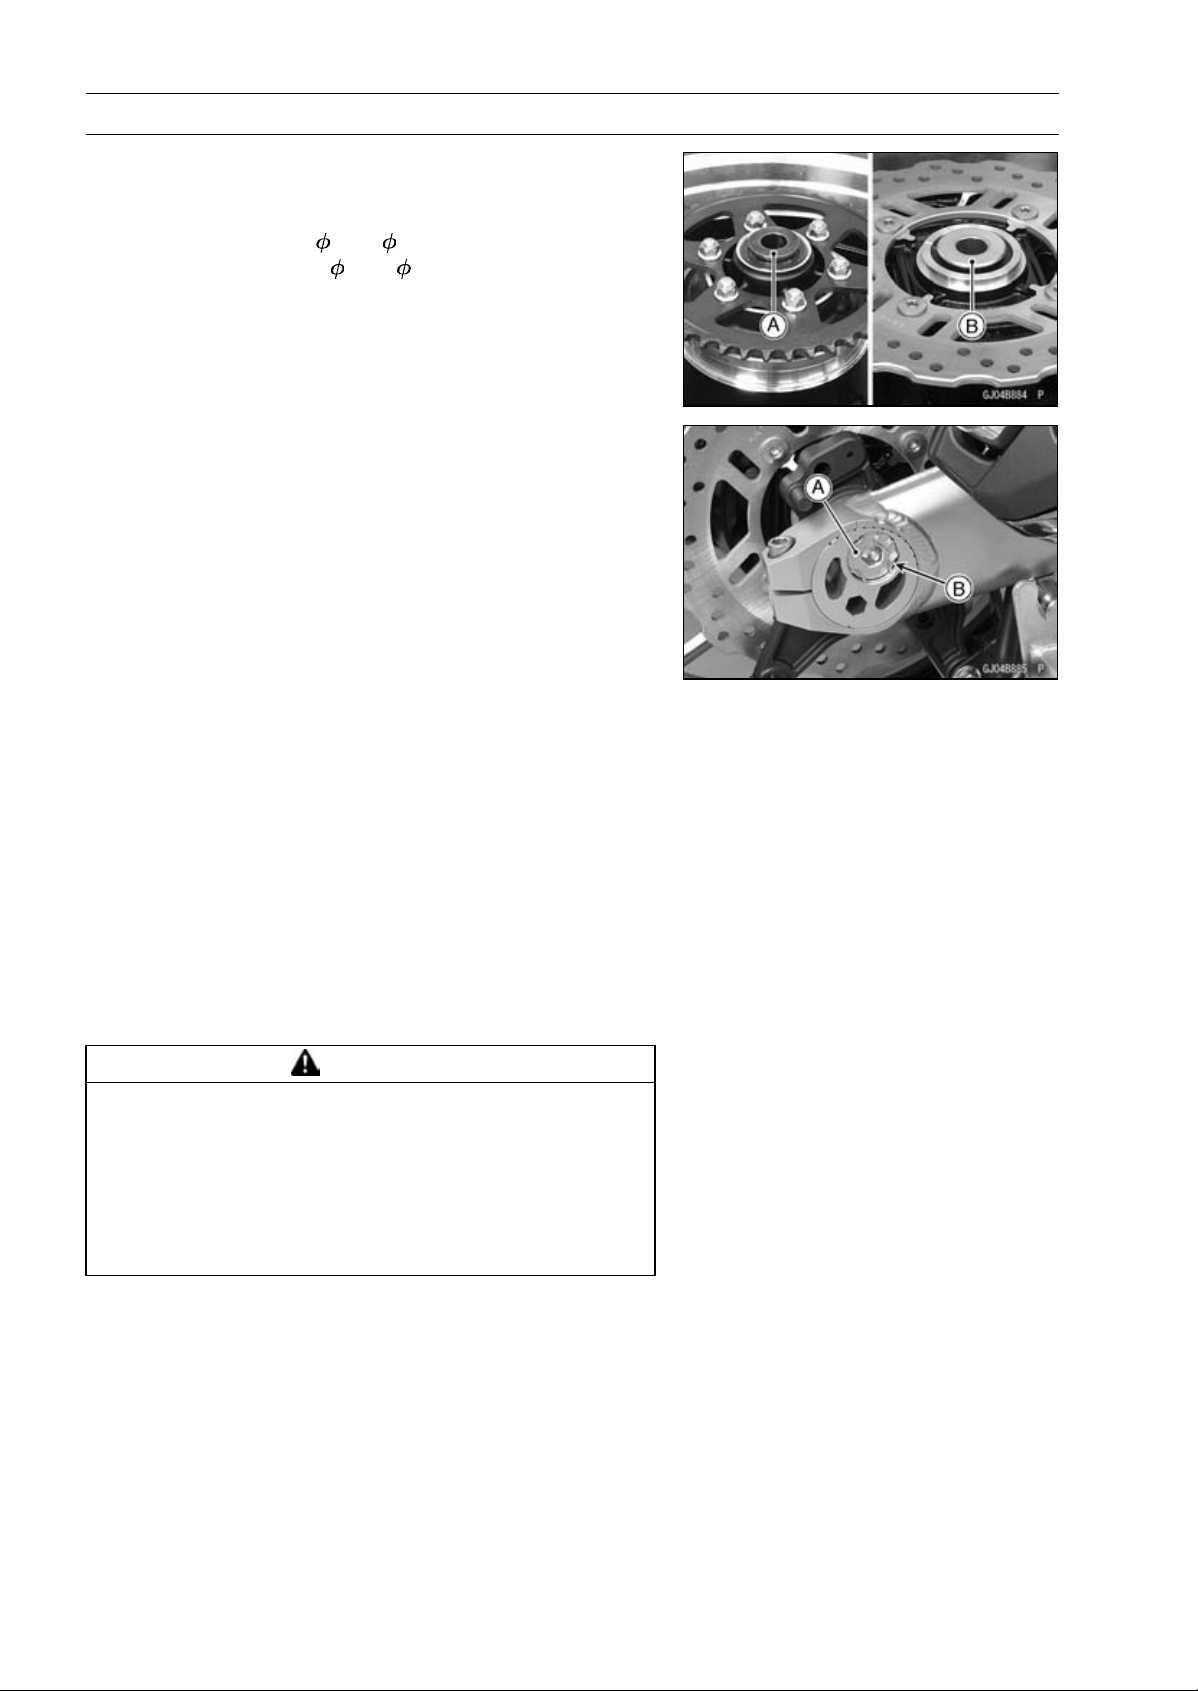
Fit the collars on the both sides of the hub.
Left Side Collar [A] (
40 × 35)
Right Side Collar [B] (
44 × 28)
•
Engage the drive chain with the rear sprocket.
•
Insert the axle from the left side of the wheel.
•
Align the hole of the brake holder with hole of the rear
wheel.
•
Install:
Washer
Rear Axle Nut [A]
•
Before tightening the rear axle nut, check that the scale
on the left and right adjusters set the same position.
•
Tighten:
Torque - Rear Axle Nut: 98 N·m (10 kgf·m, 72 ft·lb)
•
Replace the retaining rings [B] with new ones, and install
them.
•
Adjust the drive chain slack after installation (see Drive
Chain Slack Inspection in the Periodic Maintenance chap-
ter).
•
Tighten:
Torque - Torque Link Nuts: 34 N·m (3.5 kgf·m, 25 ft·lb)
•
Install the rear caliper (see Caliper Installation in the
Brakes chapter).
•
Check the rear brake effectiveness (see Brake Operation
Inspection in the Periodic Maintenance chapter).
WARNING
After servicing, it takes several applications of the
brake pedal before the brake pads contact the disc,
which could result in increased stopping distance
and cause an accident resulting in injury or death.
Do not attempt to ride the motorcycle until a firm
brake pedal is obtained by pumping the pedal until
the pads are against the disc.
Loading ...
Loading ...
Loading ...