Loading ...
Loading ...
Loading ...
CRANKSHAFT/TRANSMISSION 9-35
Transmission
•
The drive shaft gears can be recognized by size: the gear
with the smallest diameter is 1st gear, and the largest one
is 6th gear. Be sure that all parts are put back in the cor-
rect sequence and all circlips and washers are properly in
place.
•
Install the 3rd/4th gear onto the drive shaft with their oil
holes aligned.
•
Install the 6th gear bushing onto the drive shaft with their
oil holes aligned.
•
The output shaft gears can be recognized by size: the
gear with the largest diameter is 1st gear, and the small-
est one is 6th gear. Be sure that all parts are put back
in the correct sequence and all circlips and washers are
properly in place.
•
Install the 5th and 6th gears onto the output shaft with
their oil holes aligned.
•
Install the 3rd/4th gear bushings onto the output shaft with
their oil holes aligned.
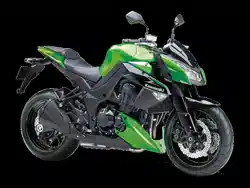
NOTE
○
When the toothed washers are assembled onto the out-
put shaft, note the following.
○
When the tangs [A] of the toothed washer shall be as-
sembled, they should be installed into the notch [B] of
the toothed washer (see Page 9-36).
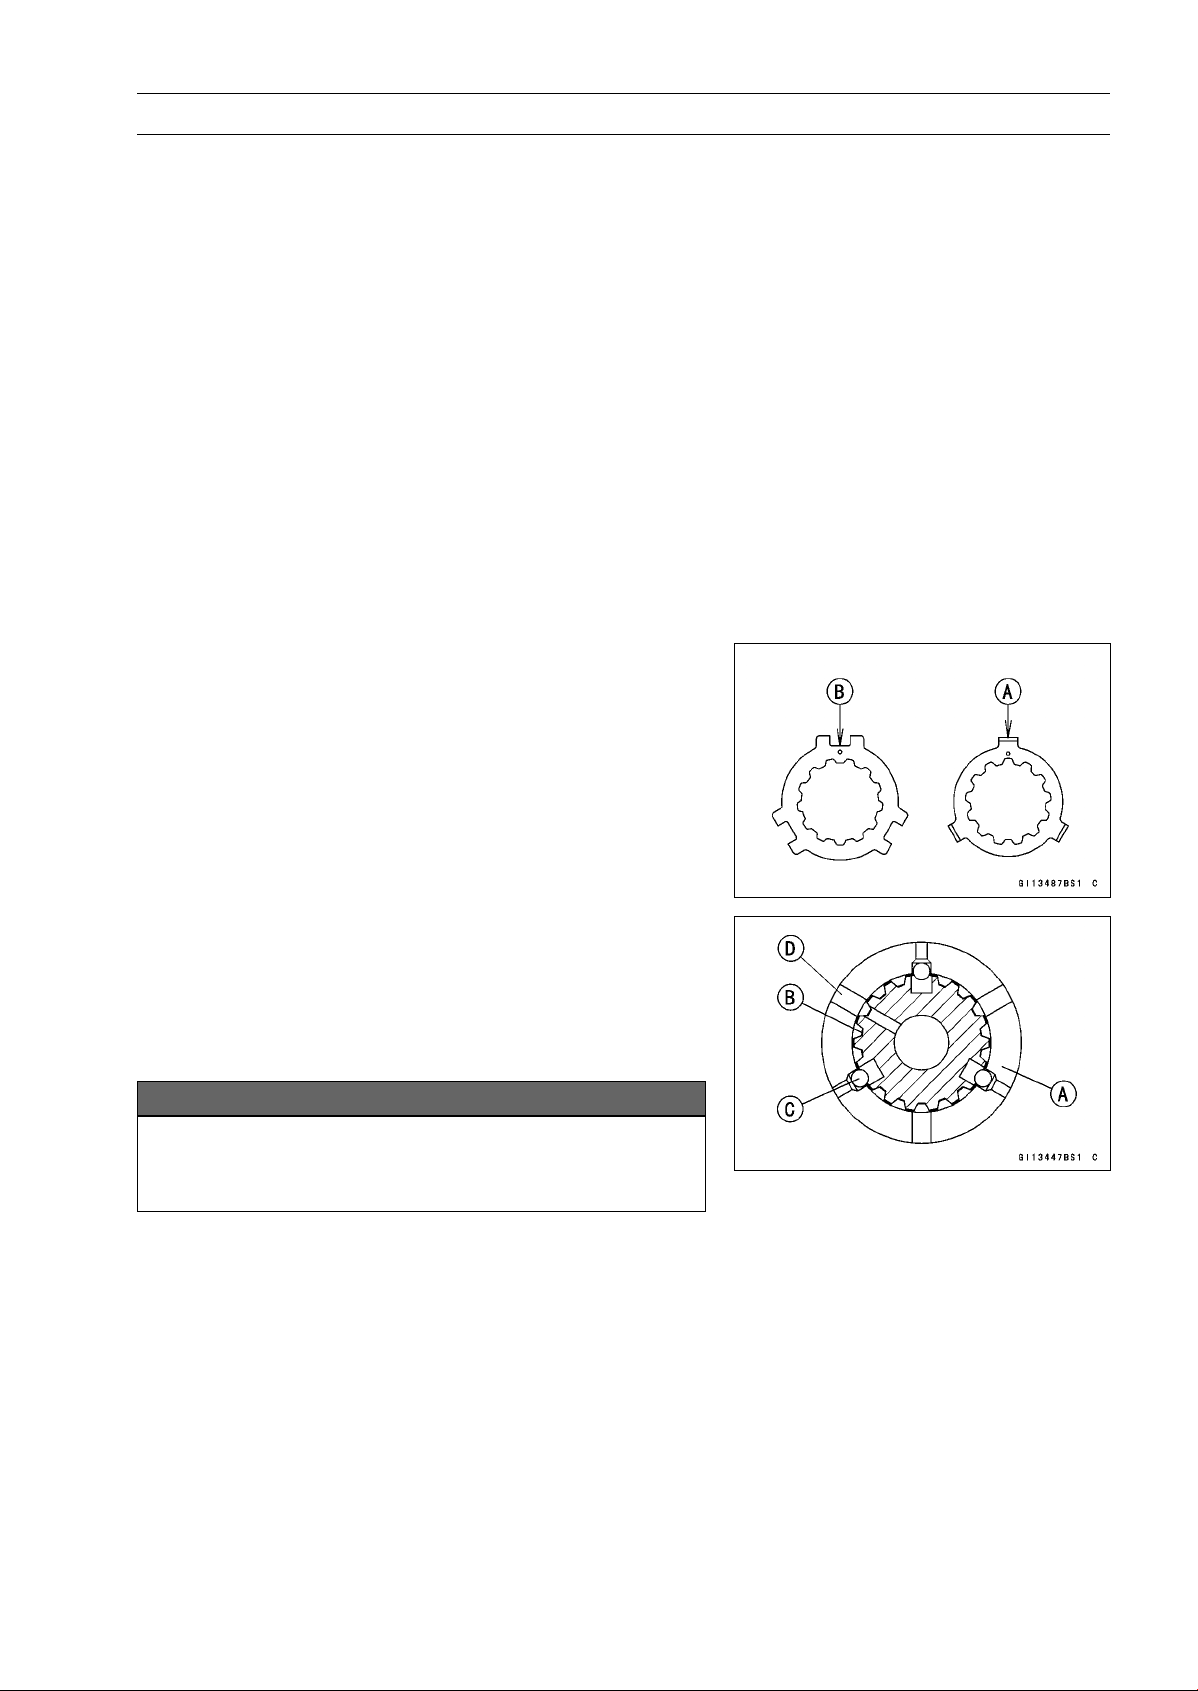
•
Fit the steel balls into the 5th gear holes in the output
shaft, aligning oil hole as shown.
5th Gear [A]
Output Shaft [B]
Steel Balls [C]
Oil Hole [D]
NOTICE
Do not apply grease to the balls to hold them in
place. This will cause the positive neutral finder
mechanism to malfunction.
○
After assembling the 5th gear with steel balls in place on
the output shaft, check the ball-locking effect that the 5th
gear doesn’t come out of the output shaft when moving it
up and down by hand.
•
Check that each gear spins or slides freely on the trans-
mission shafts without binding after assembly.
Loading ...
Loading ...
Loading ...