Loading ...
Loading ...
Loading ...
Set Up the Printer
28
1
Note
• When using die-cut labels, set the paper type to [Die-cut Label], and press the (Feed) / OK button after
inserting the roll. The printer will feed the label to the top of form position.
• To remove the roll, reverse the installation procedure.
• Make sure inserted rolls turn correctly.
Use the Roll Holder Stop 1
The roll holder stop prevents the roll holder from closing. It is ideal to minimize the distance needed to spread
the roll holders in order to load the roll.
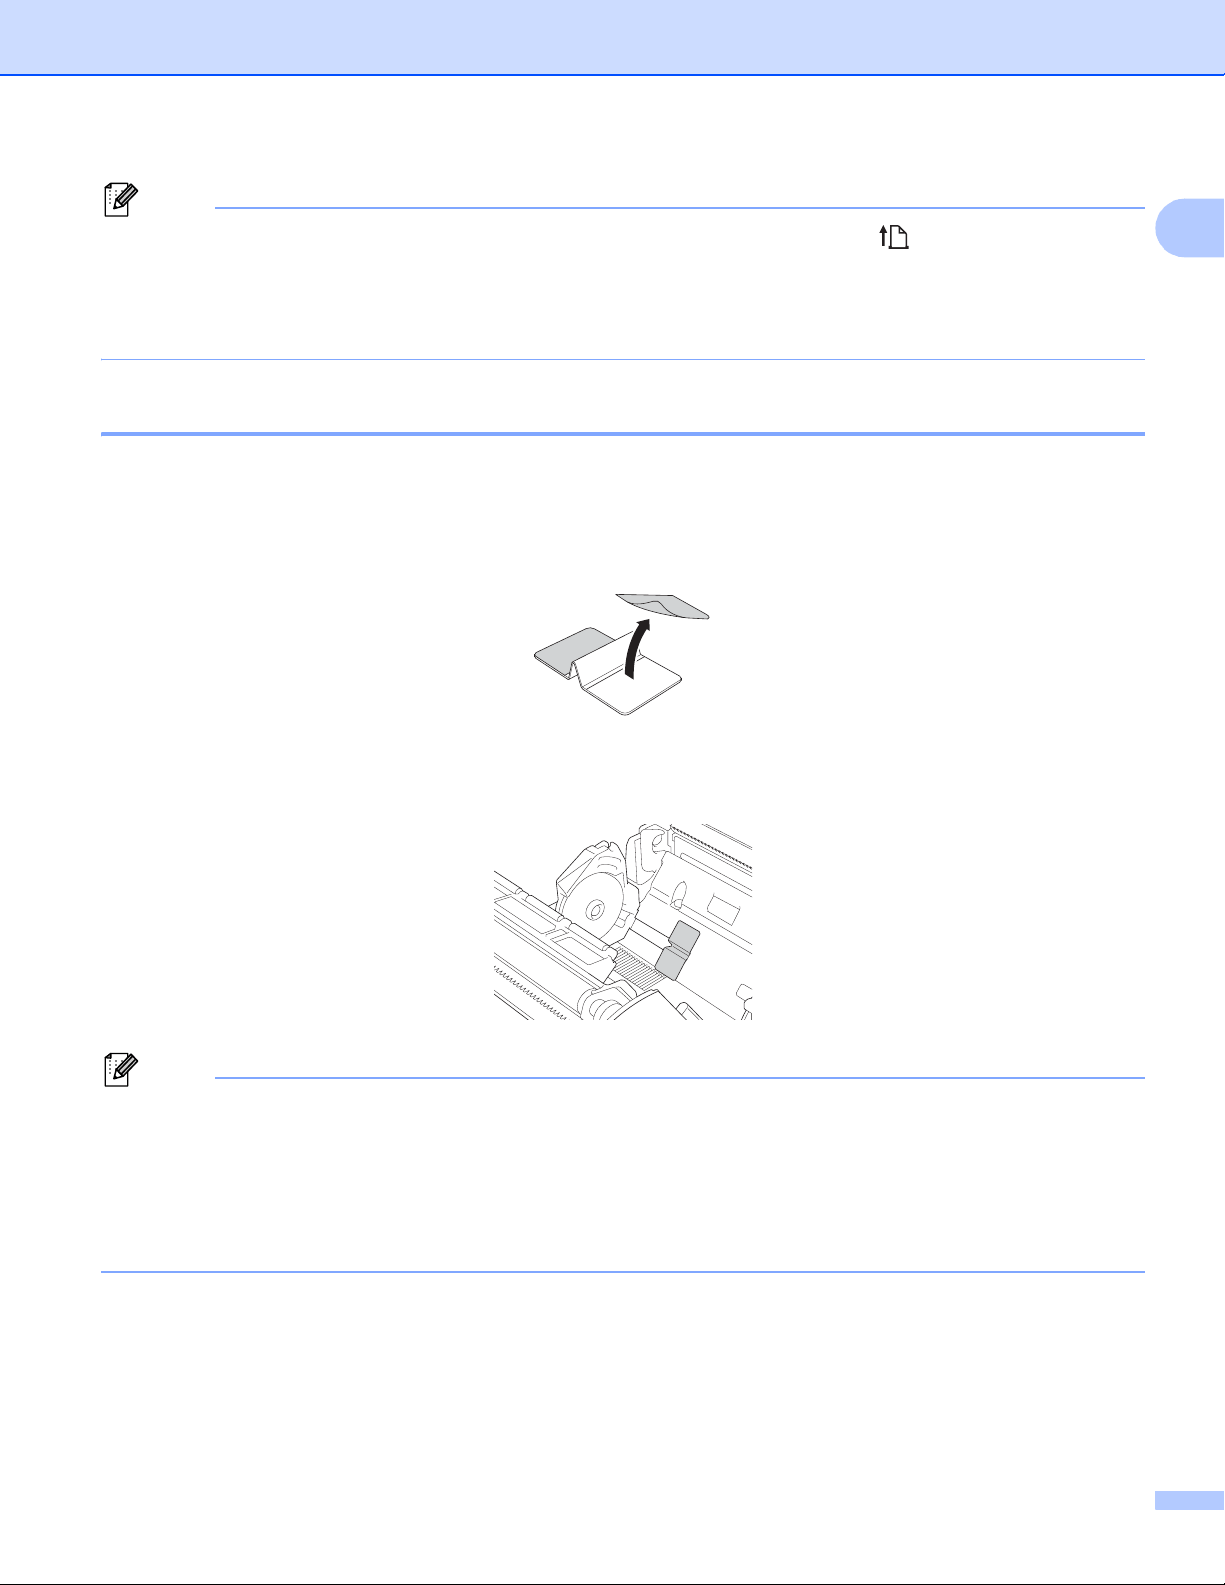
a Remove the backing paper from two locations on the roll holder stop.
b Extend the roll guide outward and attach the roll holder stop to the innermost part of groove.
Note
• Roll holder stop is supported for 4 inch roll.
• Attach the roll holder stop with the roll guide outwards.
• The roll holder stop can be attached to either side of the groove.
• Attach the roll holder stop not to enter surplus air between the adhesive layer and the printer.
• Clean the pasted part of the printer before attaching.
Loading ...
Loading ...
Loading ...