Loading ...
Loading ...
Loading ...
En
43
Adjusting track parameters (TRACK MENU)
Clearing all triggers
1 Tap [CLEAR TRIGGERS].
A confirmation message appears.
2 Tap [OK].
Clears all of the triggers input to the currently selected pattern.
! If you tap [CANCEL], the pop-up screen closes without clearing and
the sequence screen reappears.
Quantize
This feature can be used when aligning triggers that were input with, for
example, dynamic recording to steps.
% Tap [QUANTIZE].
Any input triggers that are offset from steps are quantized to a step in
the vicinity on a 1/16 level.
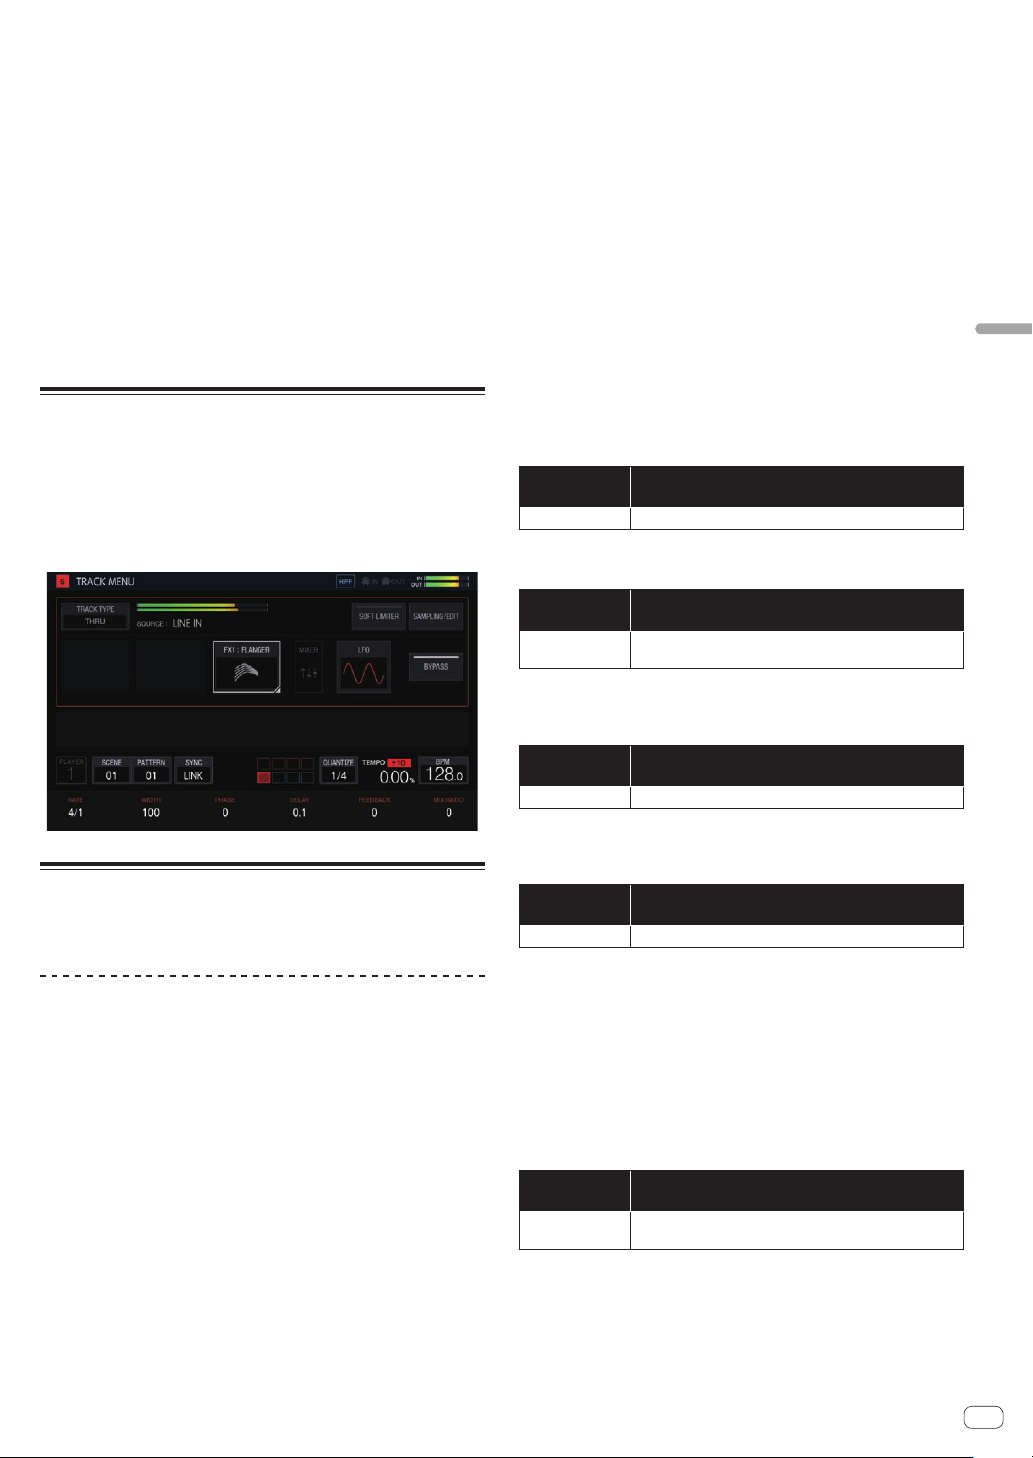
Through track
The [LINE IN] external input can be assigned to a track to apply an effect.
Select the input source with the parameter adjustment knobs below the
touch display and adjust [INPUT LEVEL] on the top panel of the unit or
the volume level of the source device while looking at INPUT MONITOR.
At that time, if [SOFT LIMIT] (ON/OFF toggle operation) is tapped, the
analog limiter at the input stage is enabled to reduce unnecessary
clipping.
MIDI tracks
Performances with the unit and using external MIDI sound sources
according to the MIDI sequence are possible.
Connections
Connecting with DIN MIDI
1 Connect the MIDI IN terminal of the external MIDI
device and the MIDI OUT/THRU terminal of this unit with
a MIDI cable.
2 Tap [SYNC] in the HOME screen, etc. to display the
SYNC screen.
3 Tap [DIN MIDI] in MIDI I/F SELECT.
After configuring the above setting, tap [TRACK TYPE] in the TRACK
MENU screen of the track you wish to use for the MIDI performance and
then use the rotary selector to select [MIDI].
Connecting with USB MIDI
1 Connect your computer and the USB-B terminal of
this unit with a USB cable.
2 Tap [SYNC] in the HOME screen, etc. to display the
SYNC screen.
3 Tap [USB MIDI] in MIDI I/F SELECT.
After configuring the above setting, tap [TRACK TYPE] in the TRACK
MENU screen of the track you wish to use for the MIDI performance and
then use the rotary selector to select [MIDI].
! For the detailed settings of the MIDI notes and MIDI control changes
to be transmitted with MIDI tracks, refer to Setting MIDI NOTE
(MIDI NOTE) on page 46 and Setting MIDI CC (MIDI CC1/CC2) on
page 44 .
Setting whether or not to transmit various MIDI
messages
Configure the settings for whether or not to transmit various MIDI mes-
sages in the PROJECT SETTING (MIDI OUT) category of the UTILITY
screen. The setting items and setting values are as follows.
Option
settings
Options
CLOCK
ENABLE/DISABLE
!
ENABLE: Transmits MIDI CLOCK to the external MIDI device based on the BPM
of the unit’s sequencer.
! DISABLE: Does not transmit MIDI CLOCK to the external MIDI device.
Option
settings
Options
START/STOP/
CONTINUE
ENABLE/DISABLE
!
ENABLE: Transmits the START, STOP, and CONTINUE messages to the external
MIDI device.
! DISABLE: Does not transmit the START, STOP, and CONTINUE messages to the
external MIDI device.
Option
settings
Options
NOTE/CC ENABLE/DISABLE
!
ENABLE: Transmits NOTE and CC (including Pitch Bend and After Touch) to
the external MIDI device.
! DISABLE: Does not transmit NOTE and CC (including Pitch Bend and After
Touch) to the external MIDI device.
Option
settings
Options
SONG POSITION
ENABLE/DISABLE
!
ENABLE: Transmits the song position pointer to the external MIDI device.
! DISABLE: Does not transmit the song position pointer to the external MIDI
device.
Setting the MIDI OUT channel
To set the MIDI OUT channel setting, tap [SELECT CH] in the TRACK
MENU screen of the MIDI track to be transmitted to the MIDI. Then, set
CH from the displayed pop-up screen.
To reset the set MIDI OUT channel, execute [CHANNEL MAPPING
RESET] in the PROJECT SETTING (MIDI OUT) category of the UTILITY
screen.
Option
settings
Options
CHANNEL
MAPPING RESET
None (Executes RESET.)
The MIDI CH set in the TRACK MENU screen is reset. When a reset is
performed, the track number and MIDI CH are restored to the initial
values of the same number.
! TRACK1 to TRACK16: CH.1 to CH.16
Loading ...
Loading ...
Loading ...