Loading ...
Loading ...
Loading ...
En
26
Adjusting the play start position of a
sample
If a sampled sound is offset, the play start position can be adjusted.
1 Press the [SAMPLING] button.
The performance pads switch to the LIVE SAMPLING mode and live
sampling becomes possible.
! The [SAMPLING] button lights.
! The LIVE SAMPLING screen is displayed on the touch display.
2 Tap the track you wish to adjust and then tap again in
the selected state.
The adjustment screen appears.
! You can also go to the adjustment screen by turning the rotary selec-
tor to select a track and then pressing the rotary selector.
3 Turn the parameter 3 adjustment knob.
The play start position of the sample changes.
! If you wish to adjust another sample, you can turn the rotary selector
to select another track.
4 When adjustment is finished, press the [SAMPLING]
button.
Sampling mode ends.
Saving a sample
A sampled sample can be saved to a USB memory device.
If another project is loaded or the power is switched off without saving,
the sampled sample will be deleted.
1 Press the [SAMPLING] button.
The performance pads switch to the LIVE SAMPLING mode and live
sampling becomes possible.
!
The [SAMPLING] button lights.
! The LIVE SAMPLING screen is displayed on the touch display.
2 Tap the track with the sample you wish to save
loaded.
Multiple tracks can be selected by tapping tracks while pressing the
[SHIFT] button.
3 Tap [ ] (Save).
Saving is executed. The [SAVING...] message is displayed during saving.
When saving completes, the sample name that was indicated by red
characters is displayed in white.
The save destination is under PIONEER DJ SAMPLER/Samples/Saved/
[Project name].
! Some functions are restricted during saving.
! If a USB memory device is not connected, the button is displayed
grayed out and cannot be operated.
4 After saving, press the [SAMPLING] button.
Sampling mode ends.
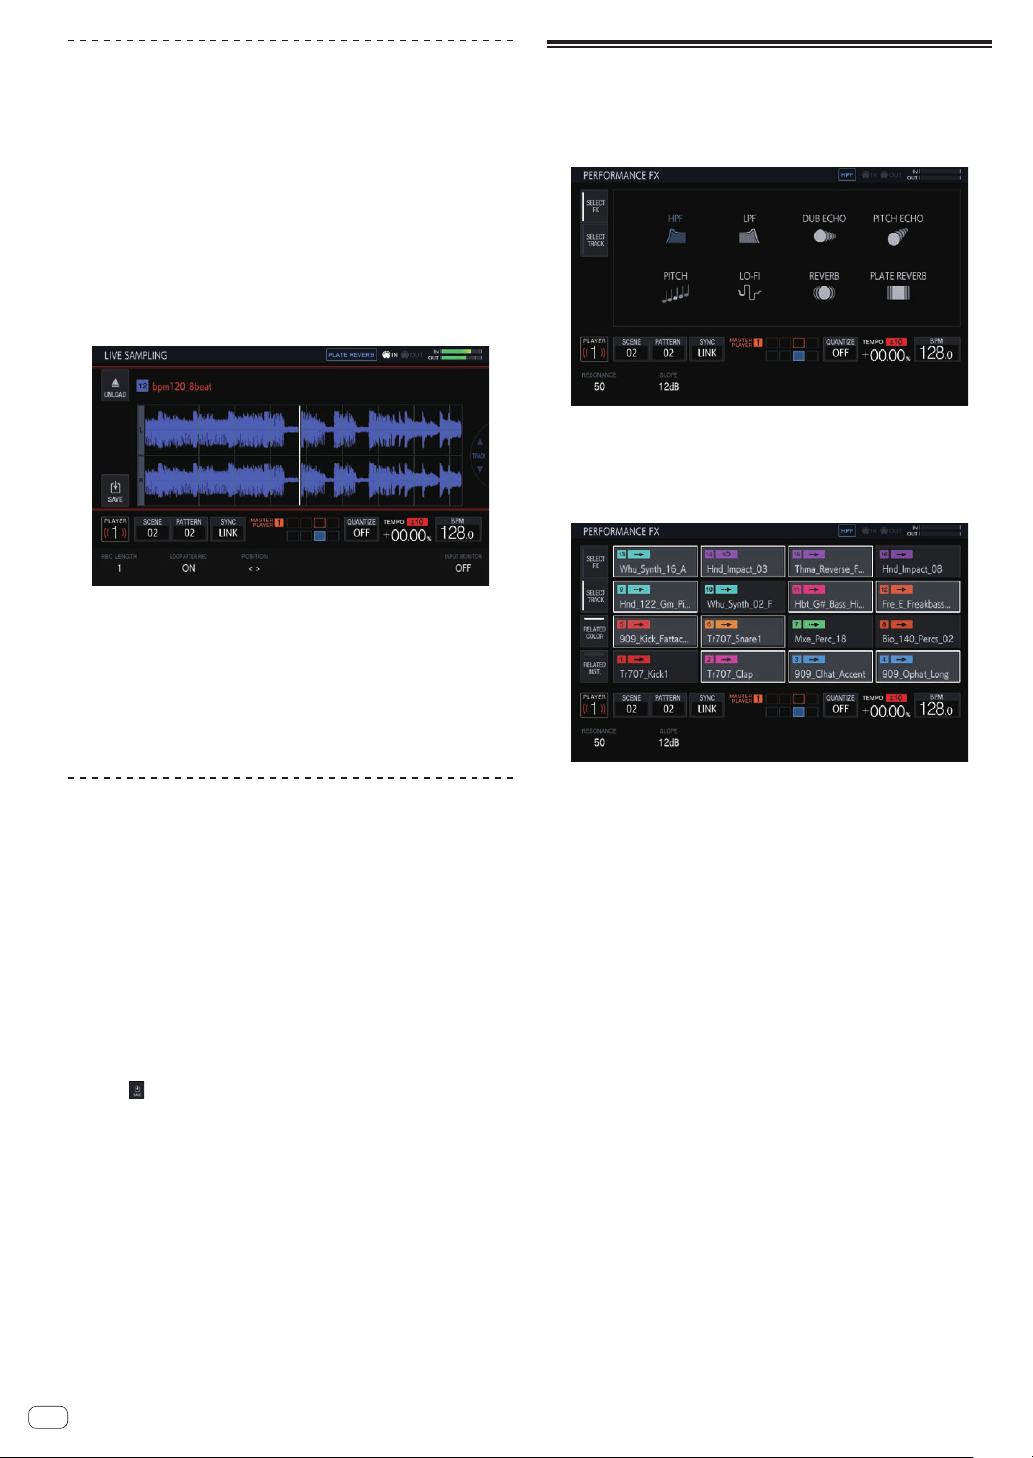
Using effects
1 Press the [FX] button.
The [FX] button lights.
The PERFORMANCE FX effect selection screen appears.
2 Tap the effect you wish to use.
For the effect types, refer to “PERFORMANCE FX Types”.
3 Tap the [SELECT TRACK] tab.
The PERFORMANCE FX track selection screen appears.
4 Tap the track for which you wish to apply the effect.
Multiple tracks can be selected by tapping tracks while pressing the
[SHIFT] button.
! If you switch RELATED COLOR on and then tap a track, the tracks
with the same color set are selected or deselected at the same time.
! If you switch RELATED INST. on and then tap a track, the tracks with
the same instrument icon set are selected or deselected at the same
time.
5 Press the [FX ON/OFF] button.
The effect is applied to the sound.
! If you turn the [FX LEVEL DEPTH] control or a parameter adjustment
knob, the parameter is adjusted.
!
The [FX ON/OFF] button flashes when the effect is on.
!
When the [FX ON/OFF] button is pressed again, the effect turns off.
Loading ...
Loading ...
Loading ...